Some time ago, I made a video about hairpunching. I posted this already on TDF, but I think posting it here also might help people.
So here it is:
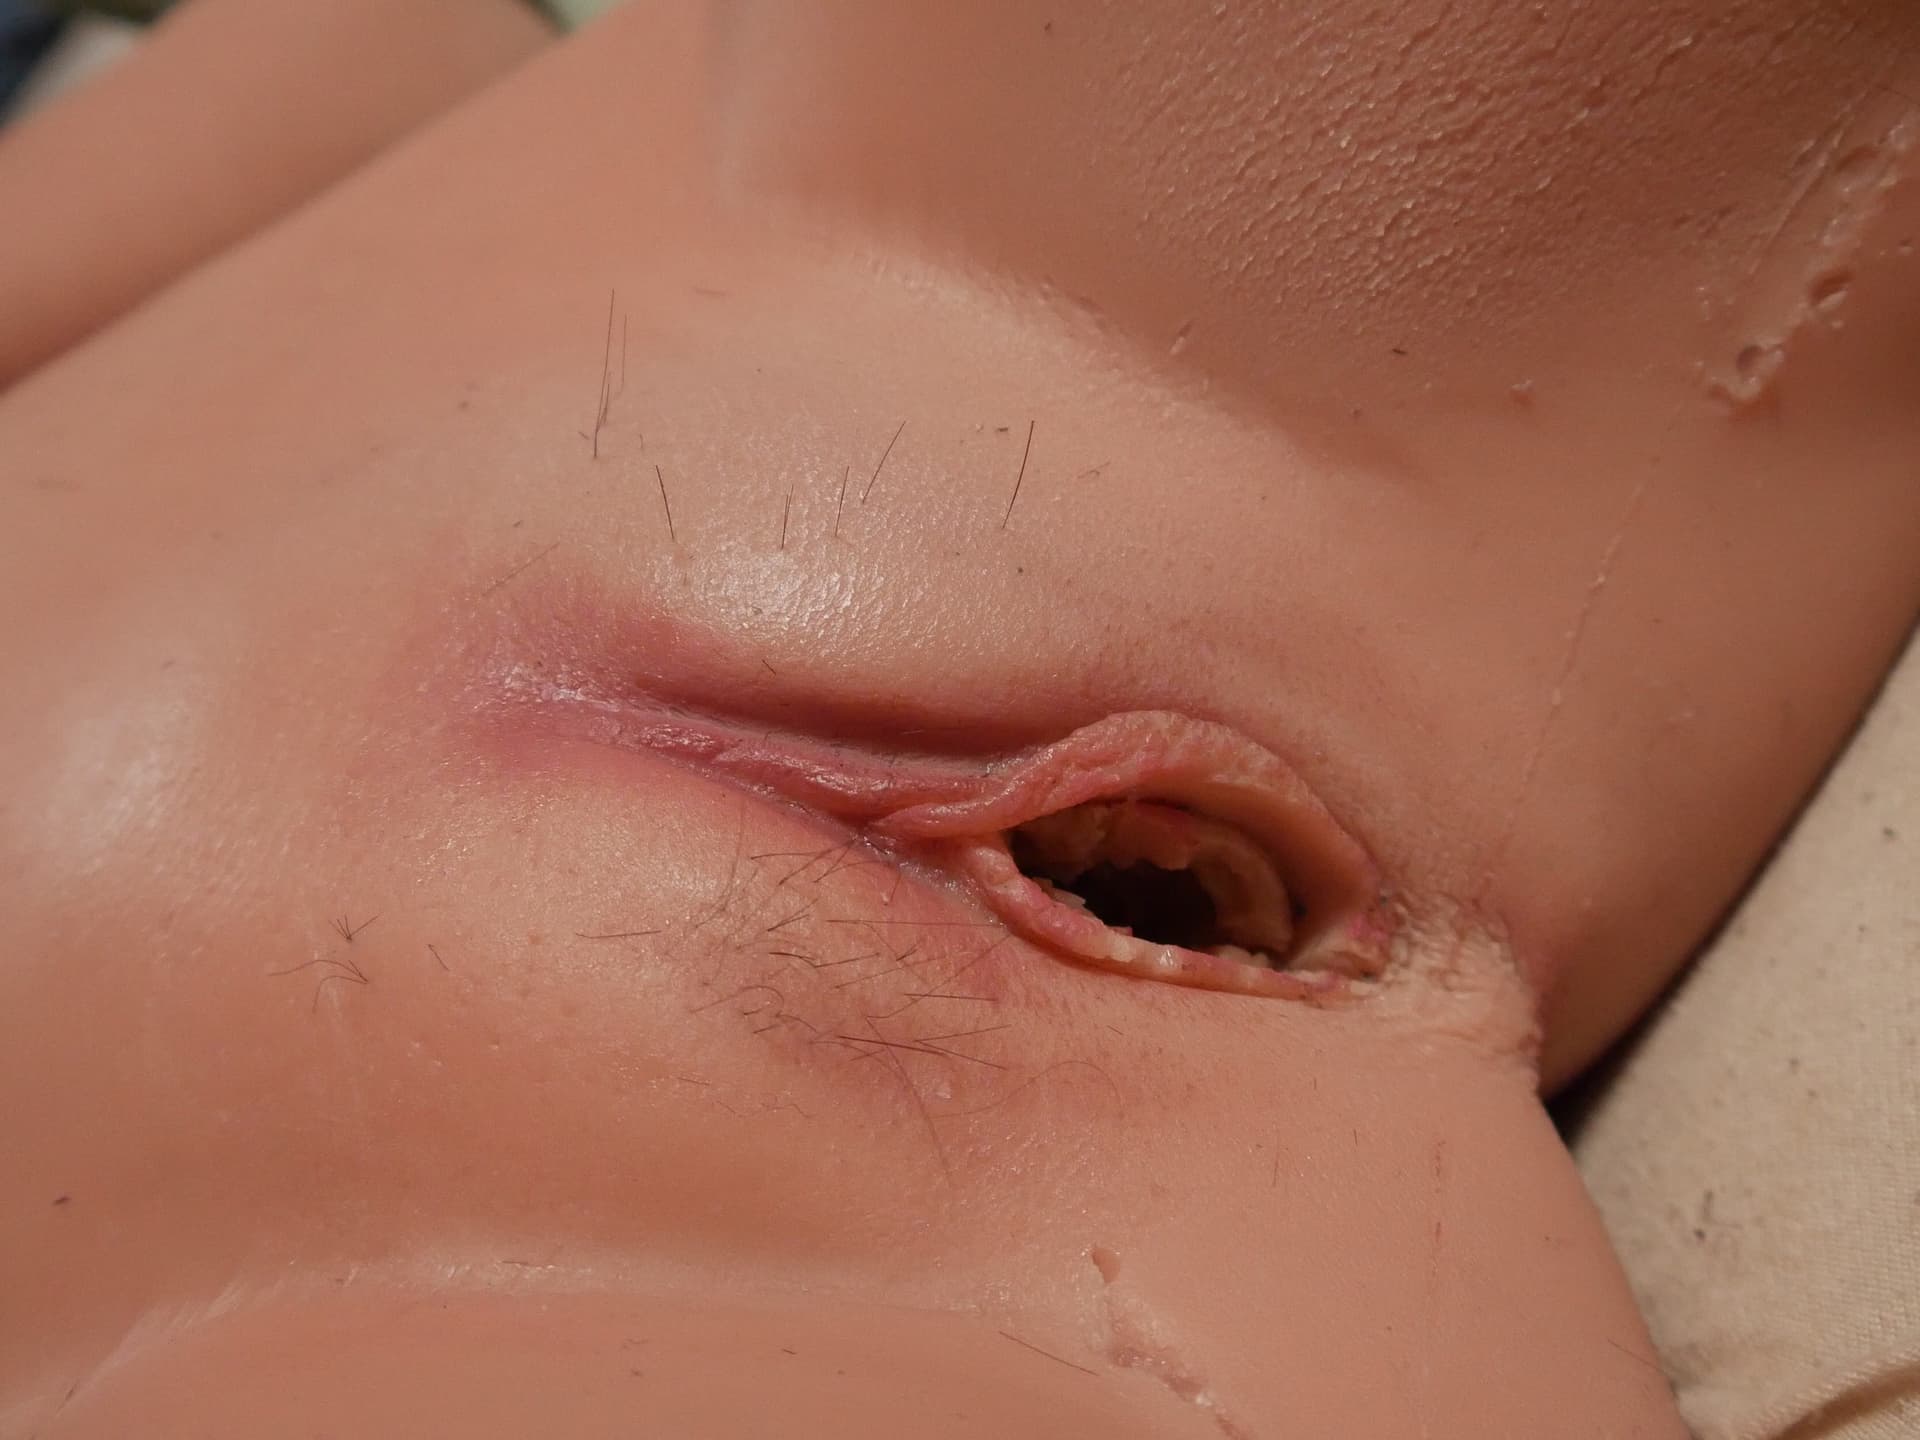
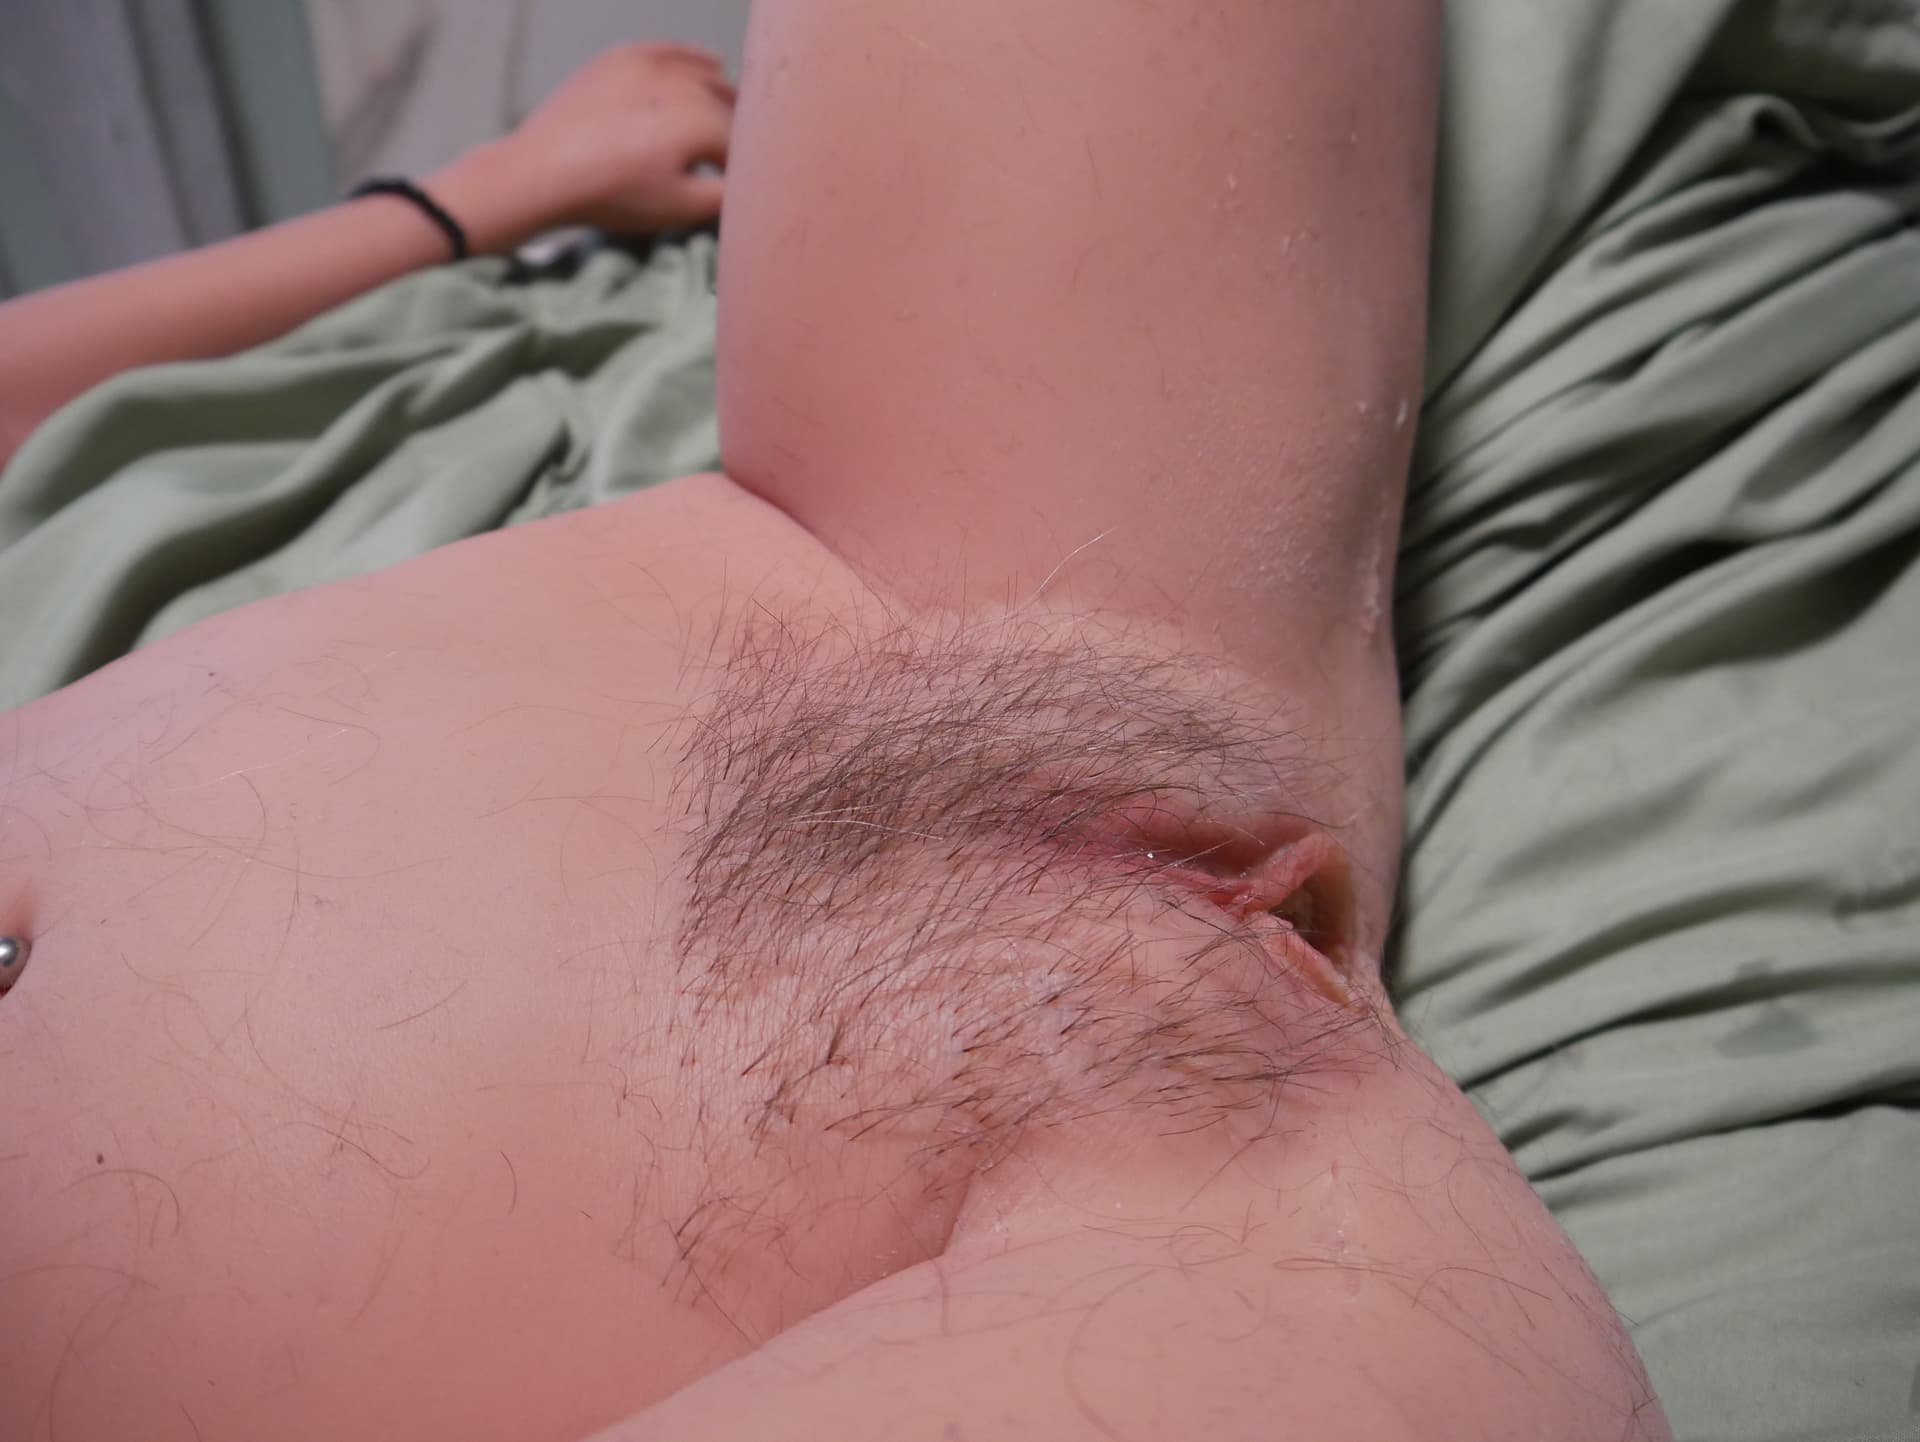
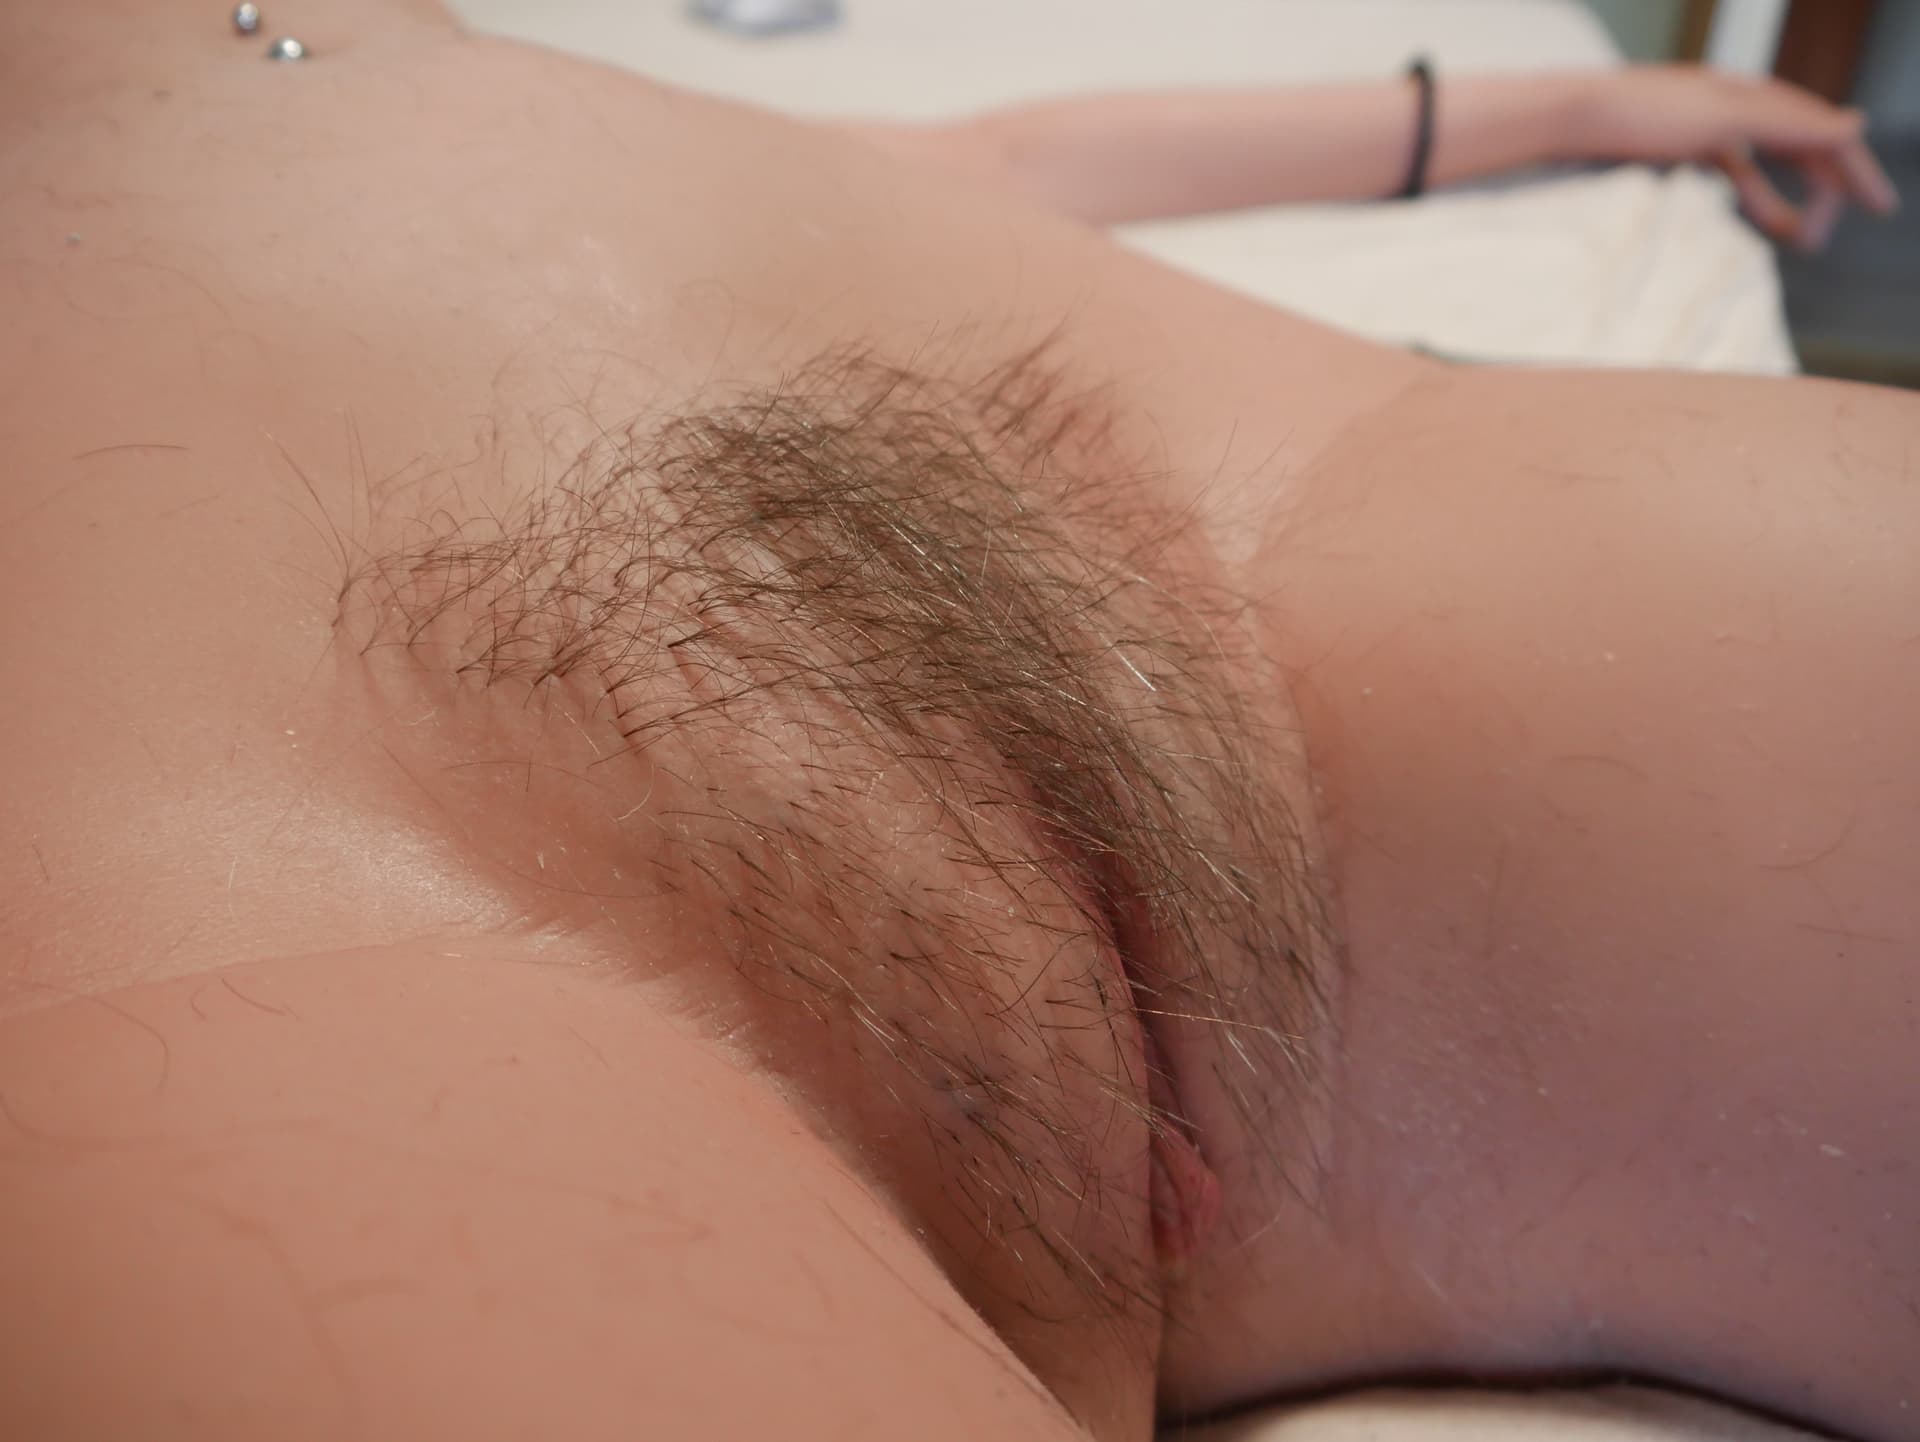
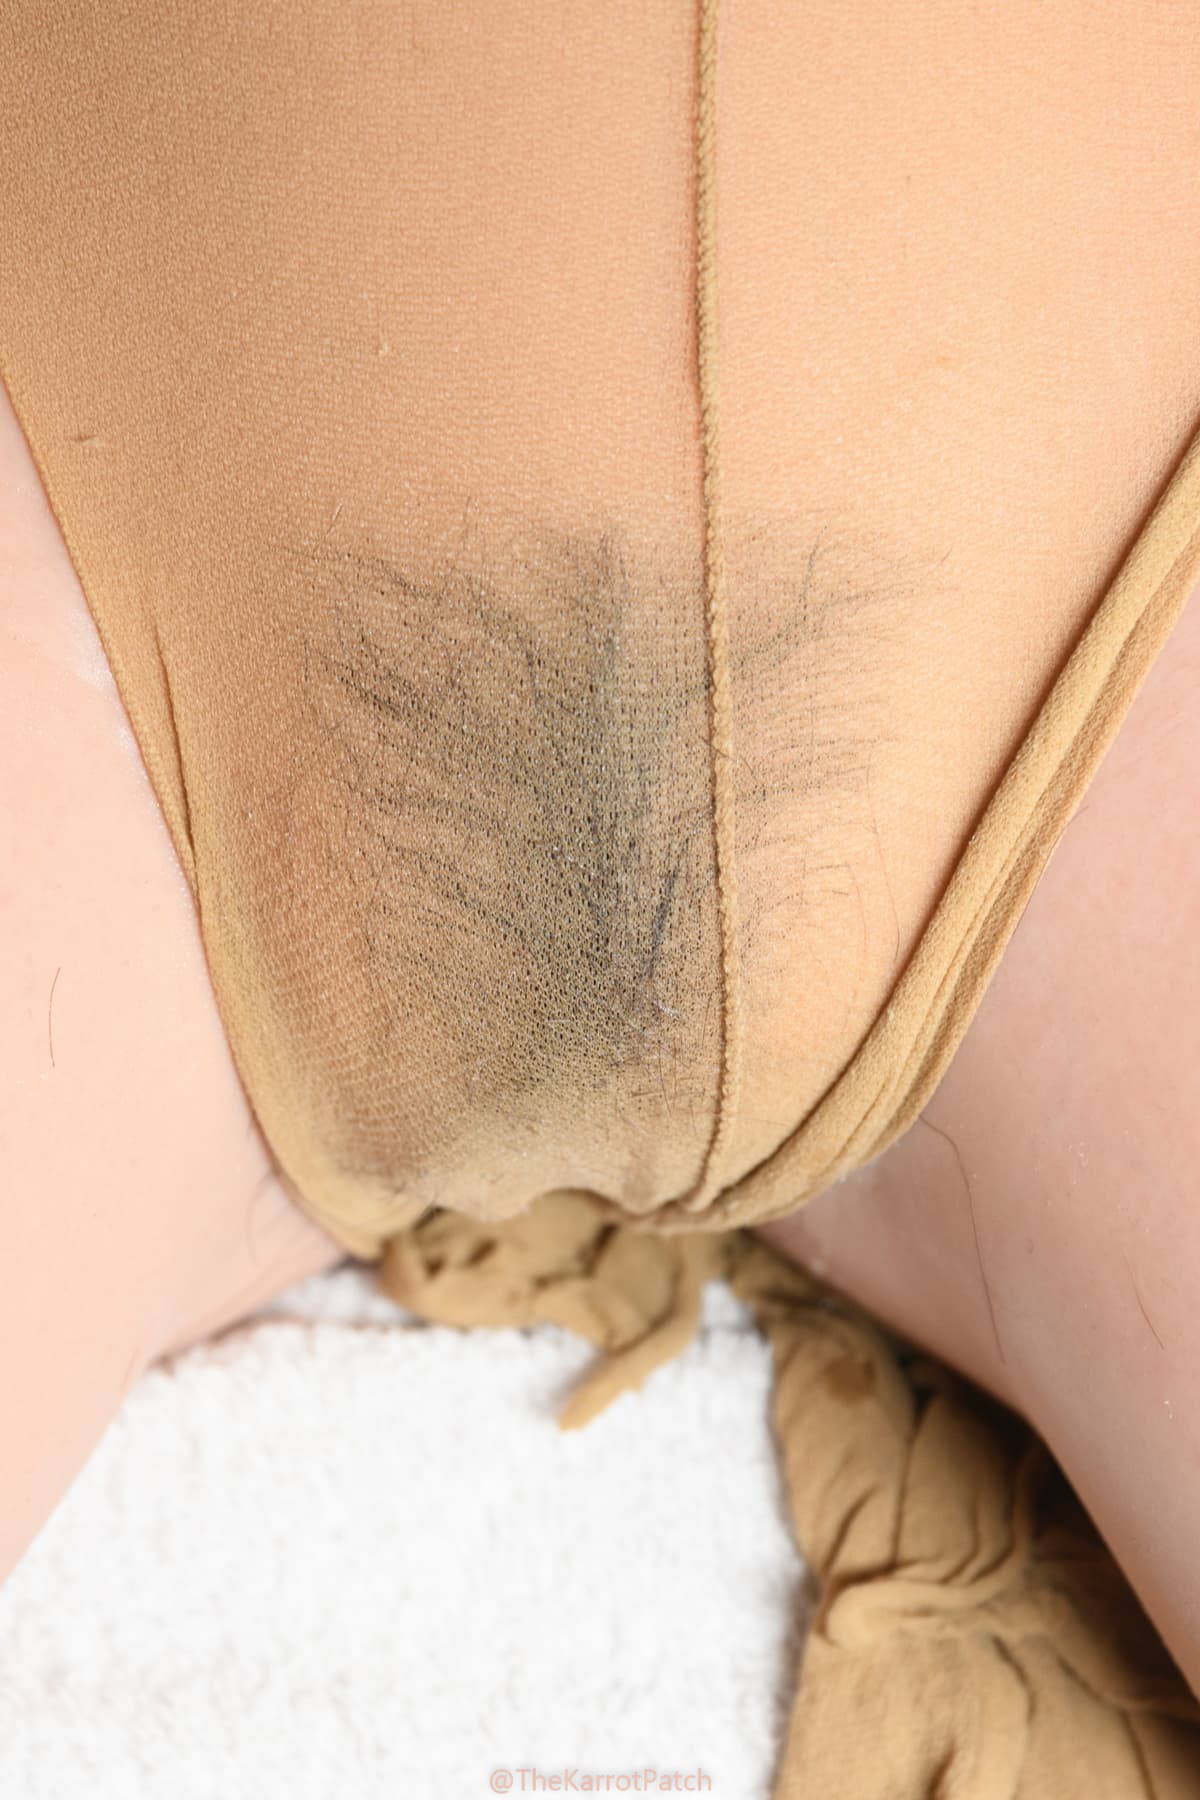
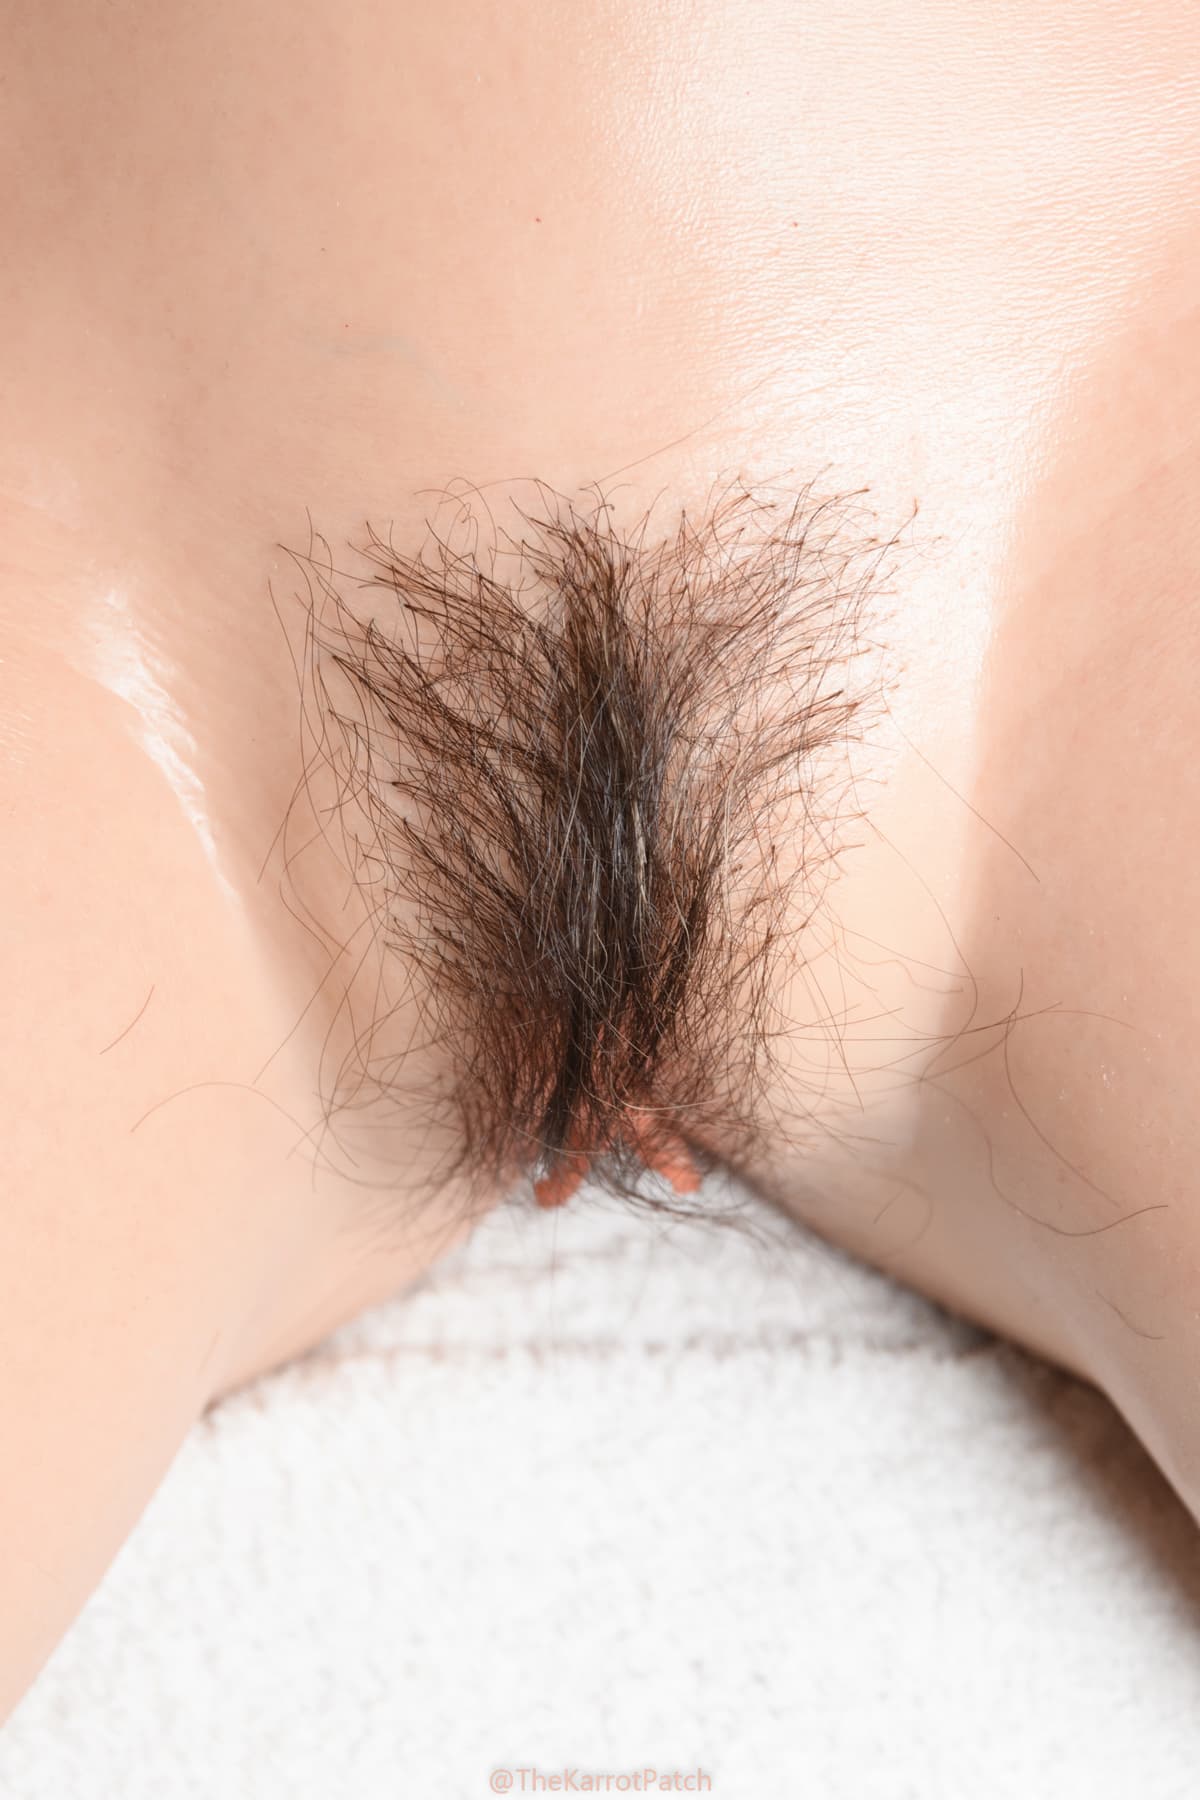
I often get questions about how I did the pubic hair on Bella.
So, I decided to make a short video on hair punching.
First of all, it’s easier than you might think. And it looks much better than a hair patch,
and if you don’t like it, it’s reversible.
What You’ll Need:
-
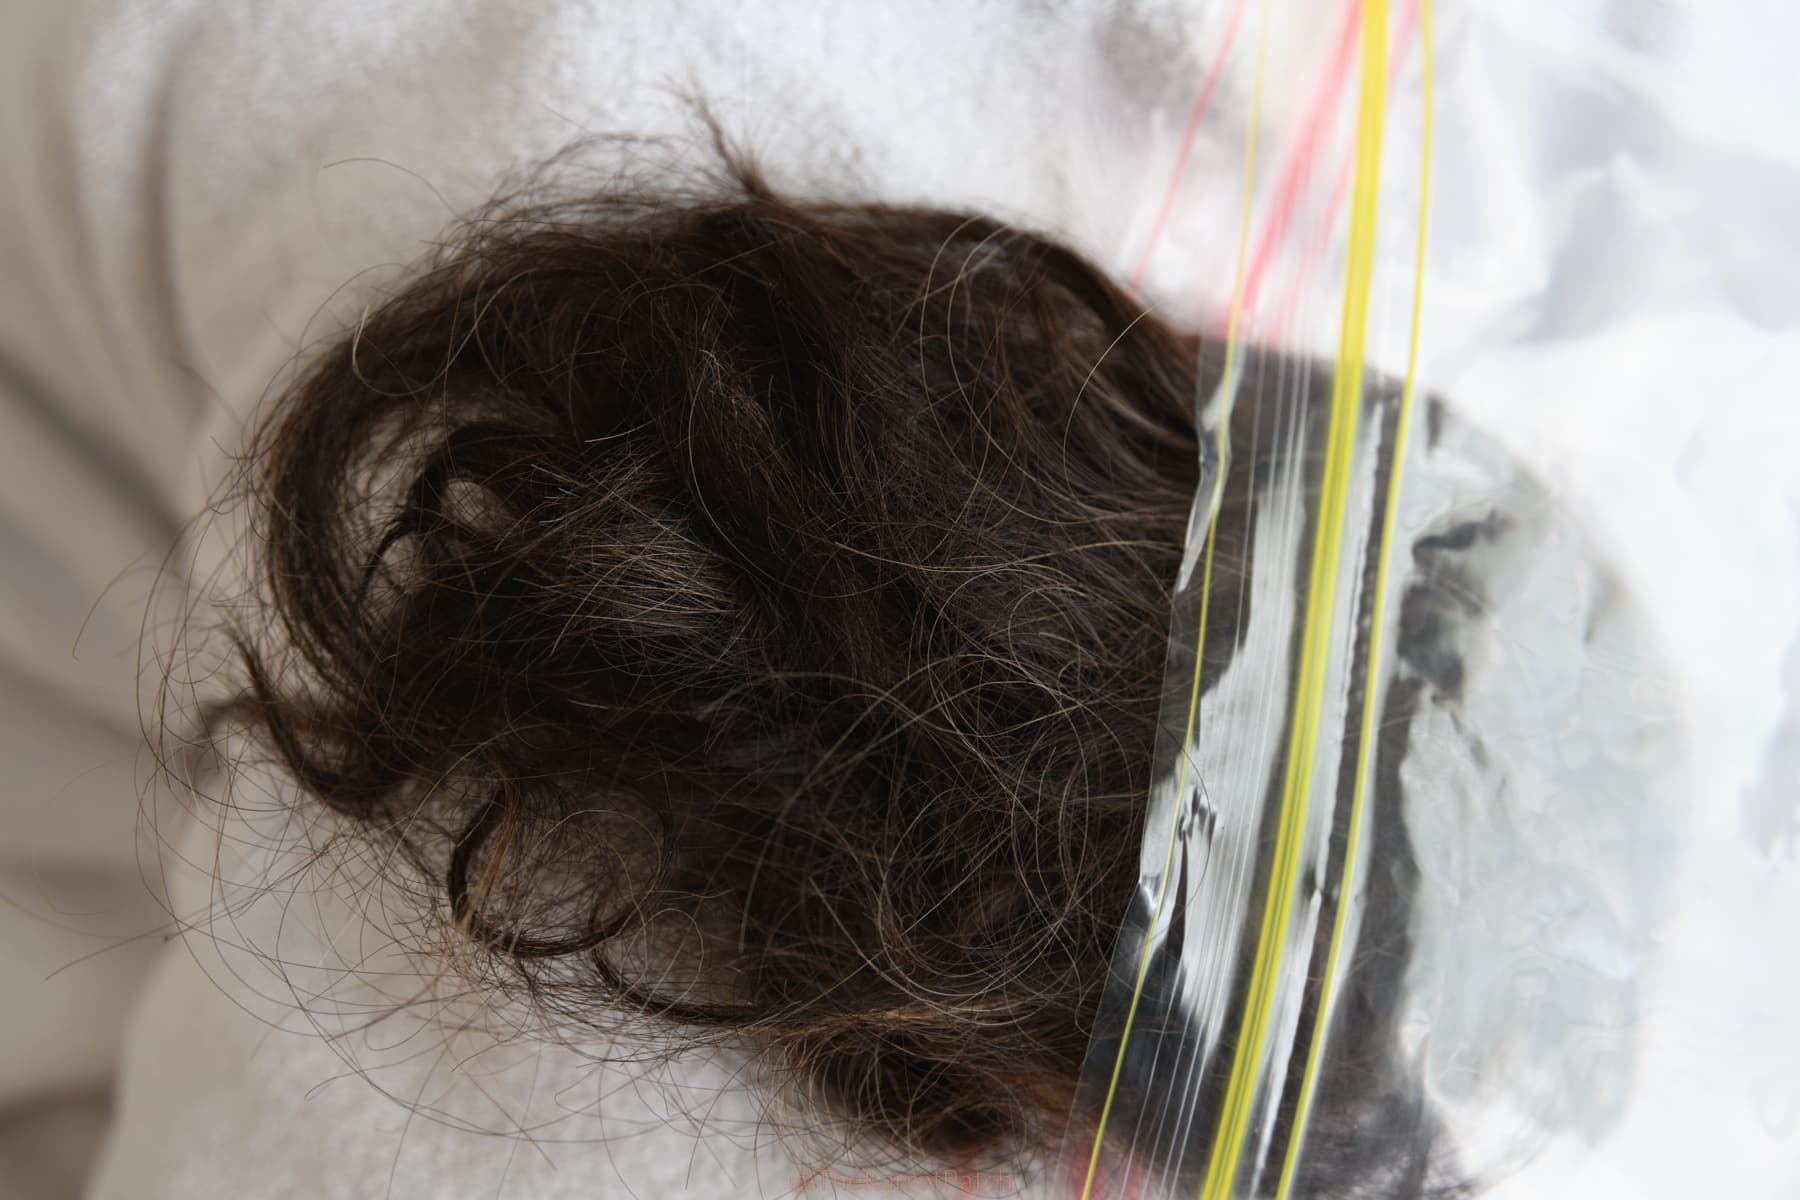
Hair
I ordered some real hair samples from a wig shop.
They’re affordable, and you can get them in the color you like.
-
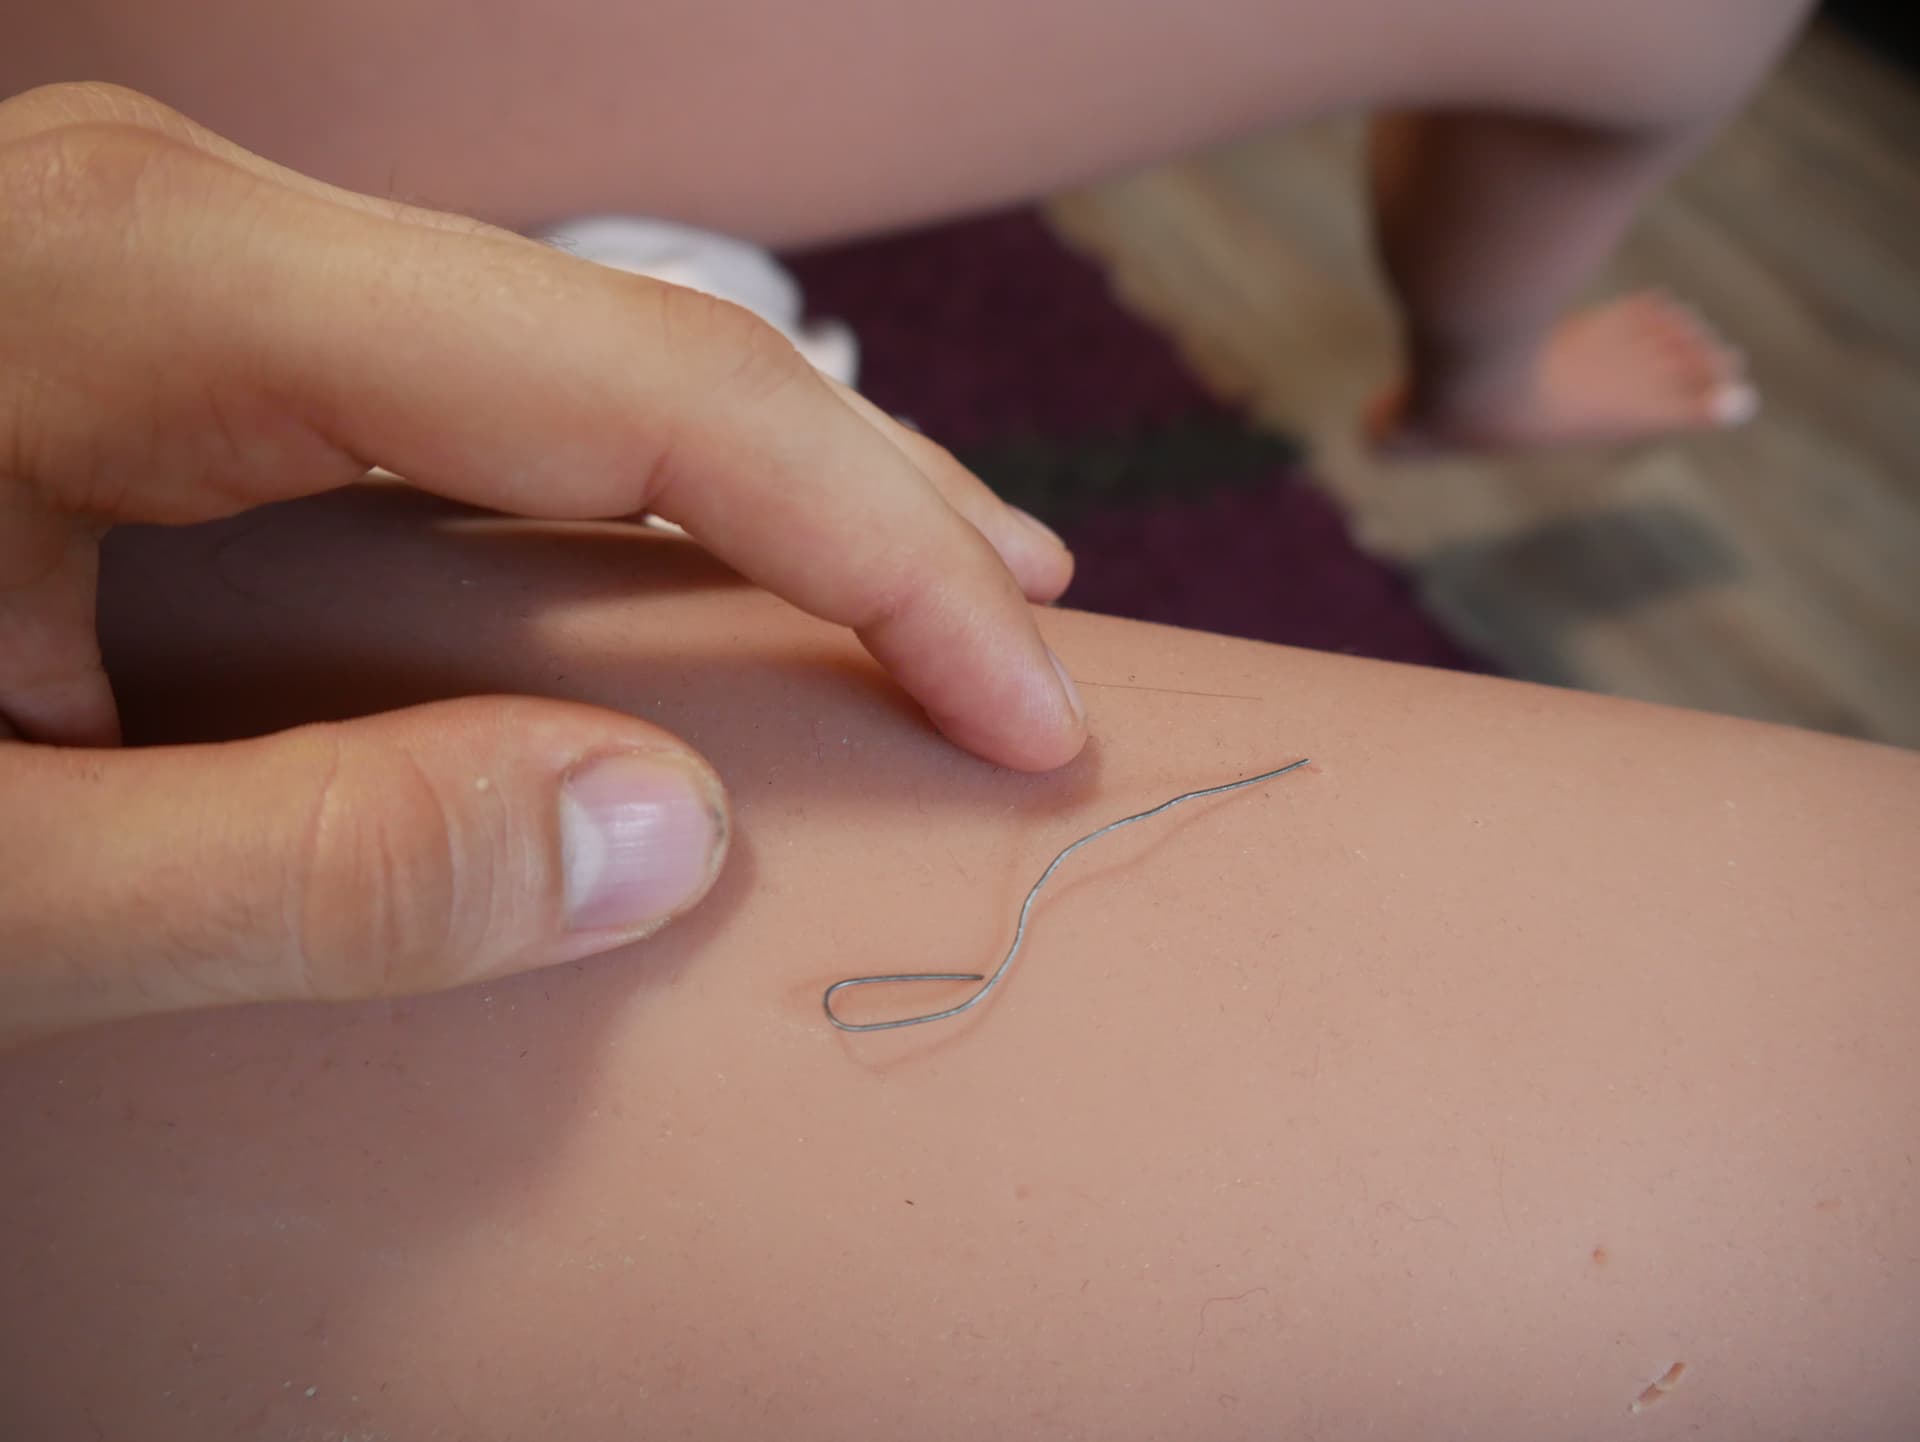
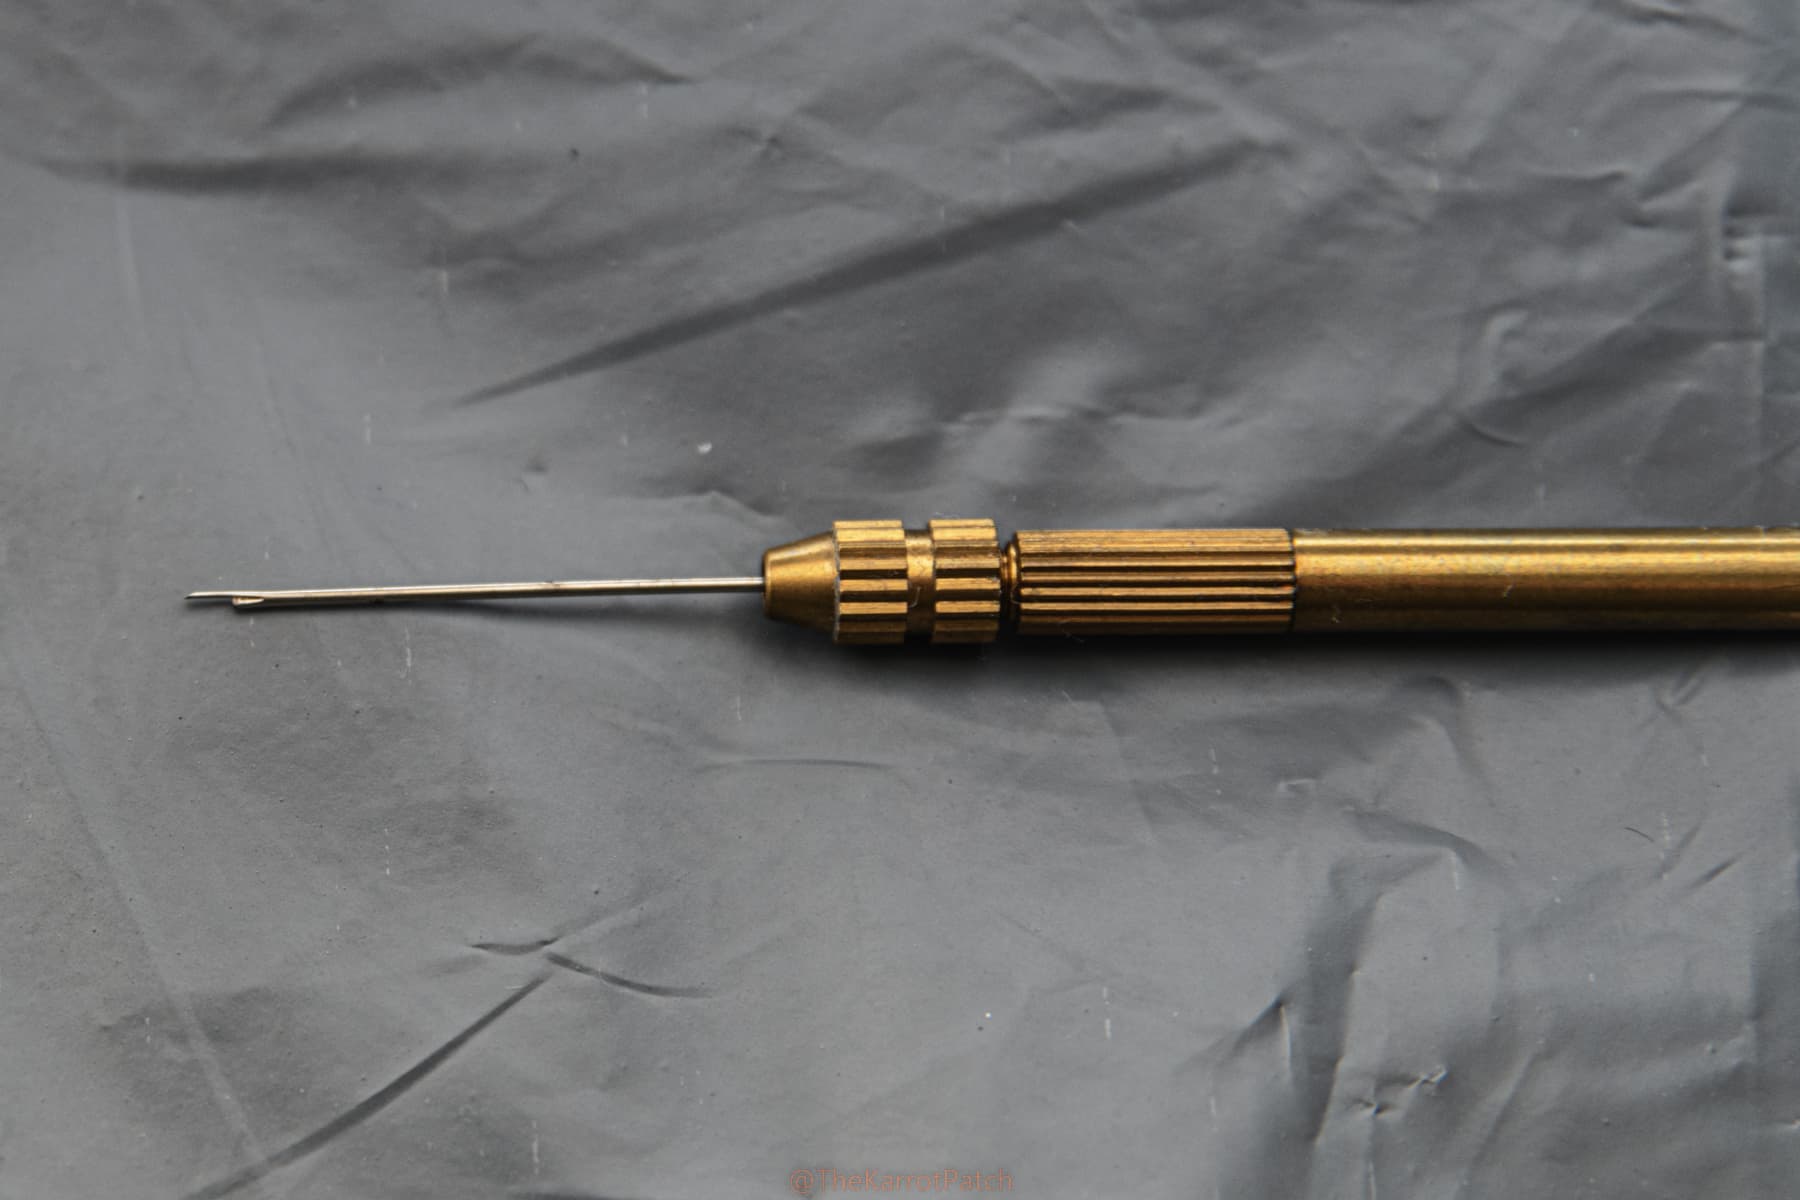
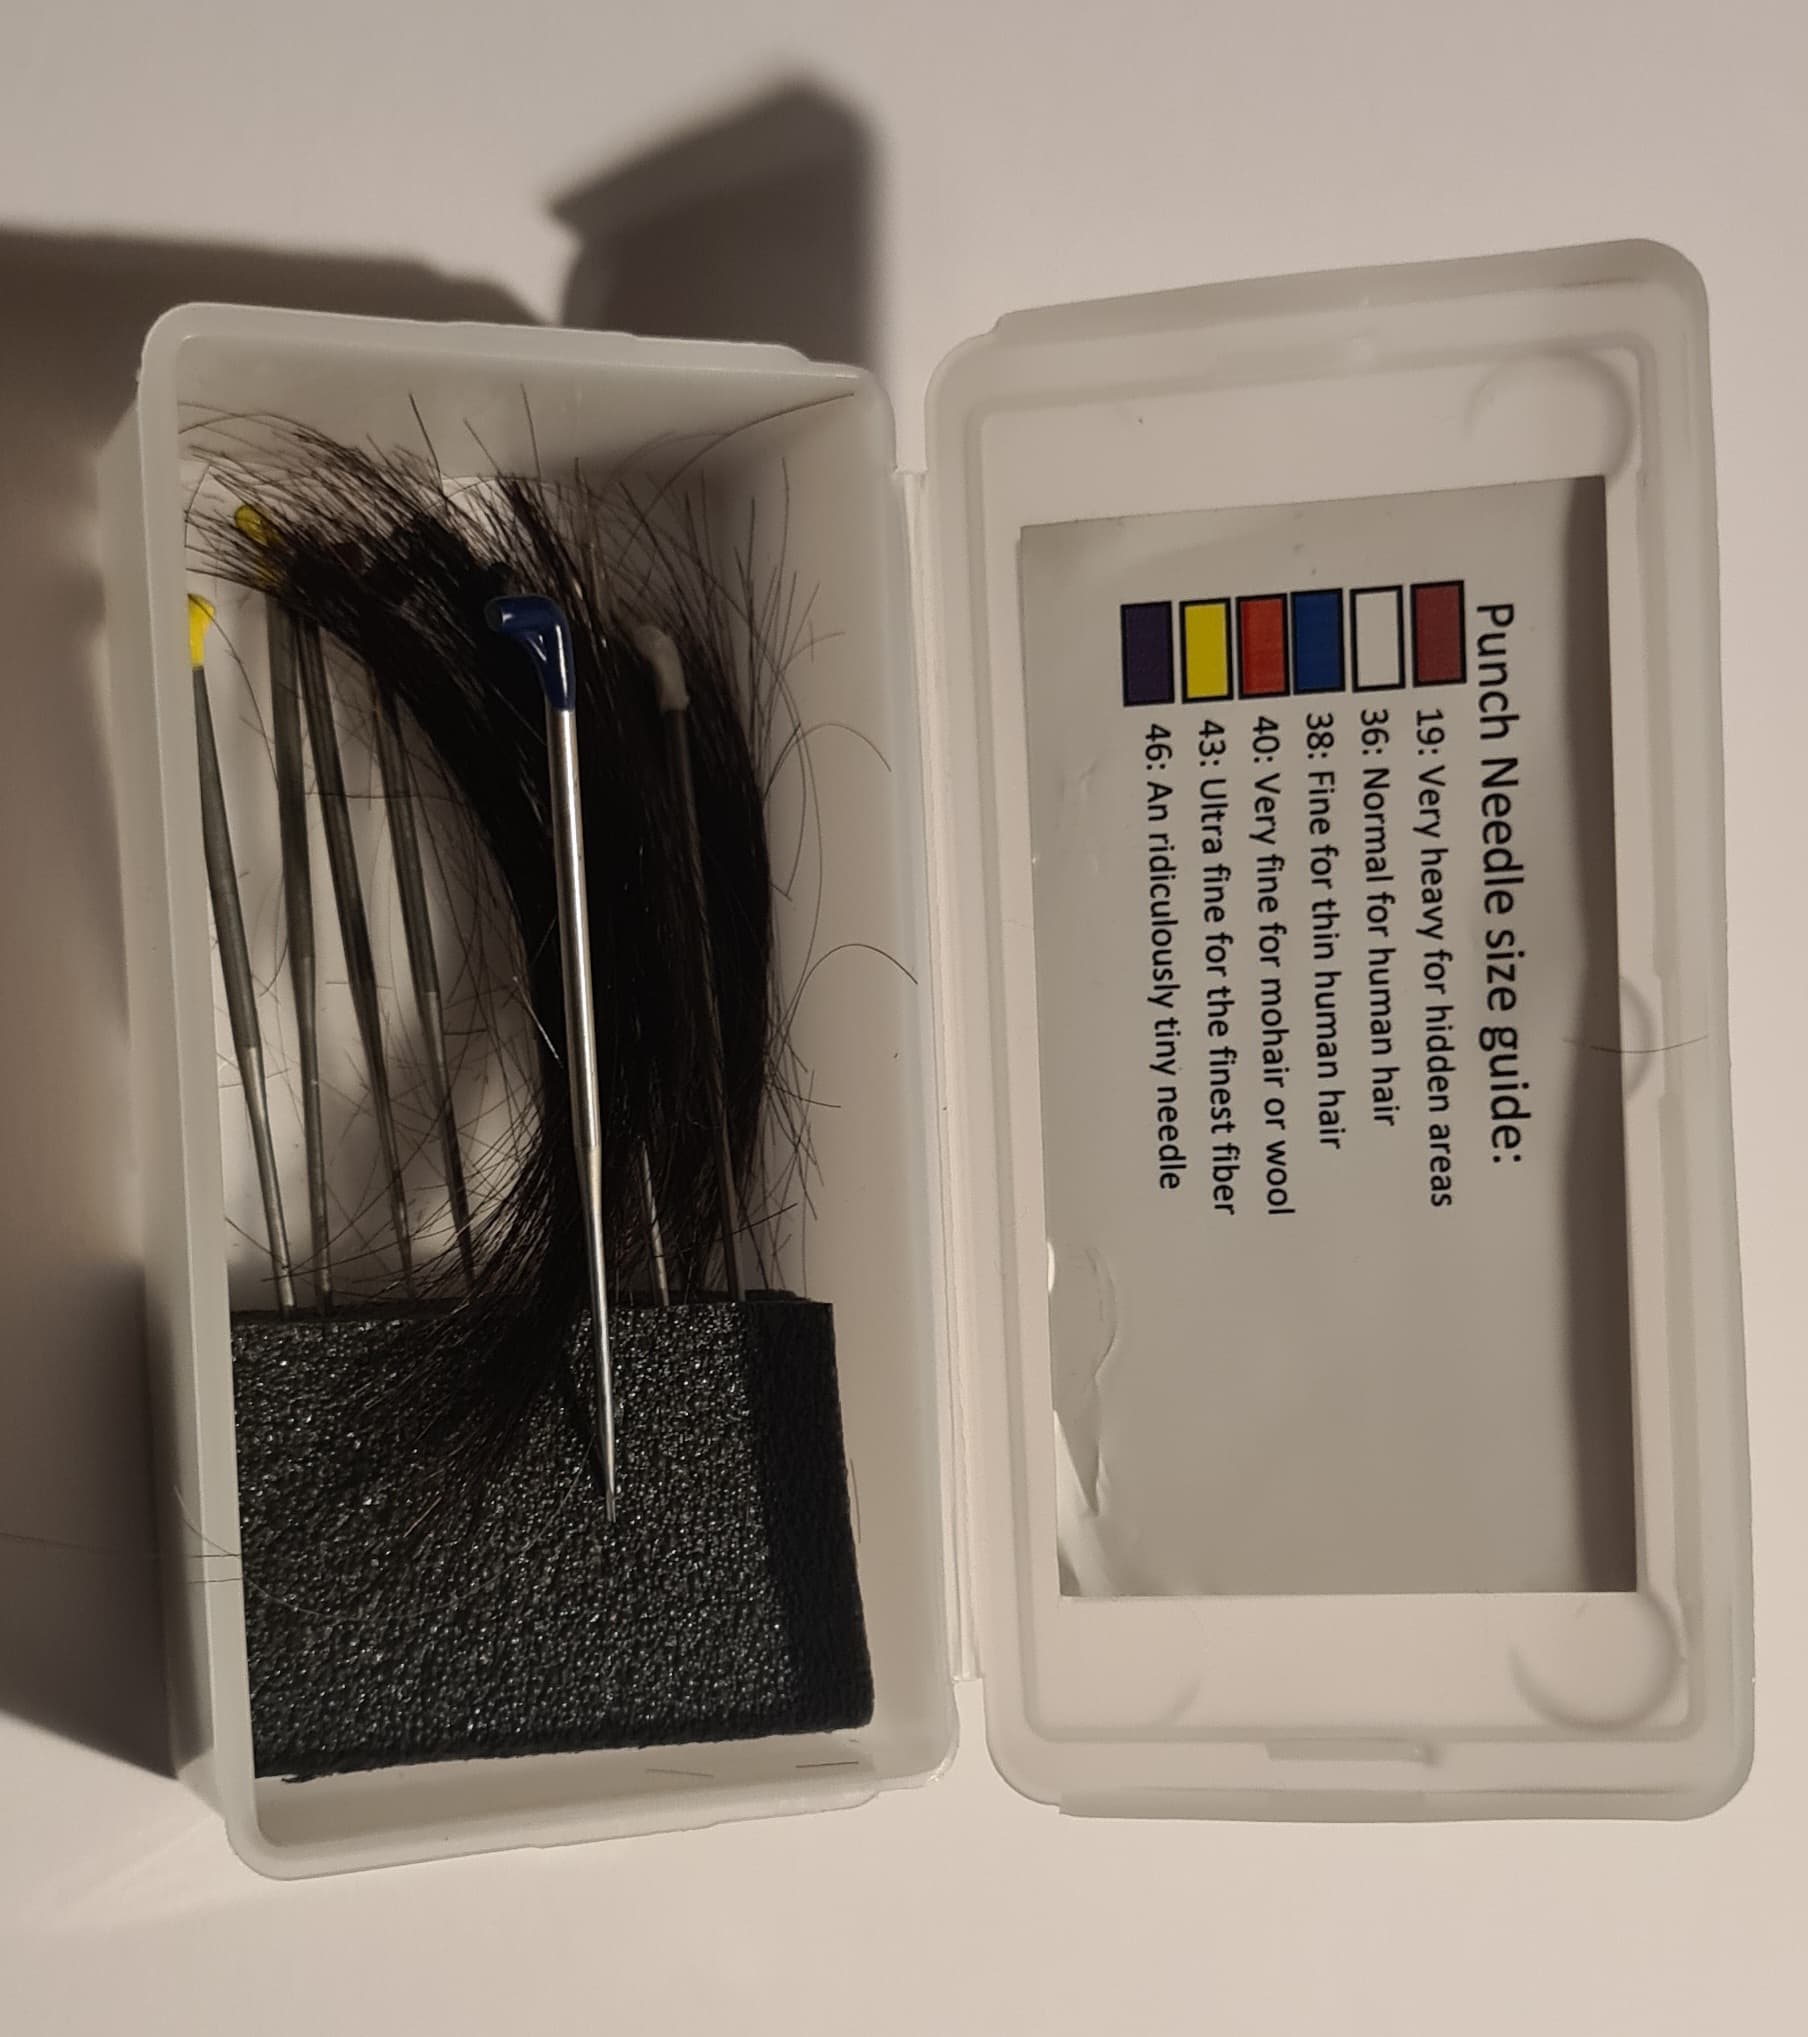
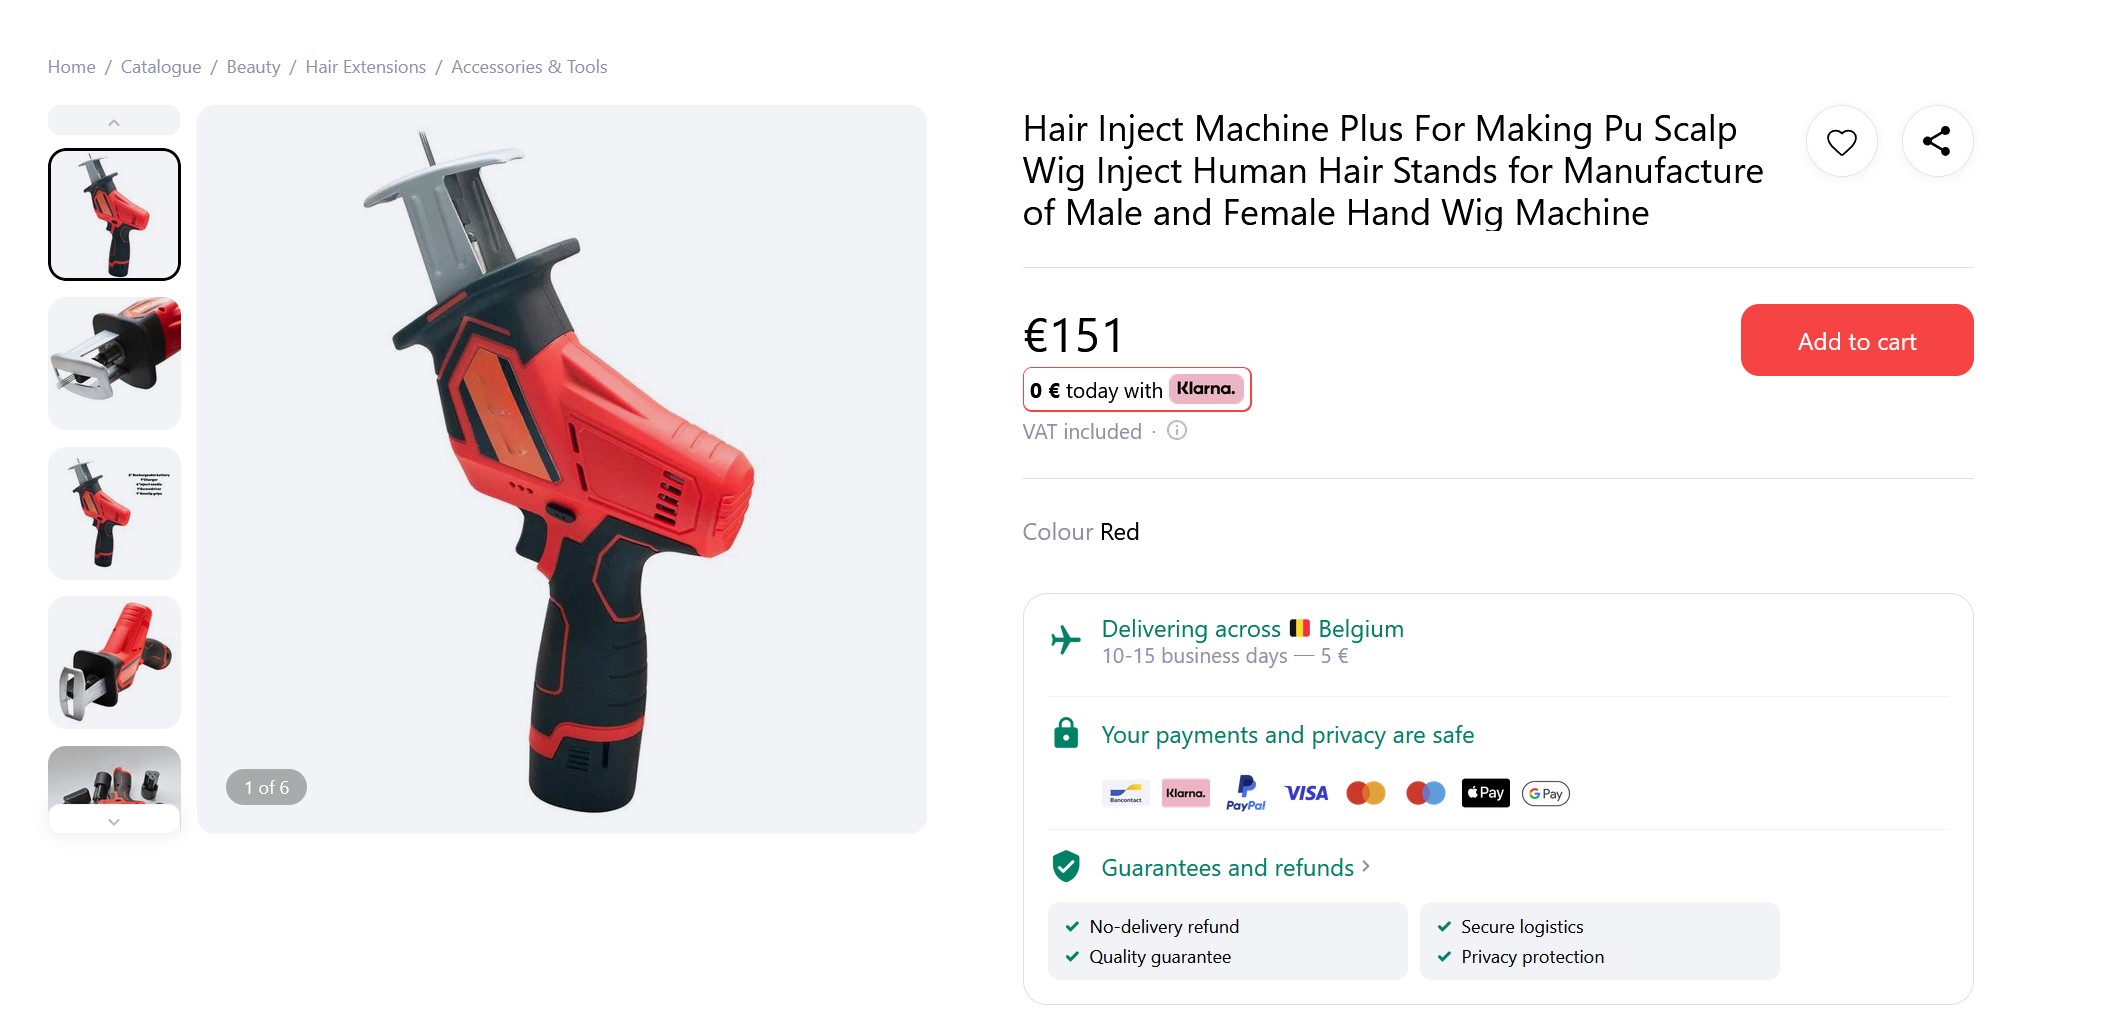
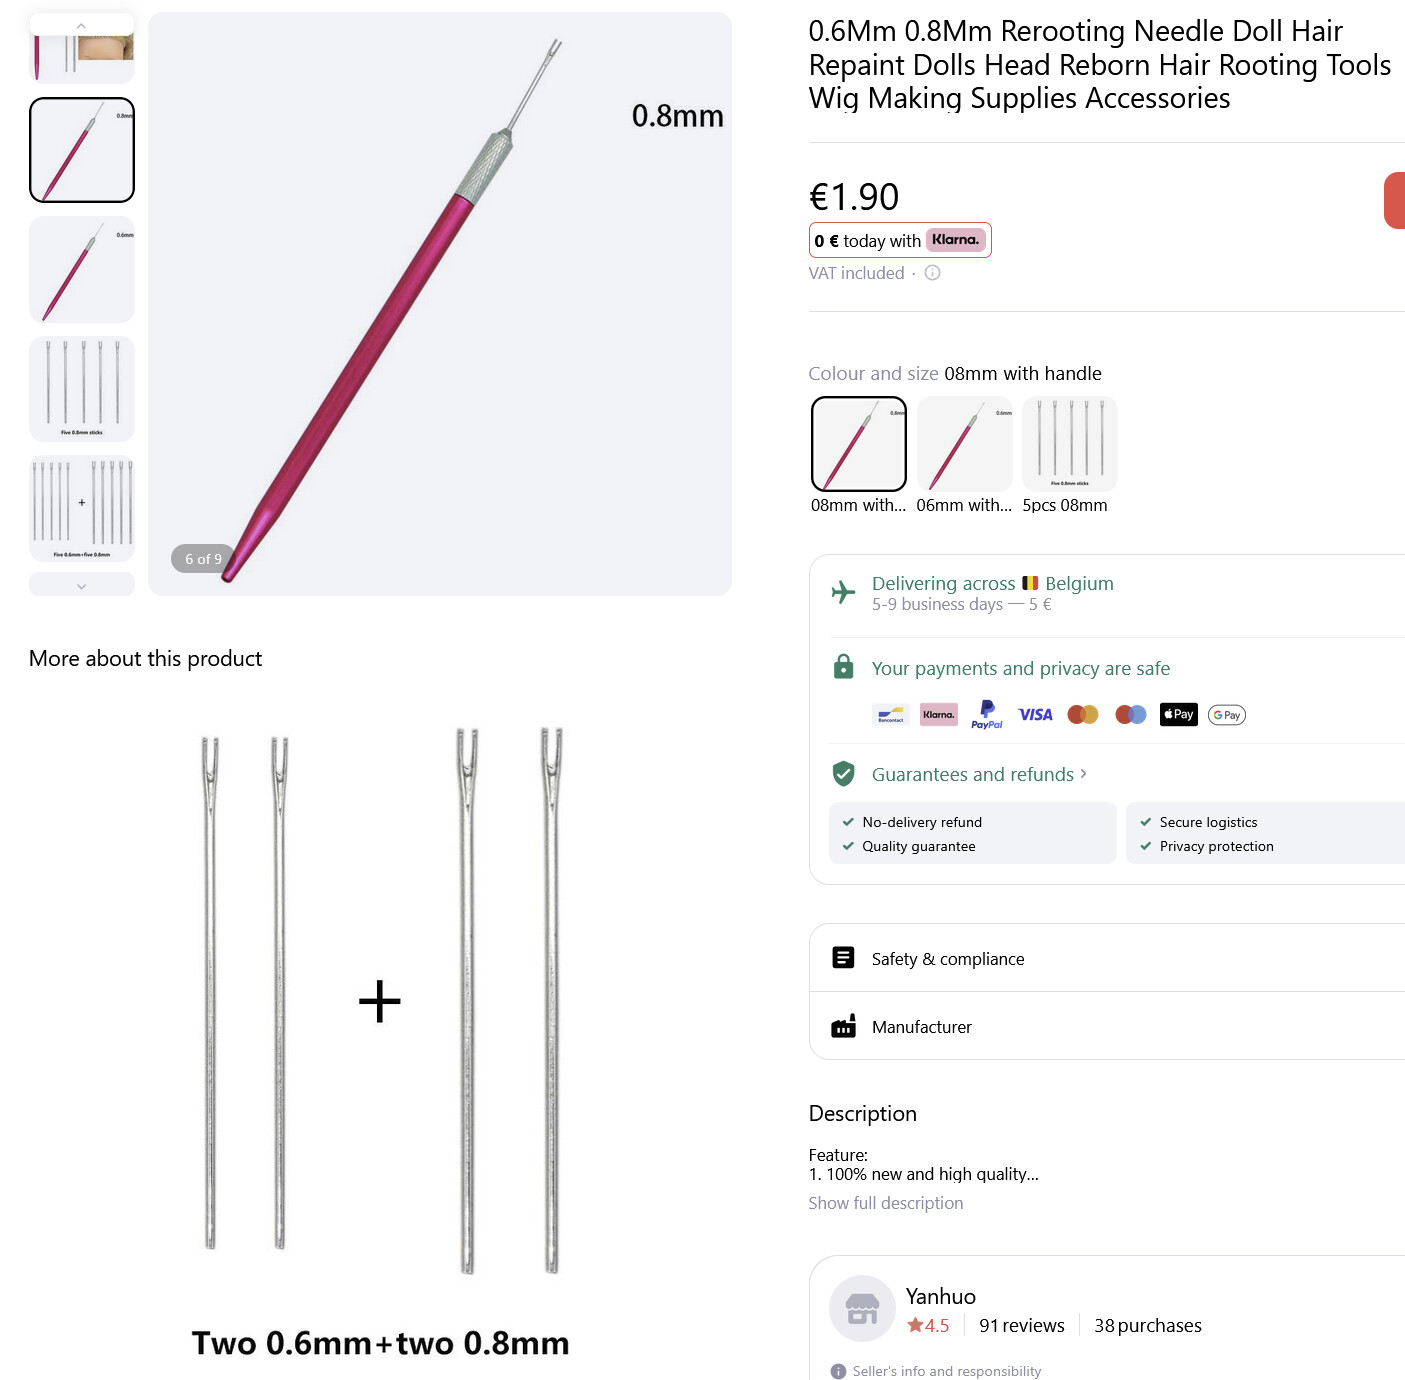
Punching Needle
I found this amazing punching needle on this website:
Makeup FX Shop.
Be sure to watch their video on how to use the needles.
-
Scissors
You’ll need scissors to trim the hair after punching.
-
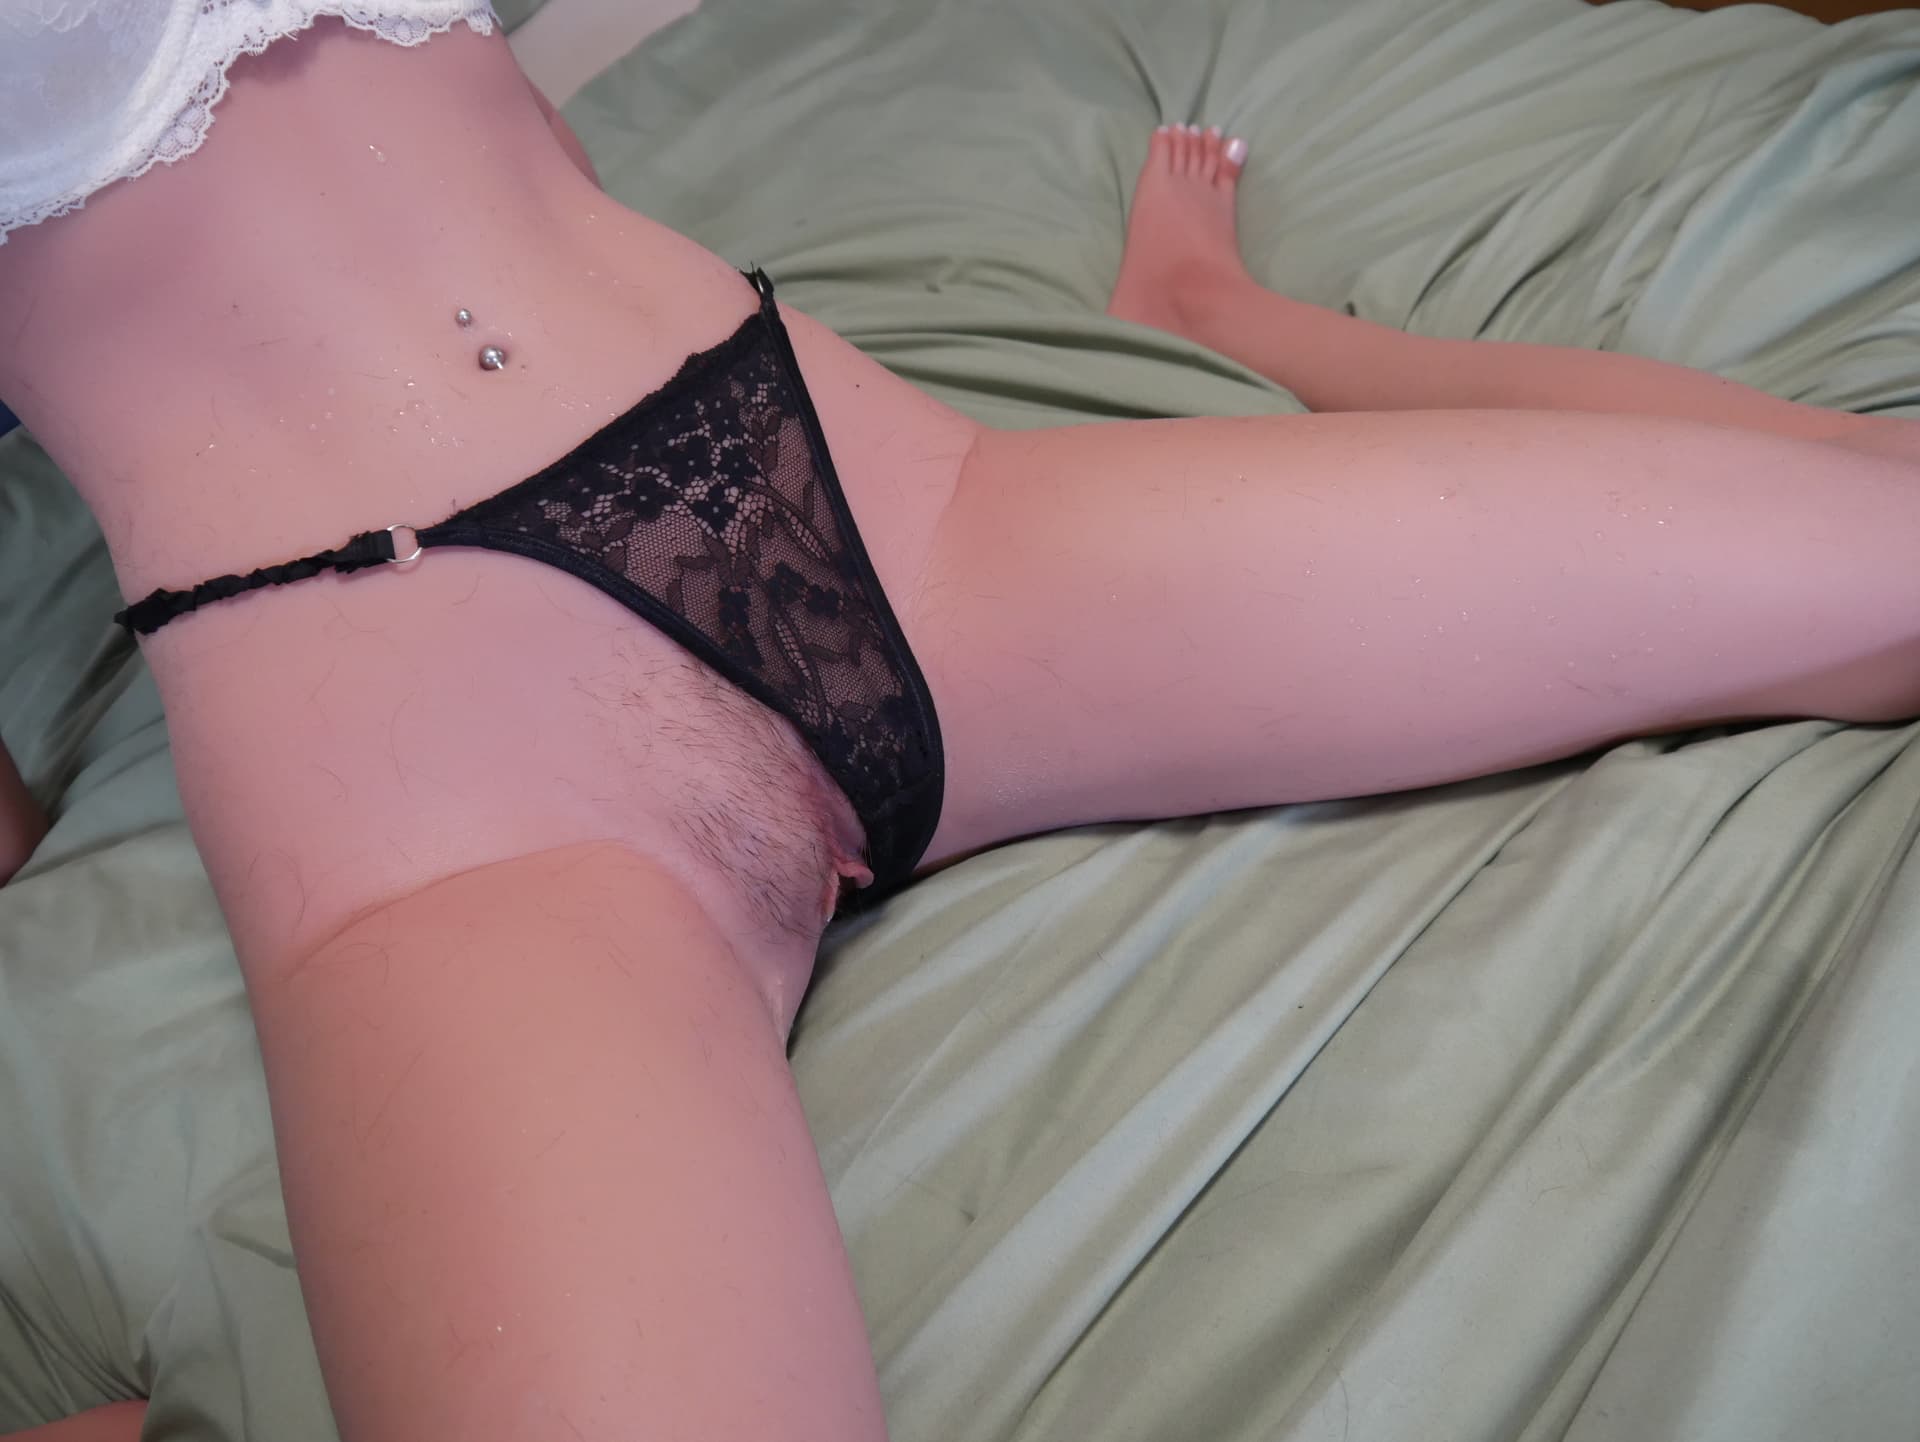
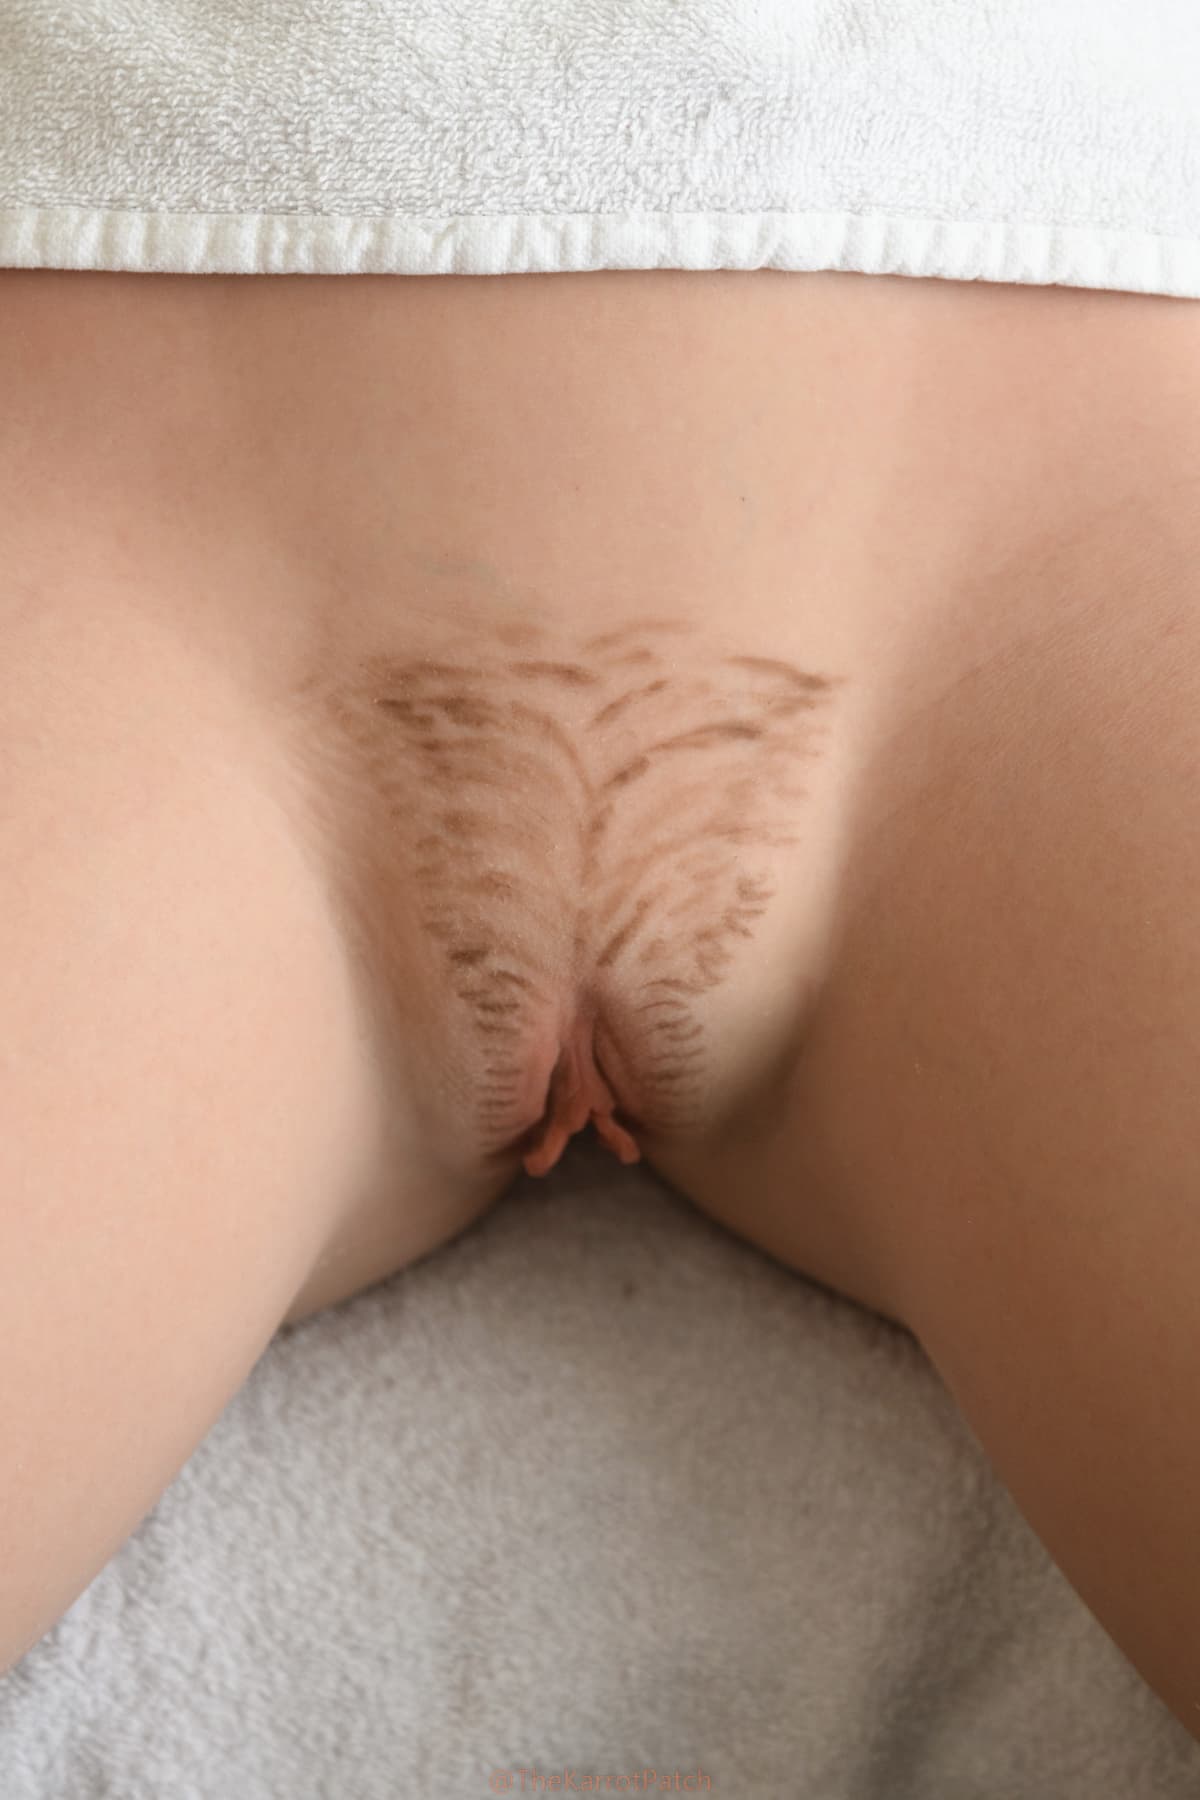
Marker, Patch, or Paper Template
Before punching the hair, I used a patch to draw out the shape with a marker.
This helped me visualize the area and ensured I punched the hairs in the right places.
Alternatively, you can cut a shape out of paper and use it as a stencil to guide your work.
I use a lip liner pencil as a marker, which works great and can be easily removed during a shower with a little mild soap.
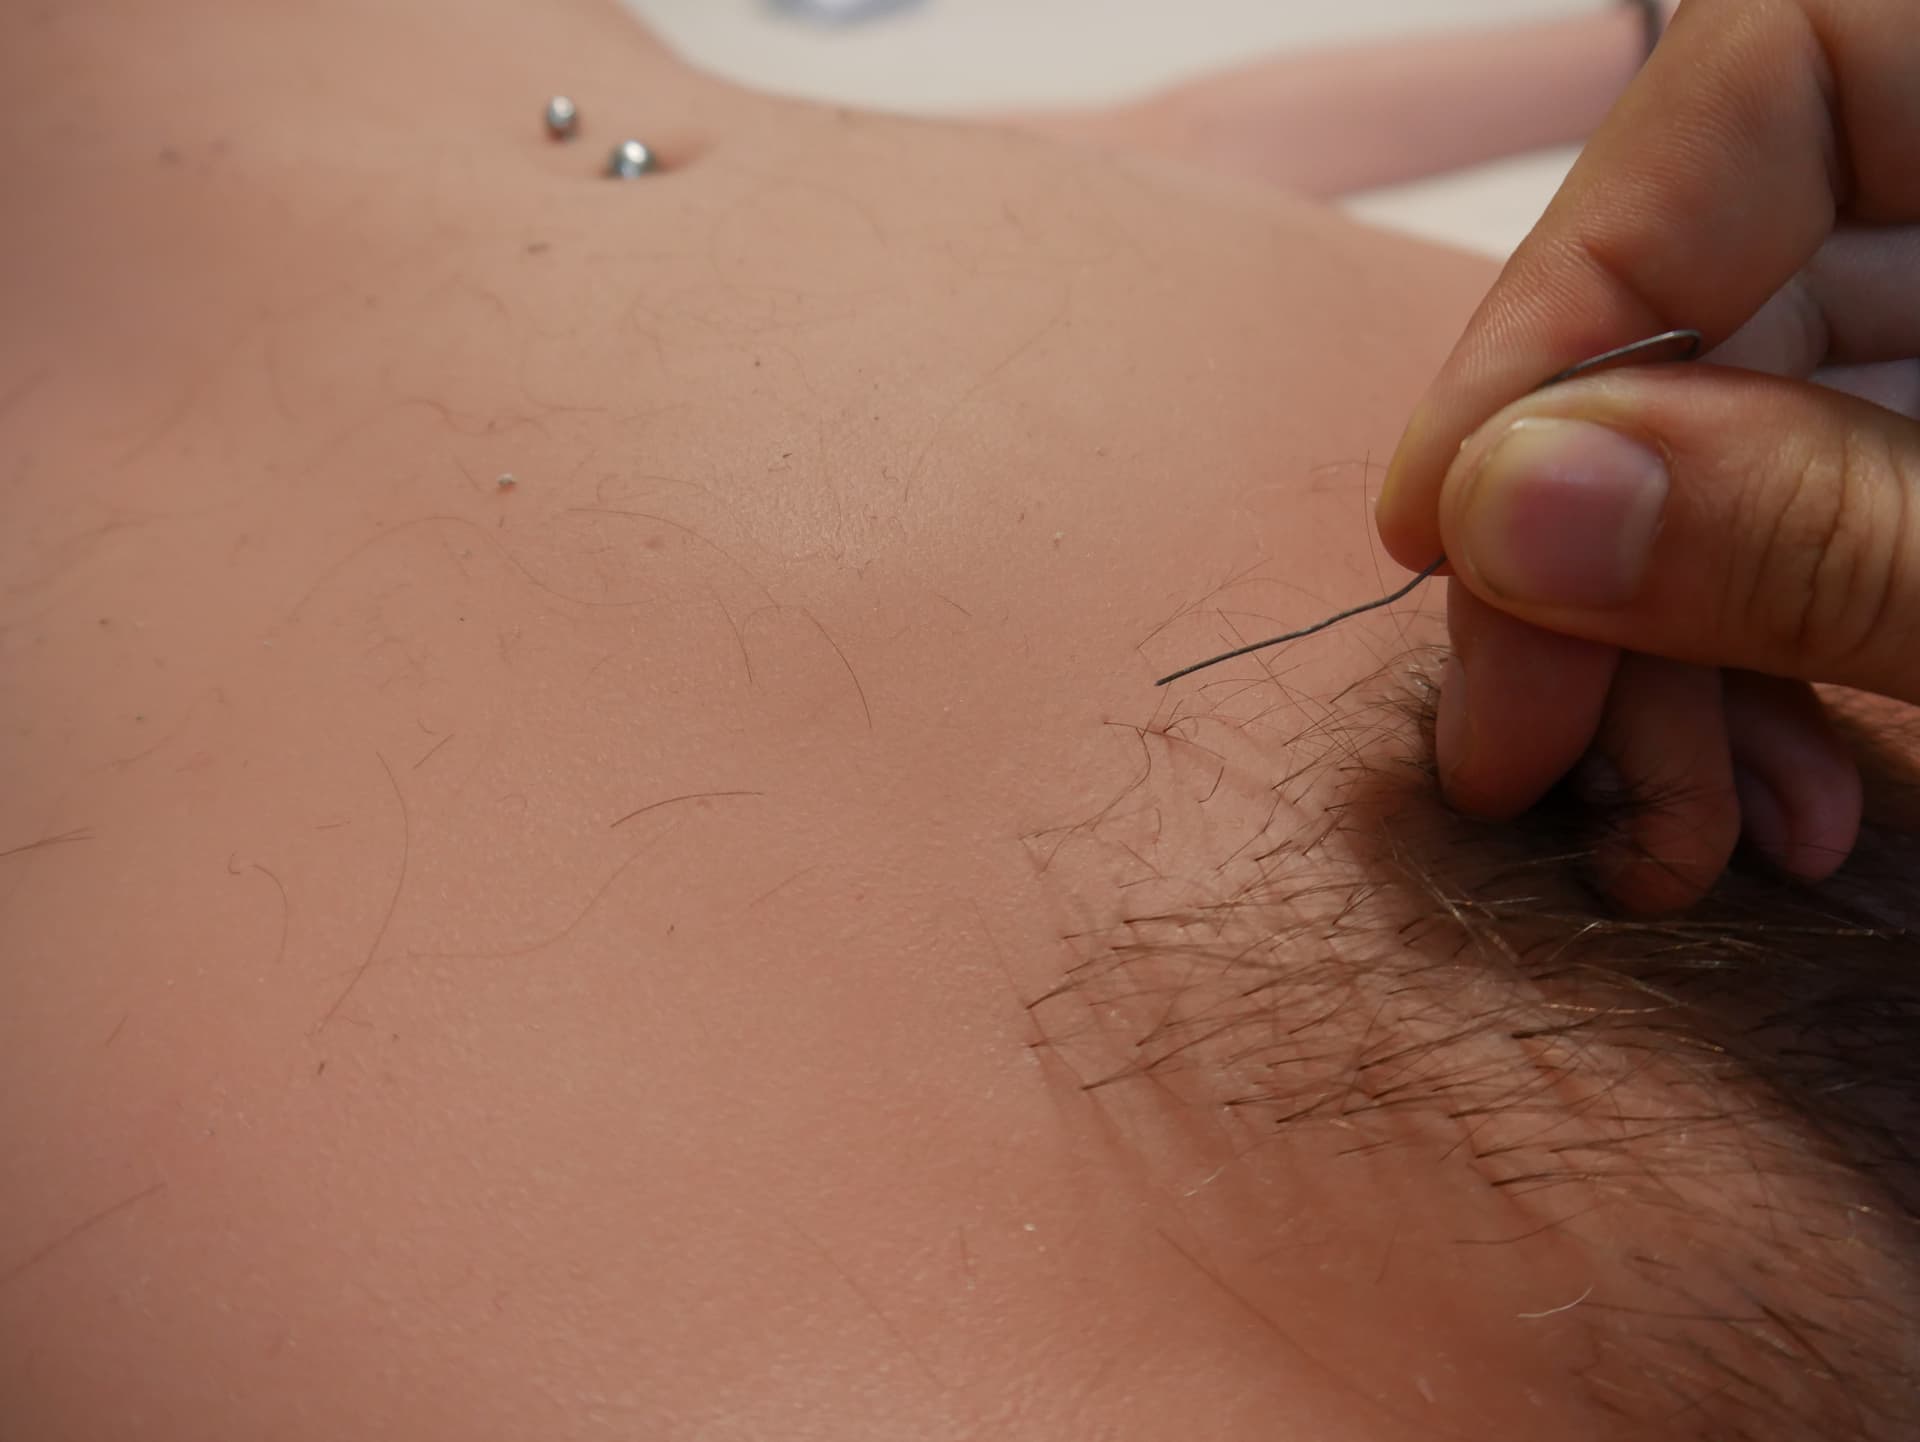
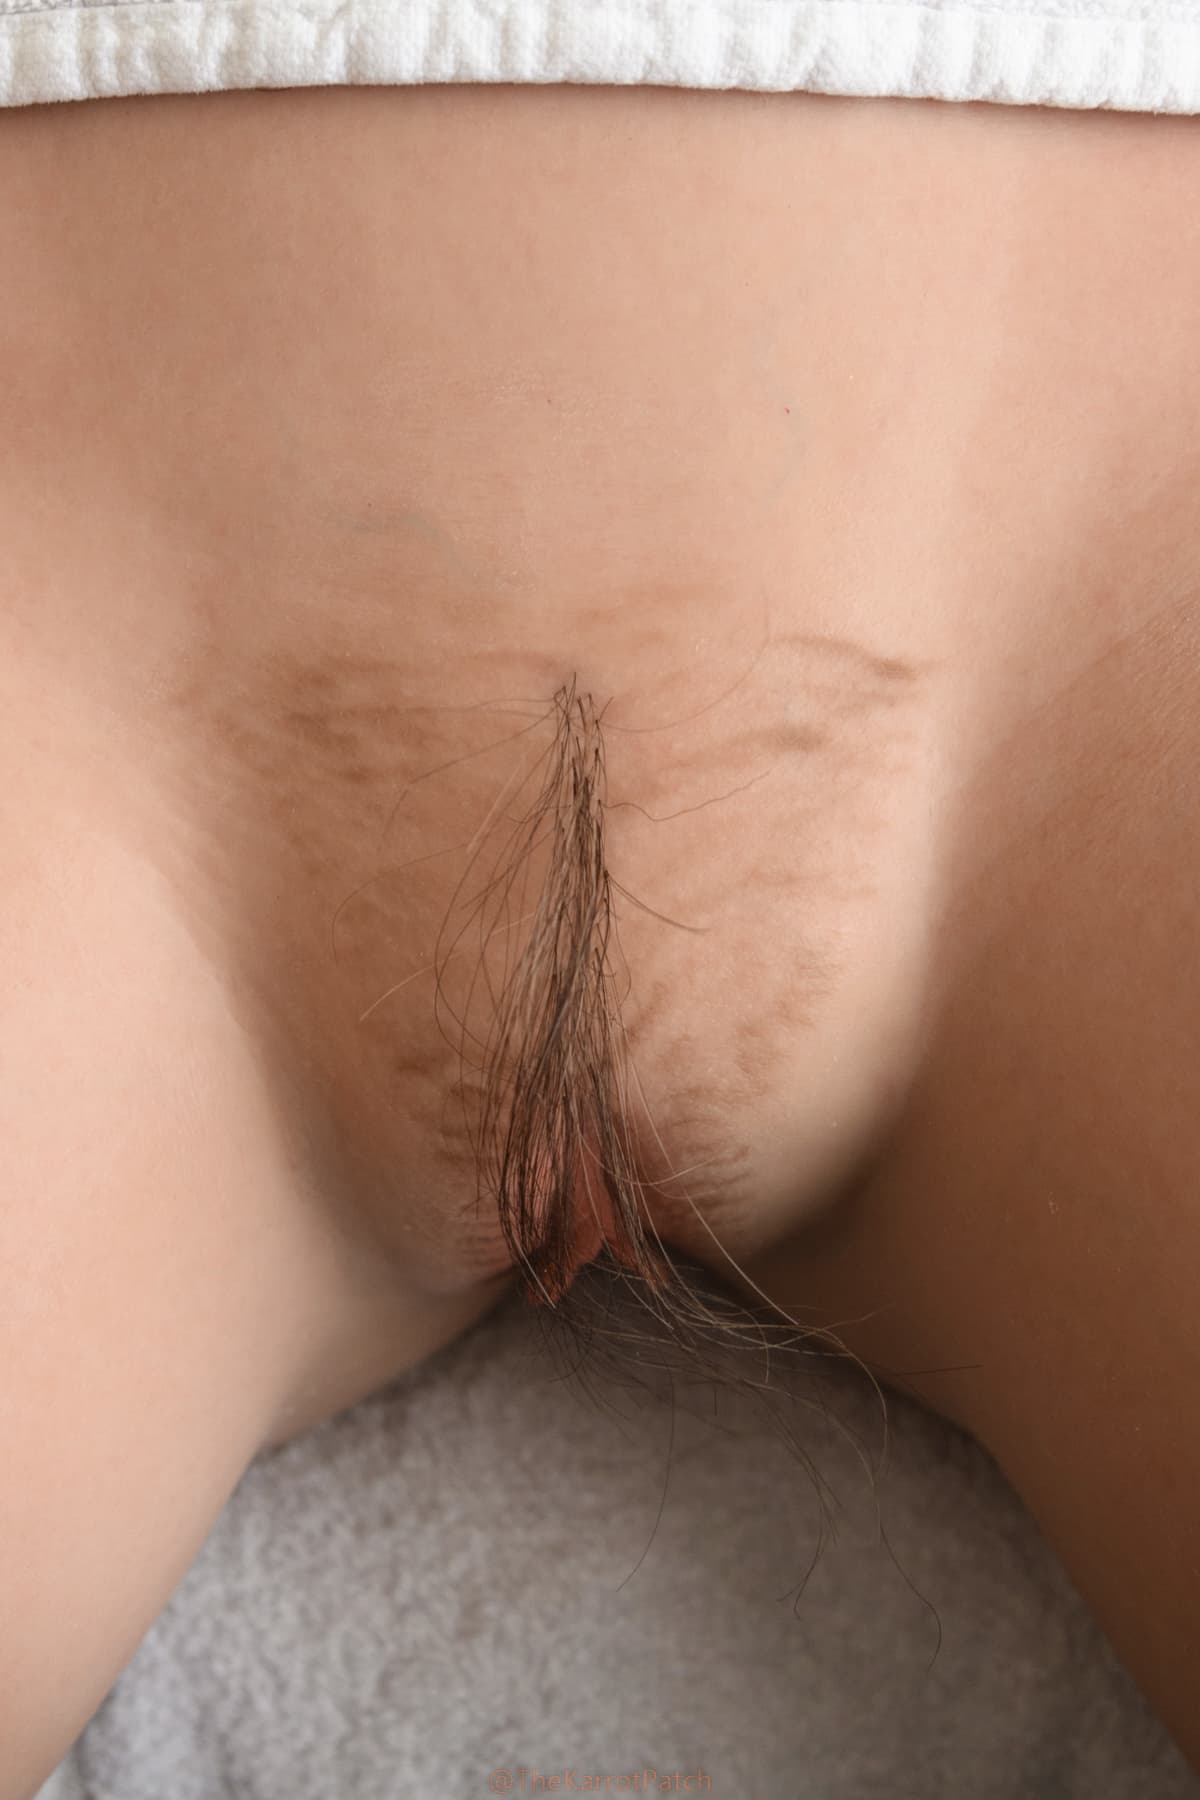
How to Punch Hair
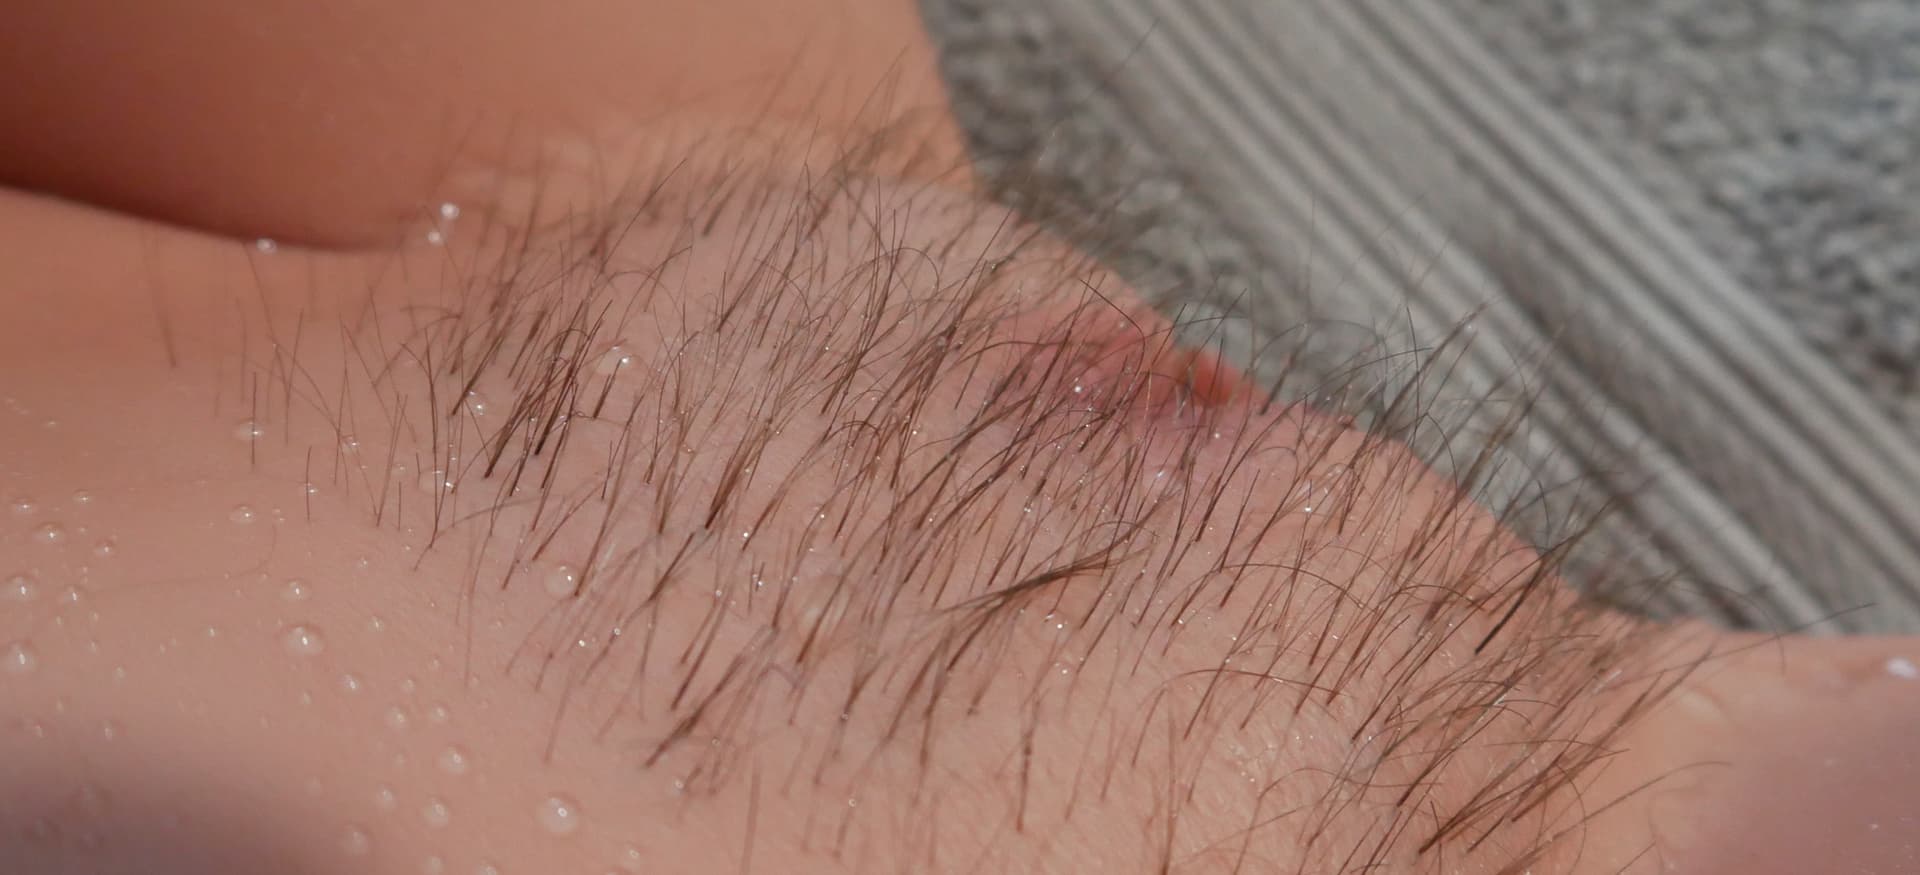
To begin, cut the hair into strands of approximately 5 centimeters.
This length is easy to work with and allows you to punch the hair cleanly into the material.
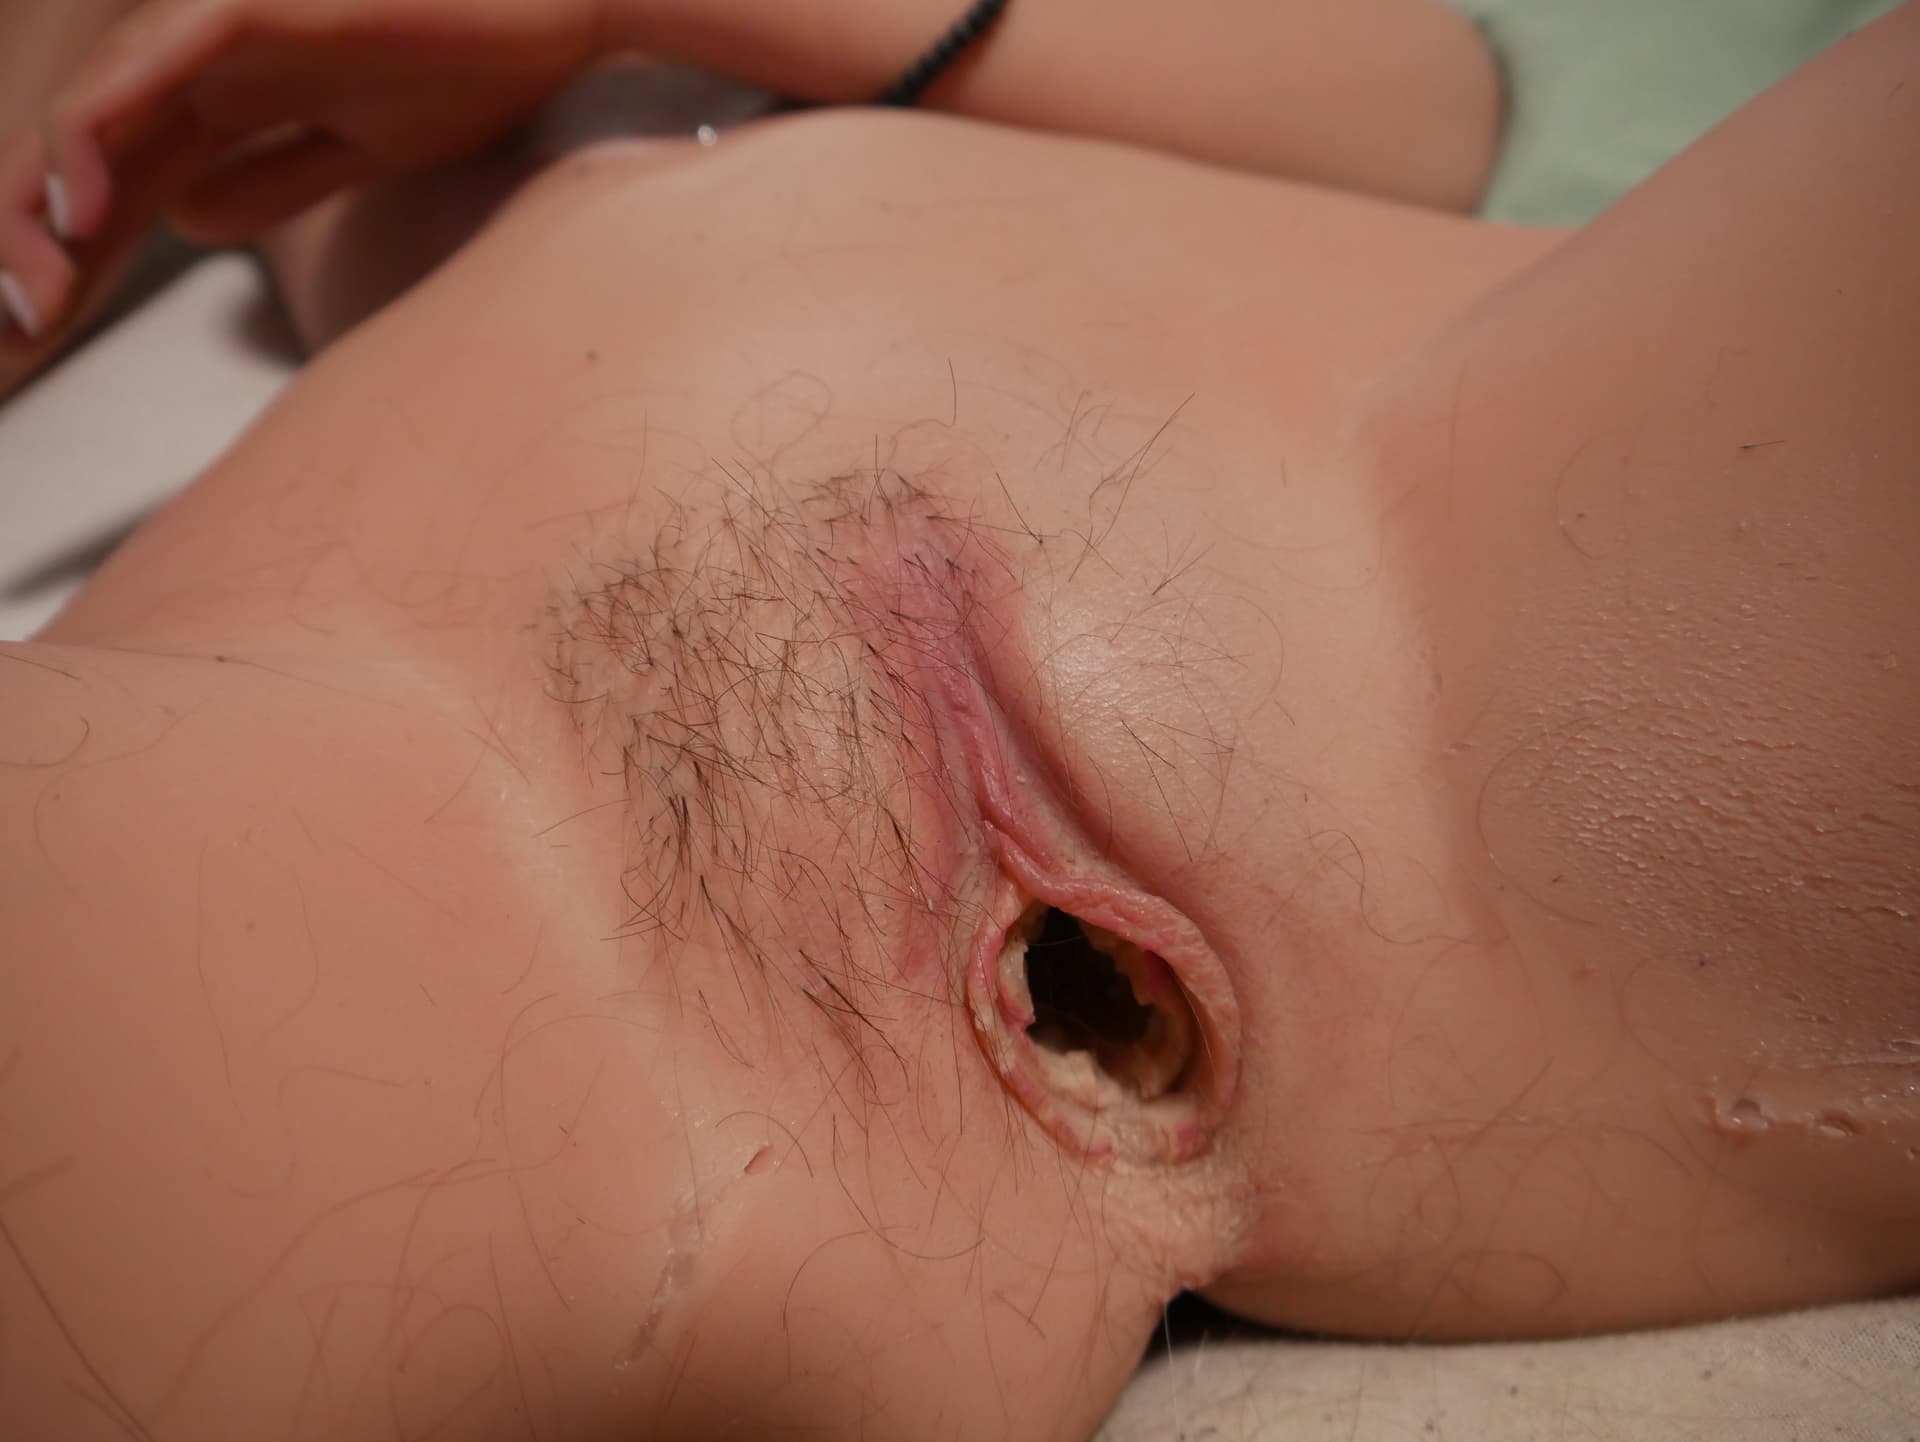
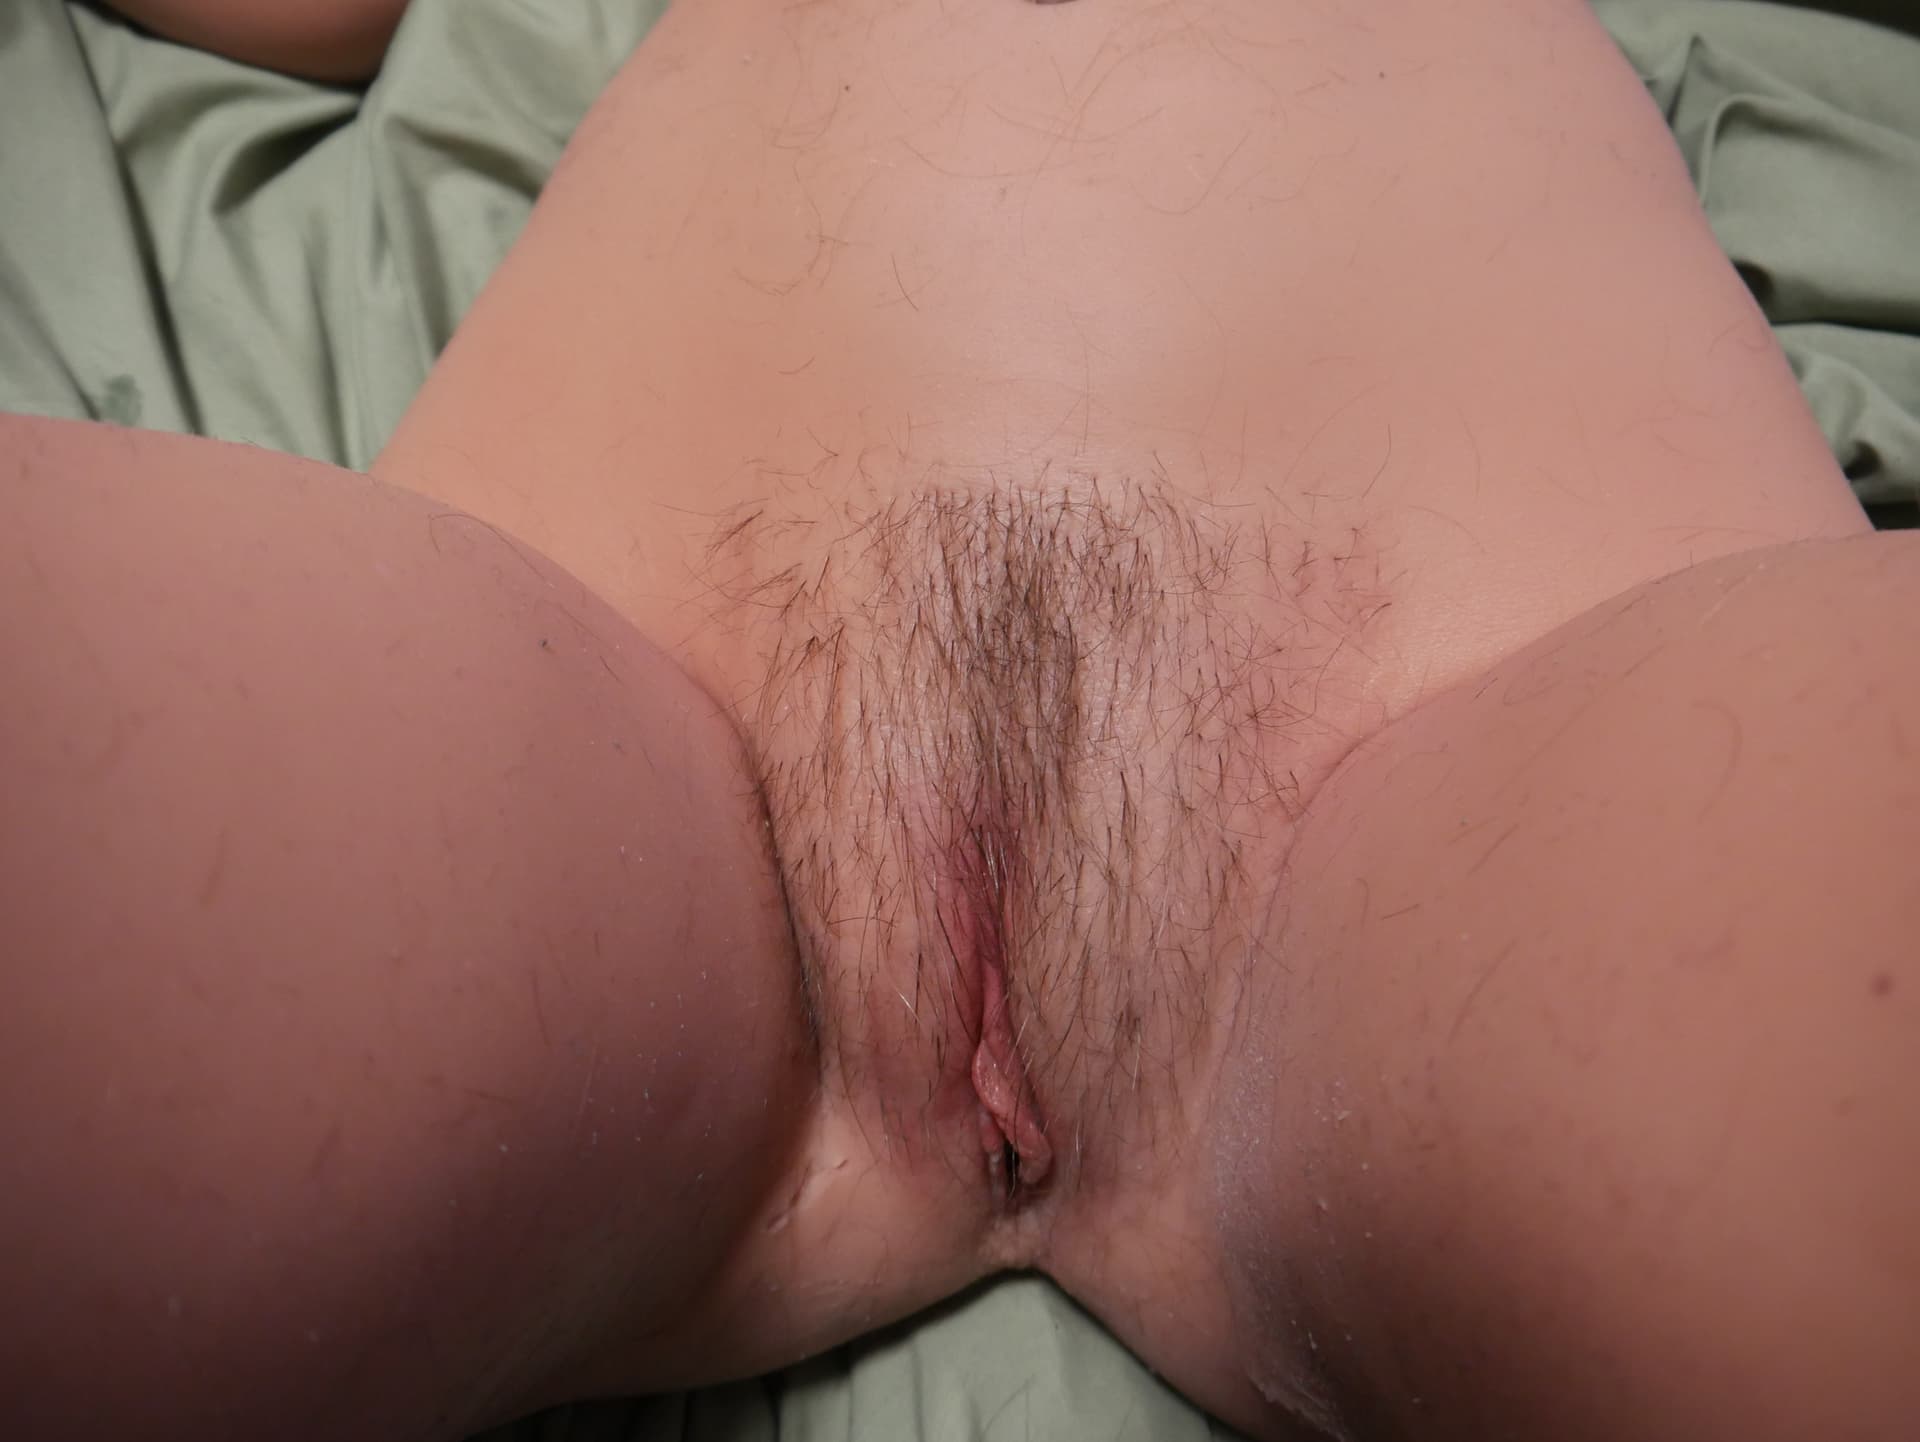
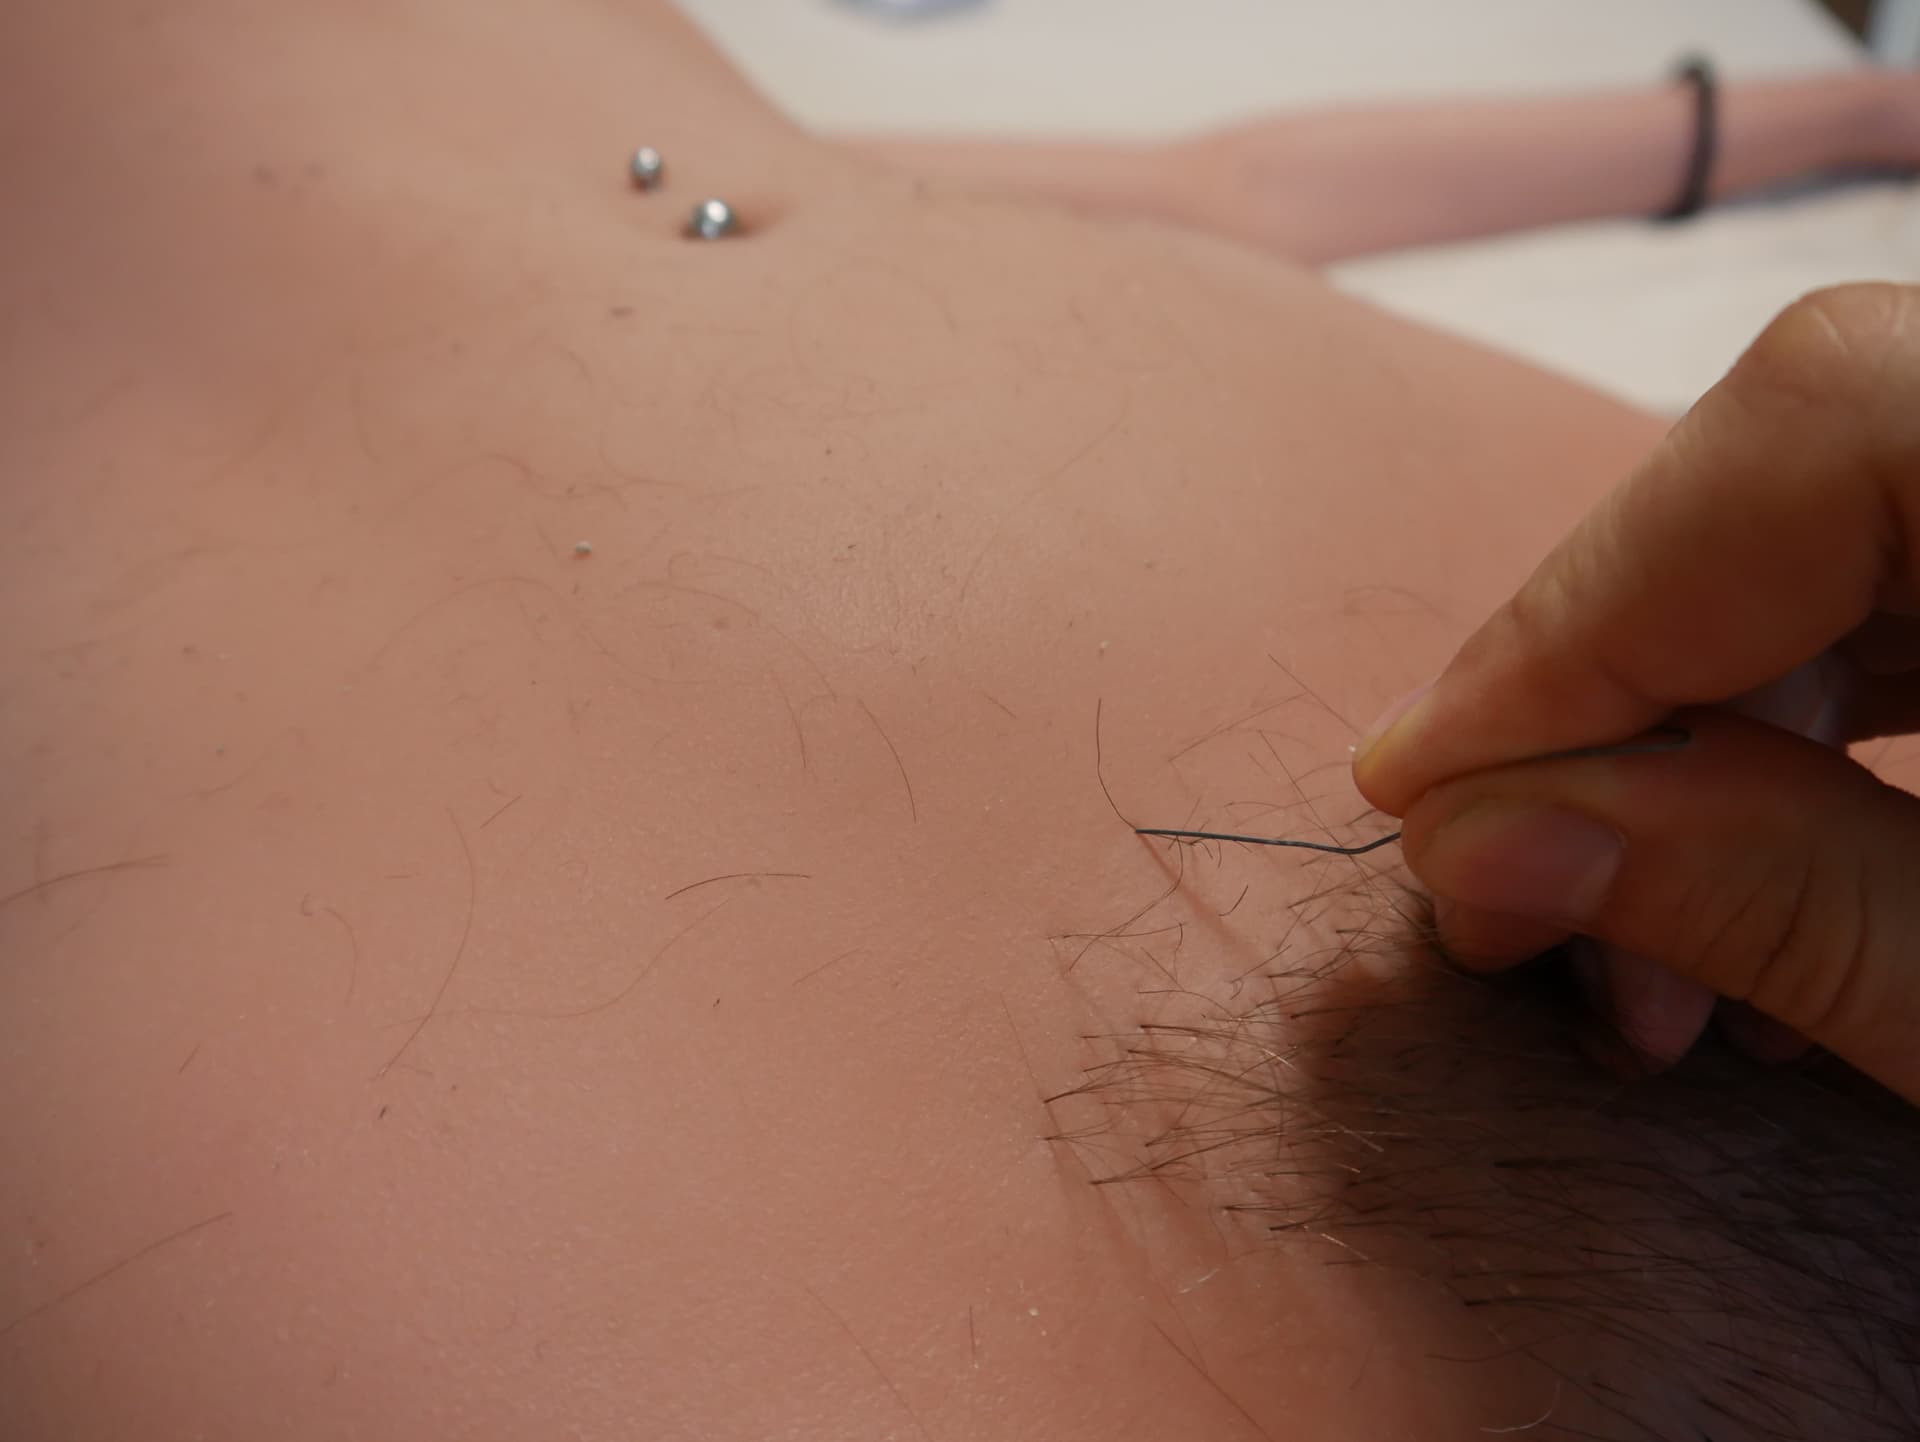
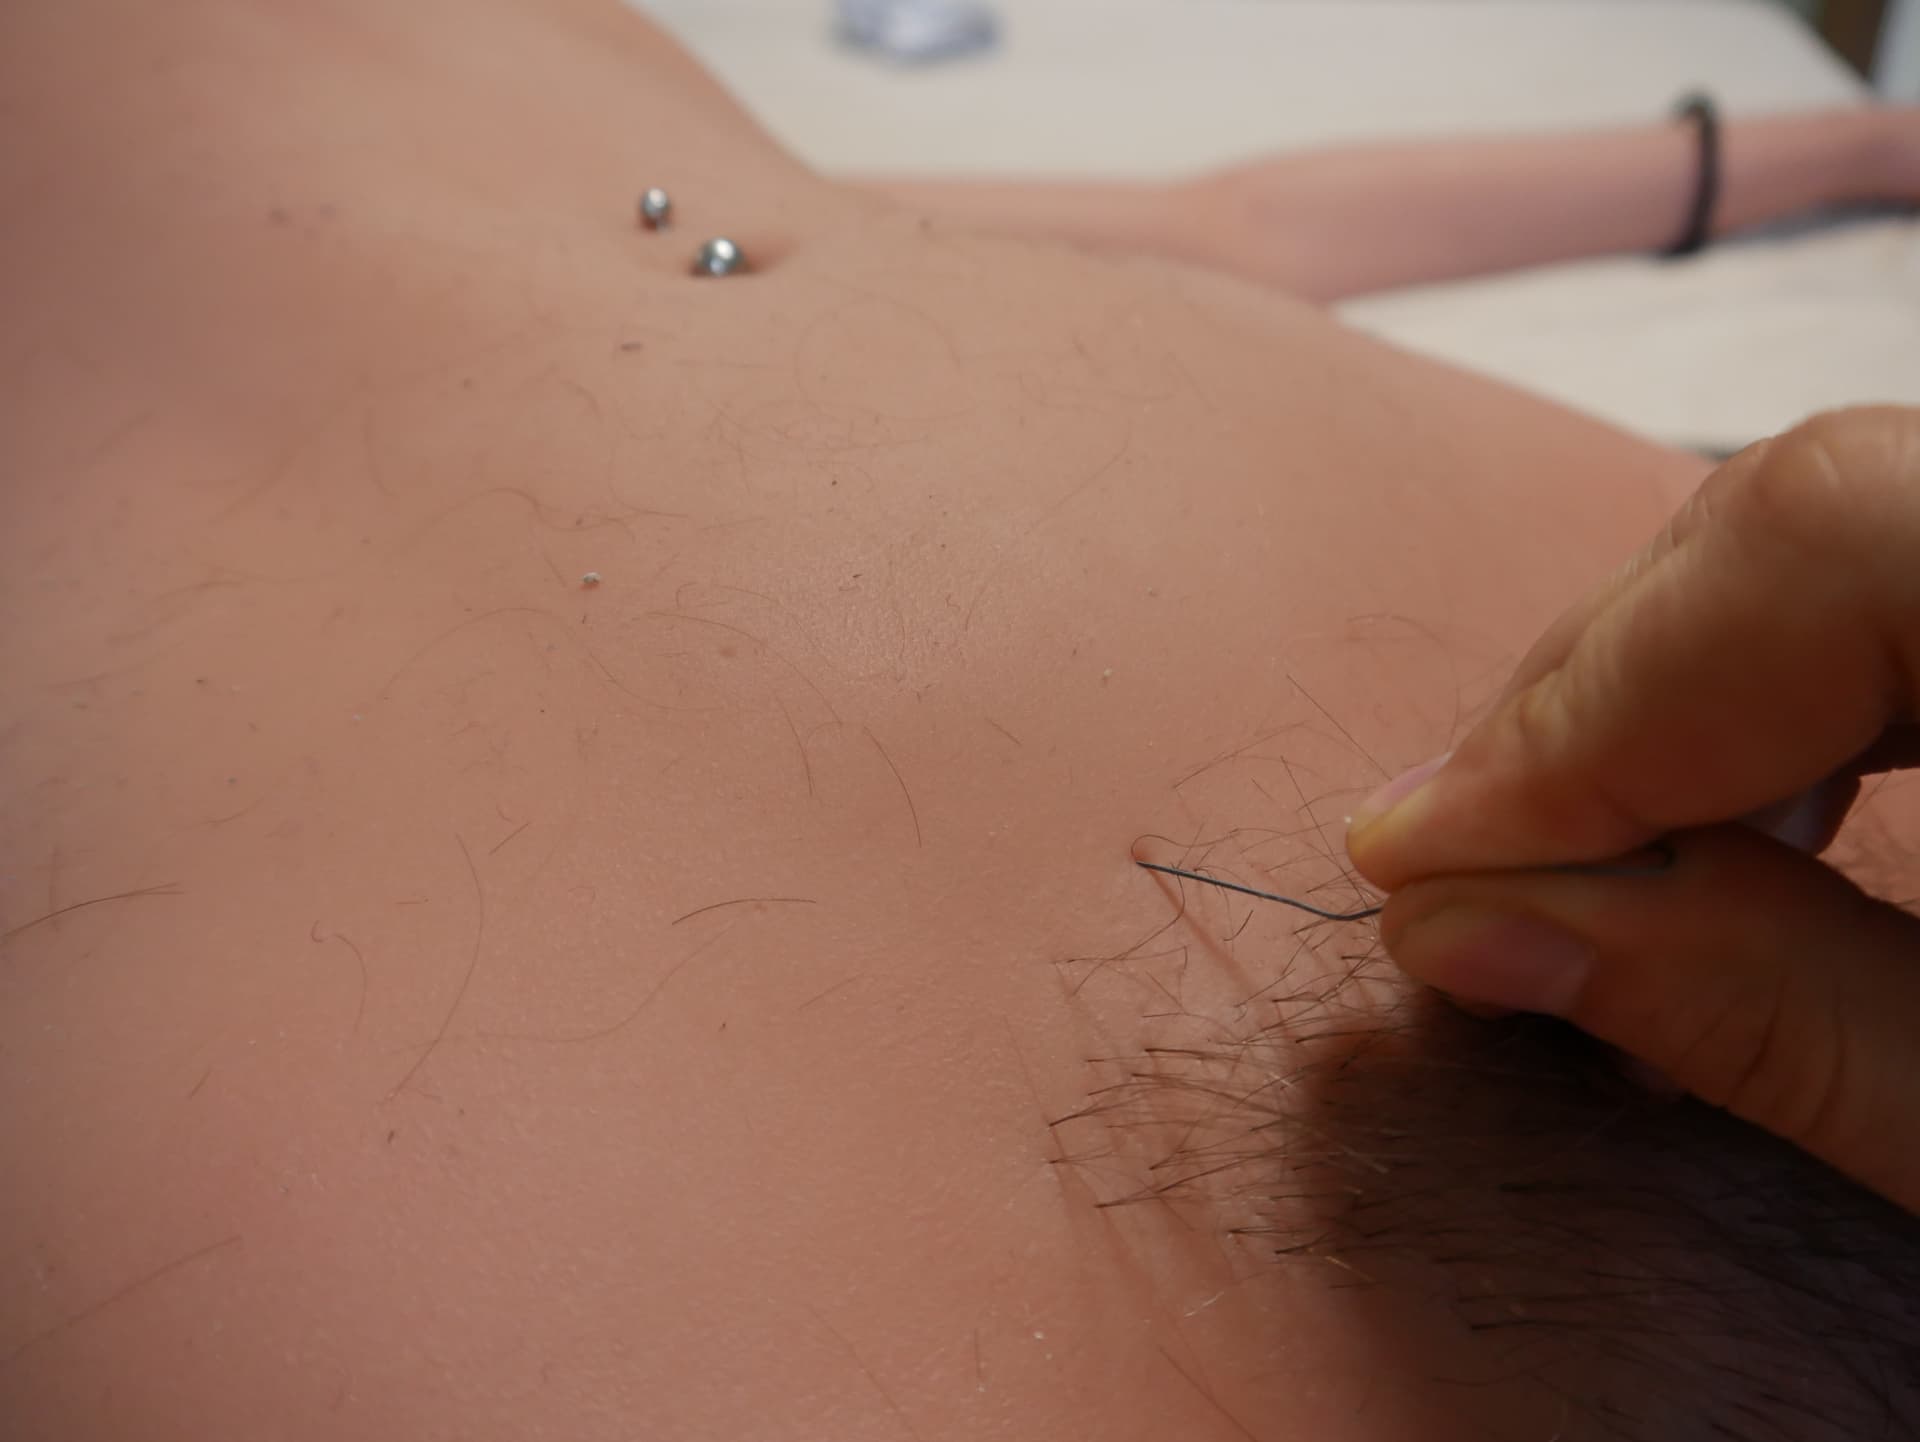
When punching the hairs into the material, make sure to do it at a natural angle.
It’s also important to work from the bottom upwards. This ensures that the hairs you’ve already punched in won’t get in the way while you work on the upper sections.
Using the shape you’ve drawn or the stencil as a guide, work methodically to fill in the area.
Once you’ve practiced and gotten the hang of the technique, the entire process typically takes no more than 15 minutes to complete. It’s a quick and efficient method!
If you make a mistake or don’t like how it looks, don’t worry—hairs can be easily removed by gently pulling them out with tweezers. Practice on a less visible area first if you’re a beginner.
Maintenance and Adjustments
It’s normal for some hairs to fall out over time. My experience is that every few weeks,
I need to touch up the area by punching in a few new hairs to keep it looking full.
This is a quick and simple process, so don’t worry if you notice some thinning.
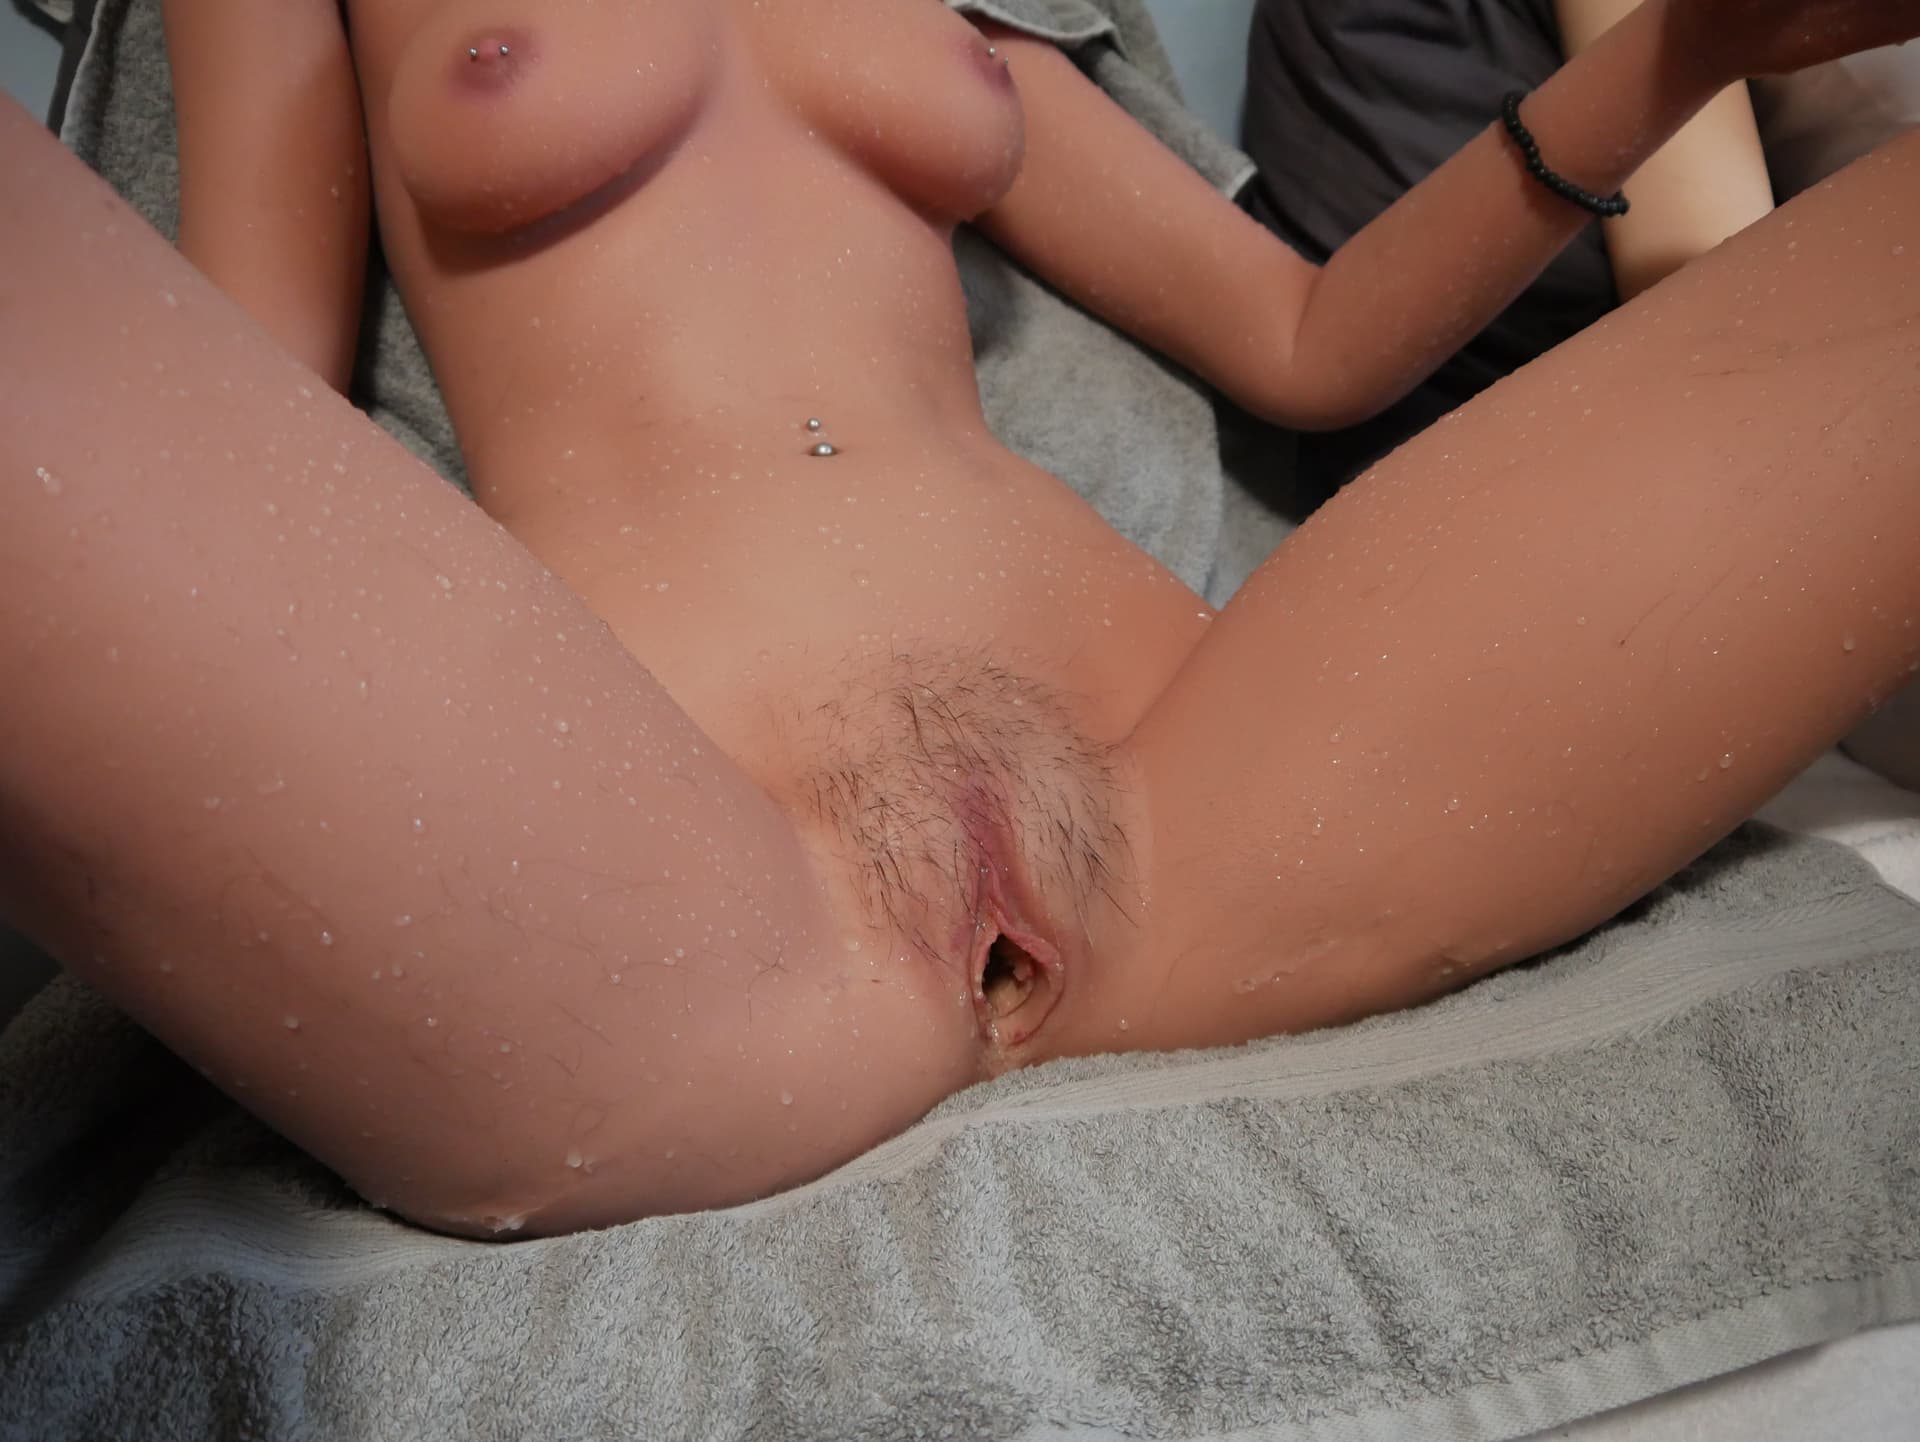
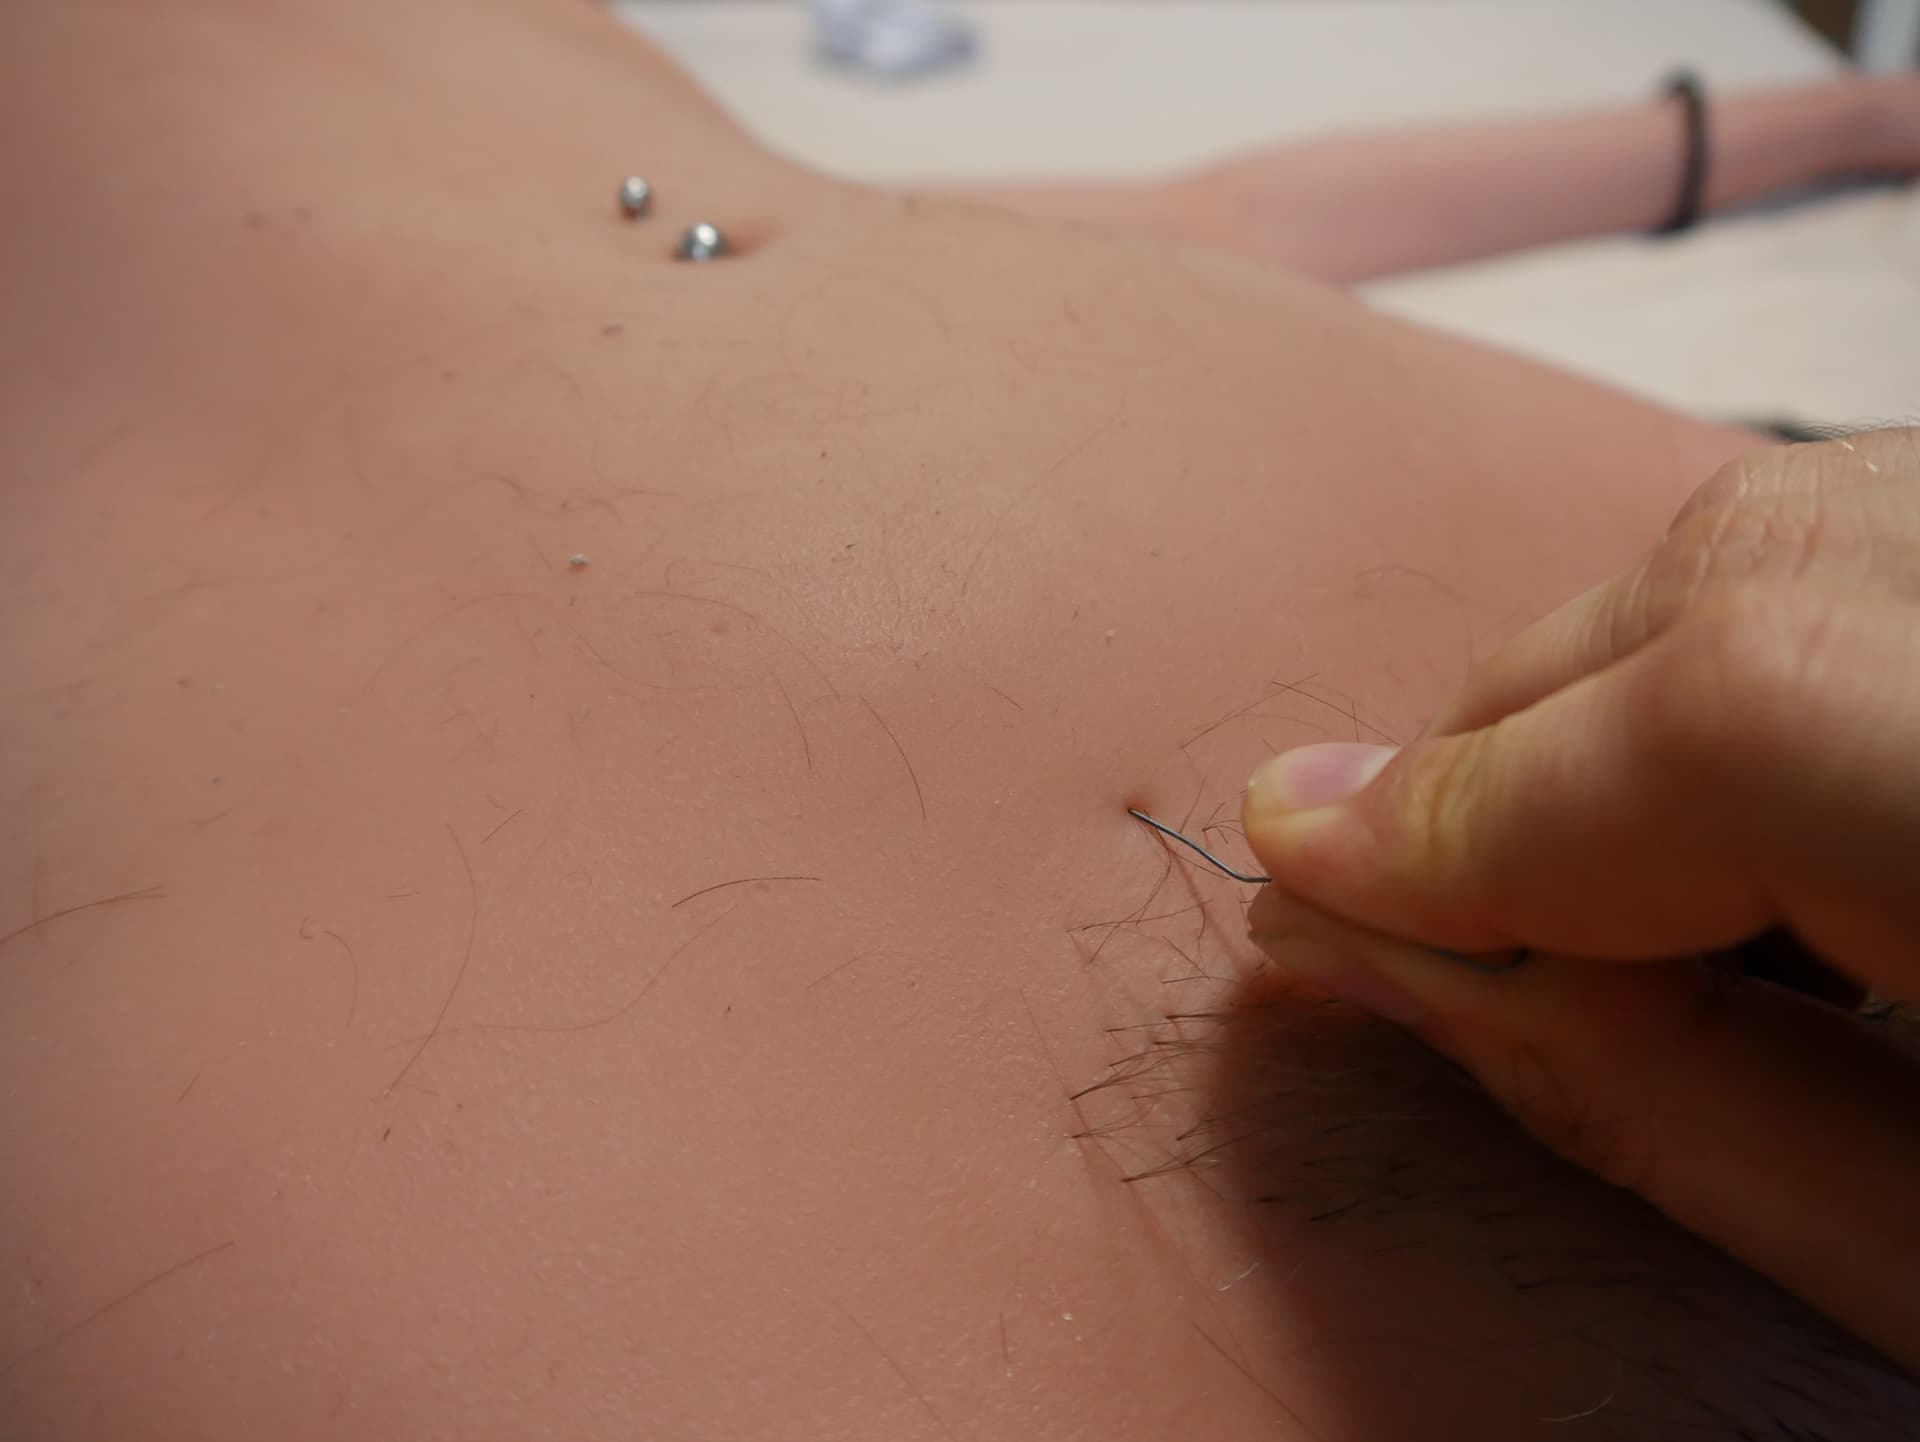
After trimming the hair, you’ll likely notice some loose hairs sticking to the material.
A simple shower will easily rinse away any loose hair, leaving the area clean and looking fresh.
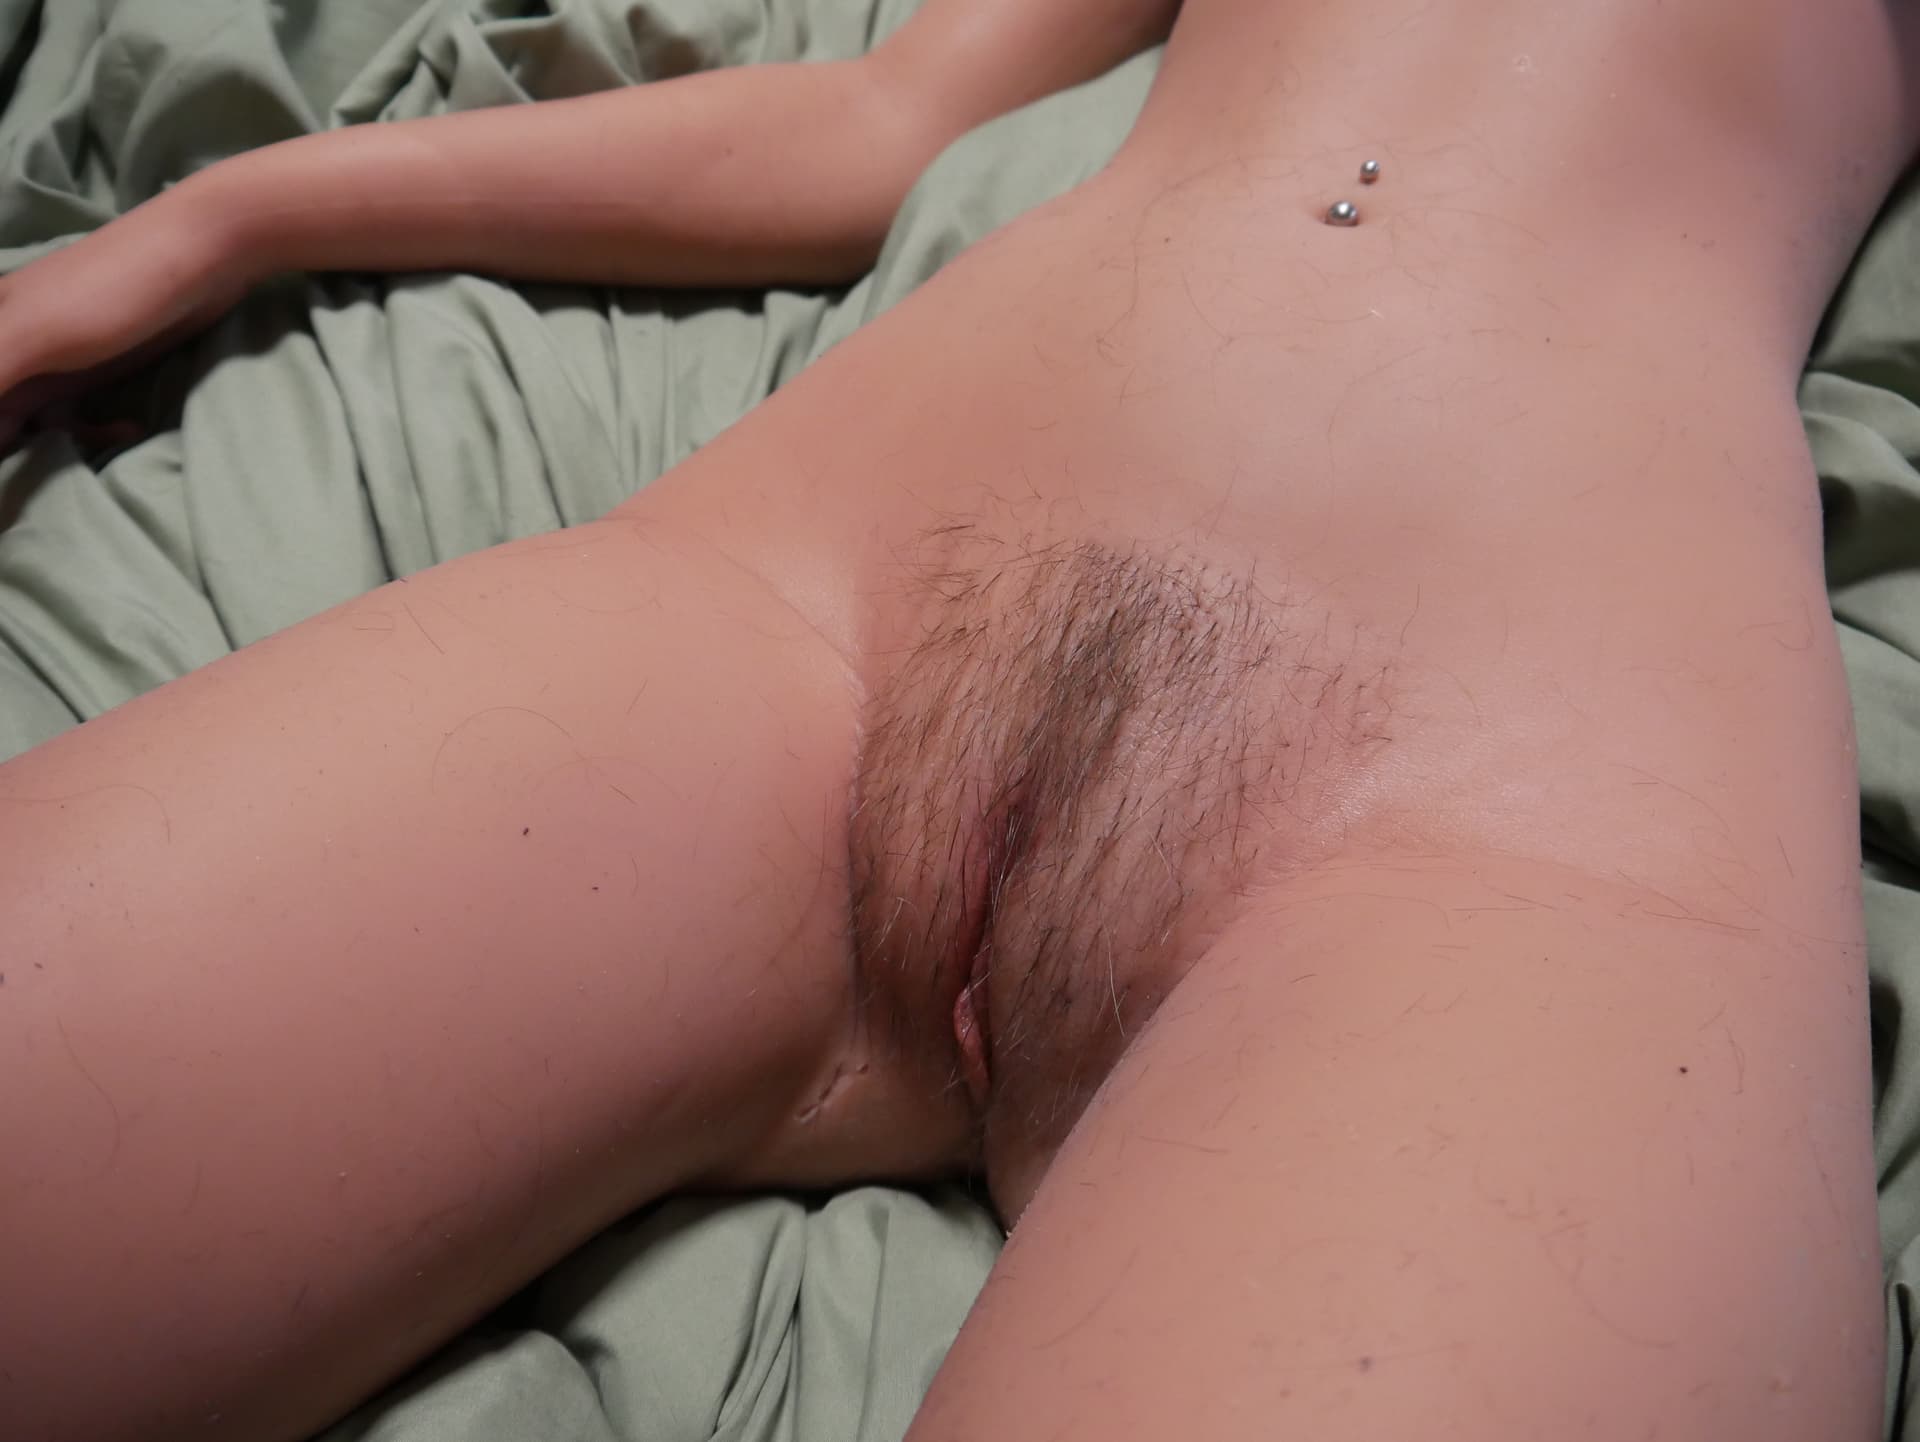
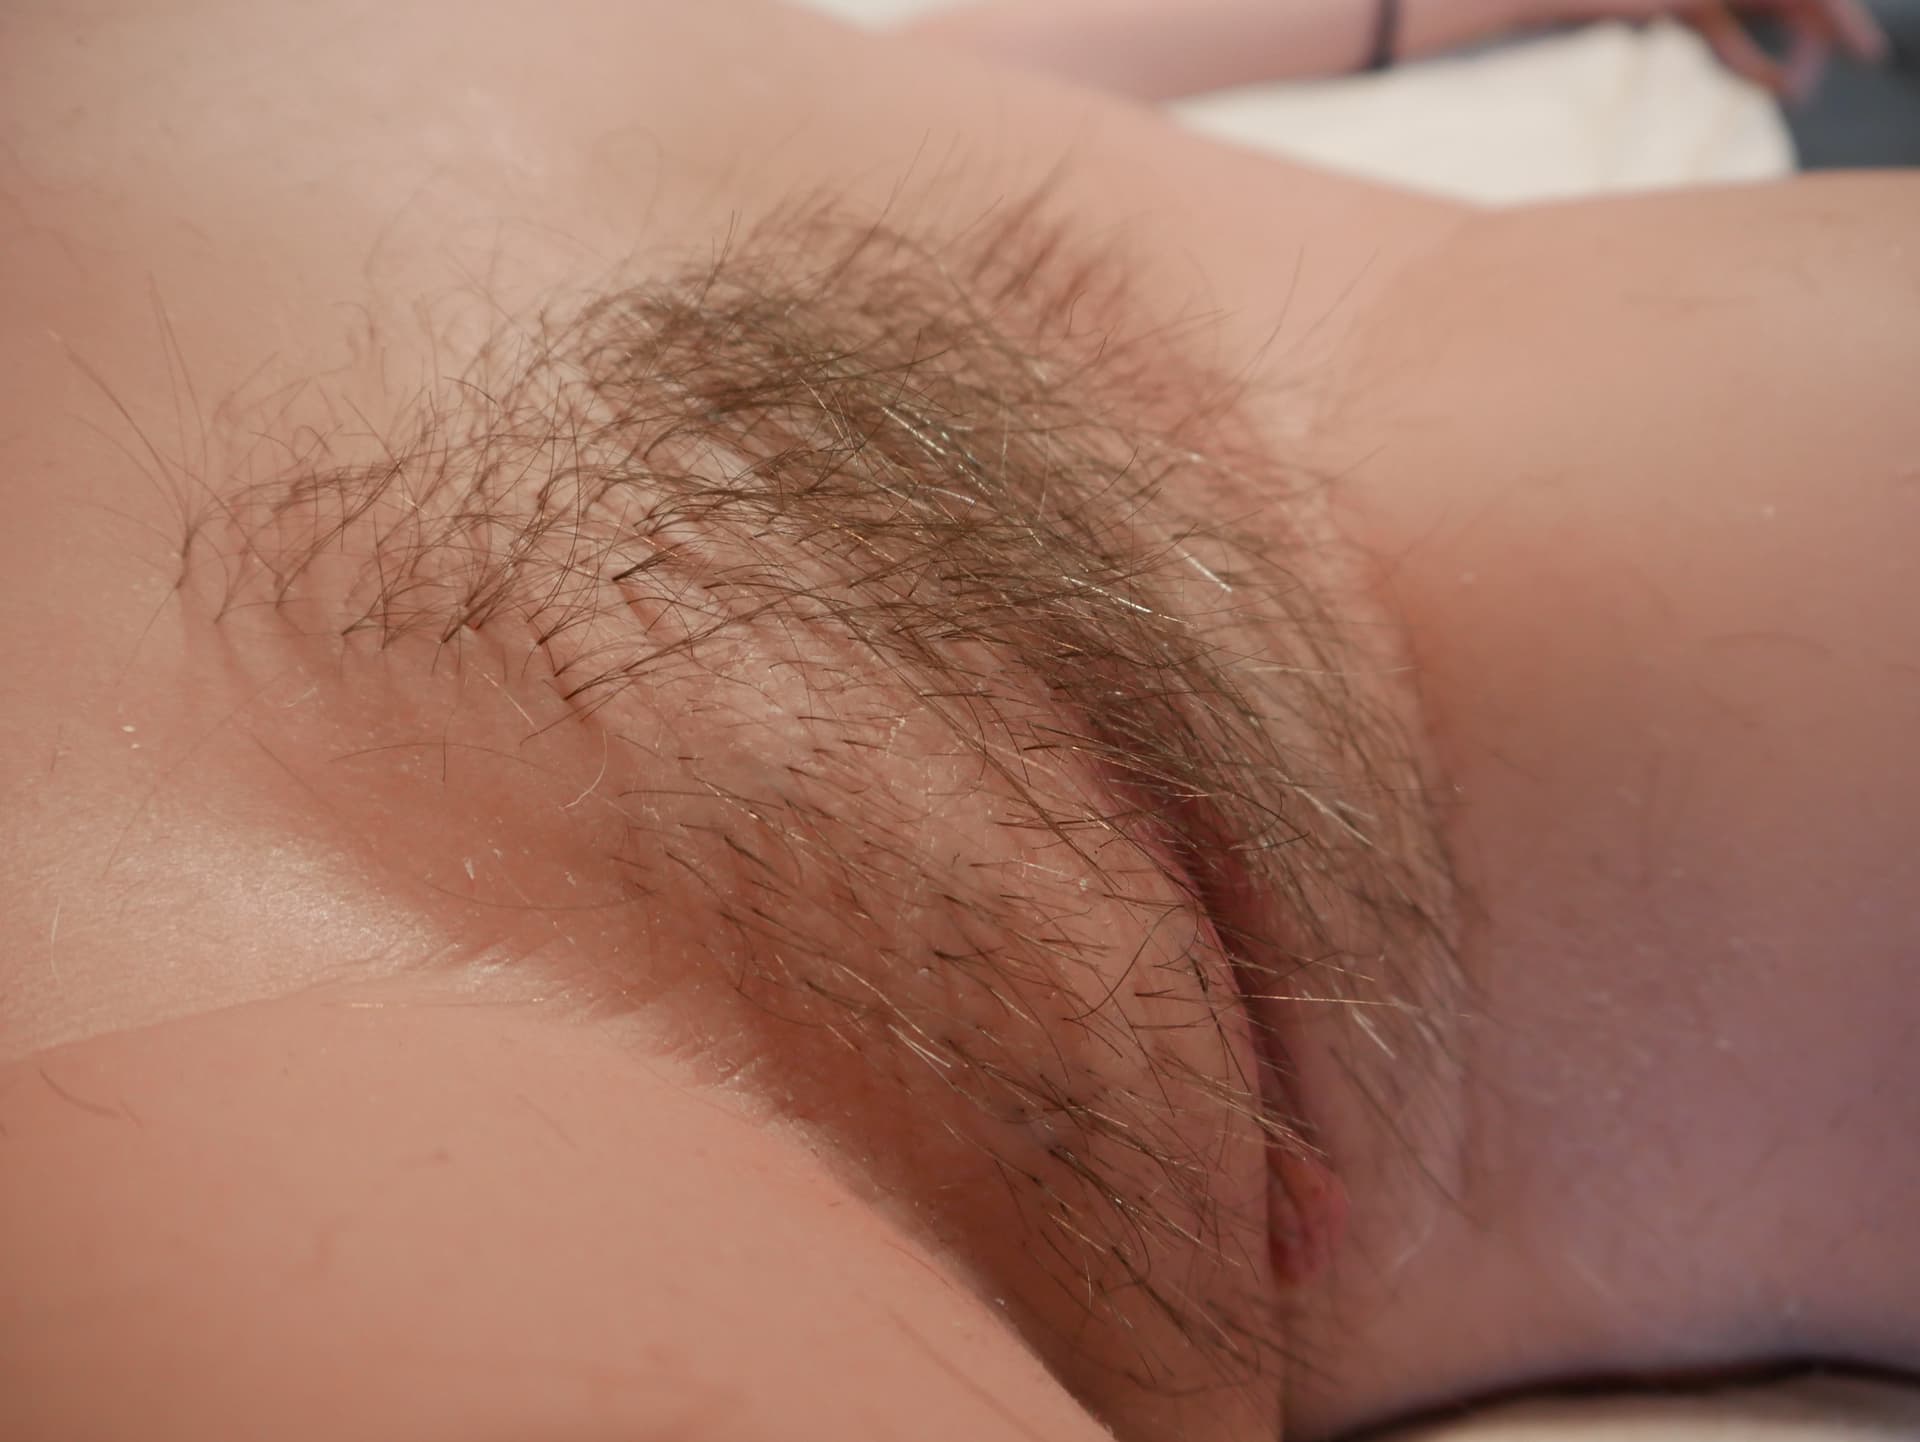
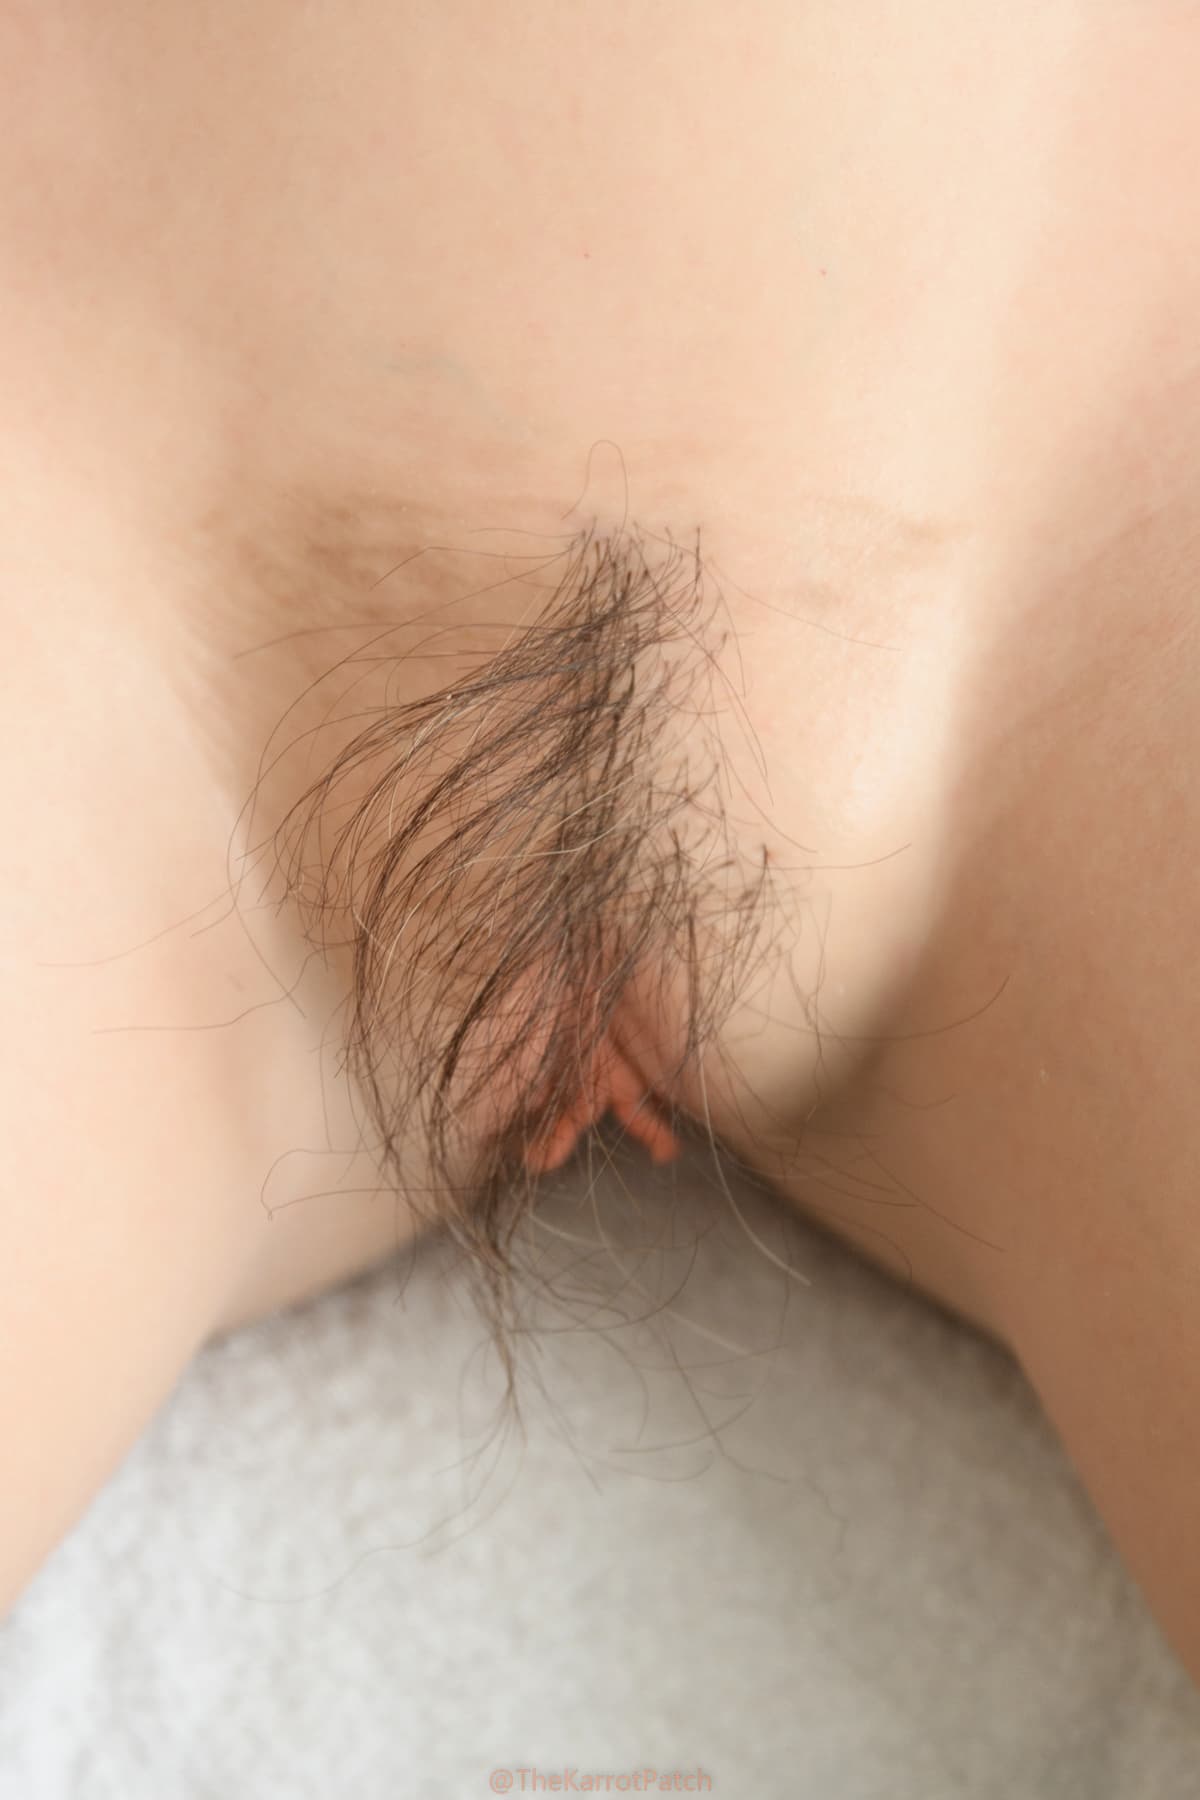
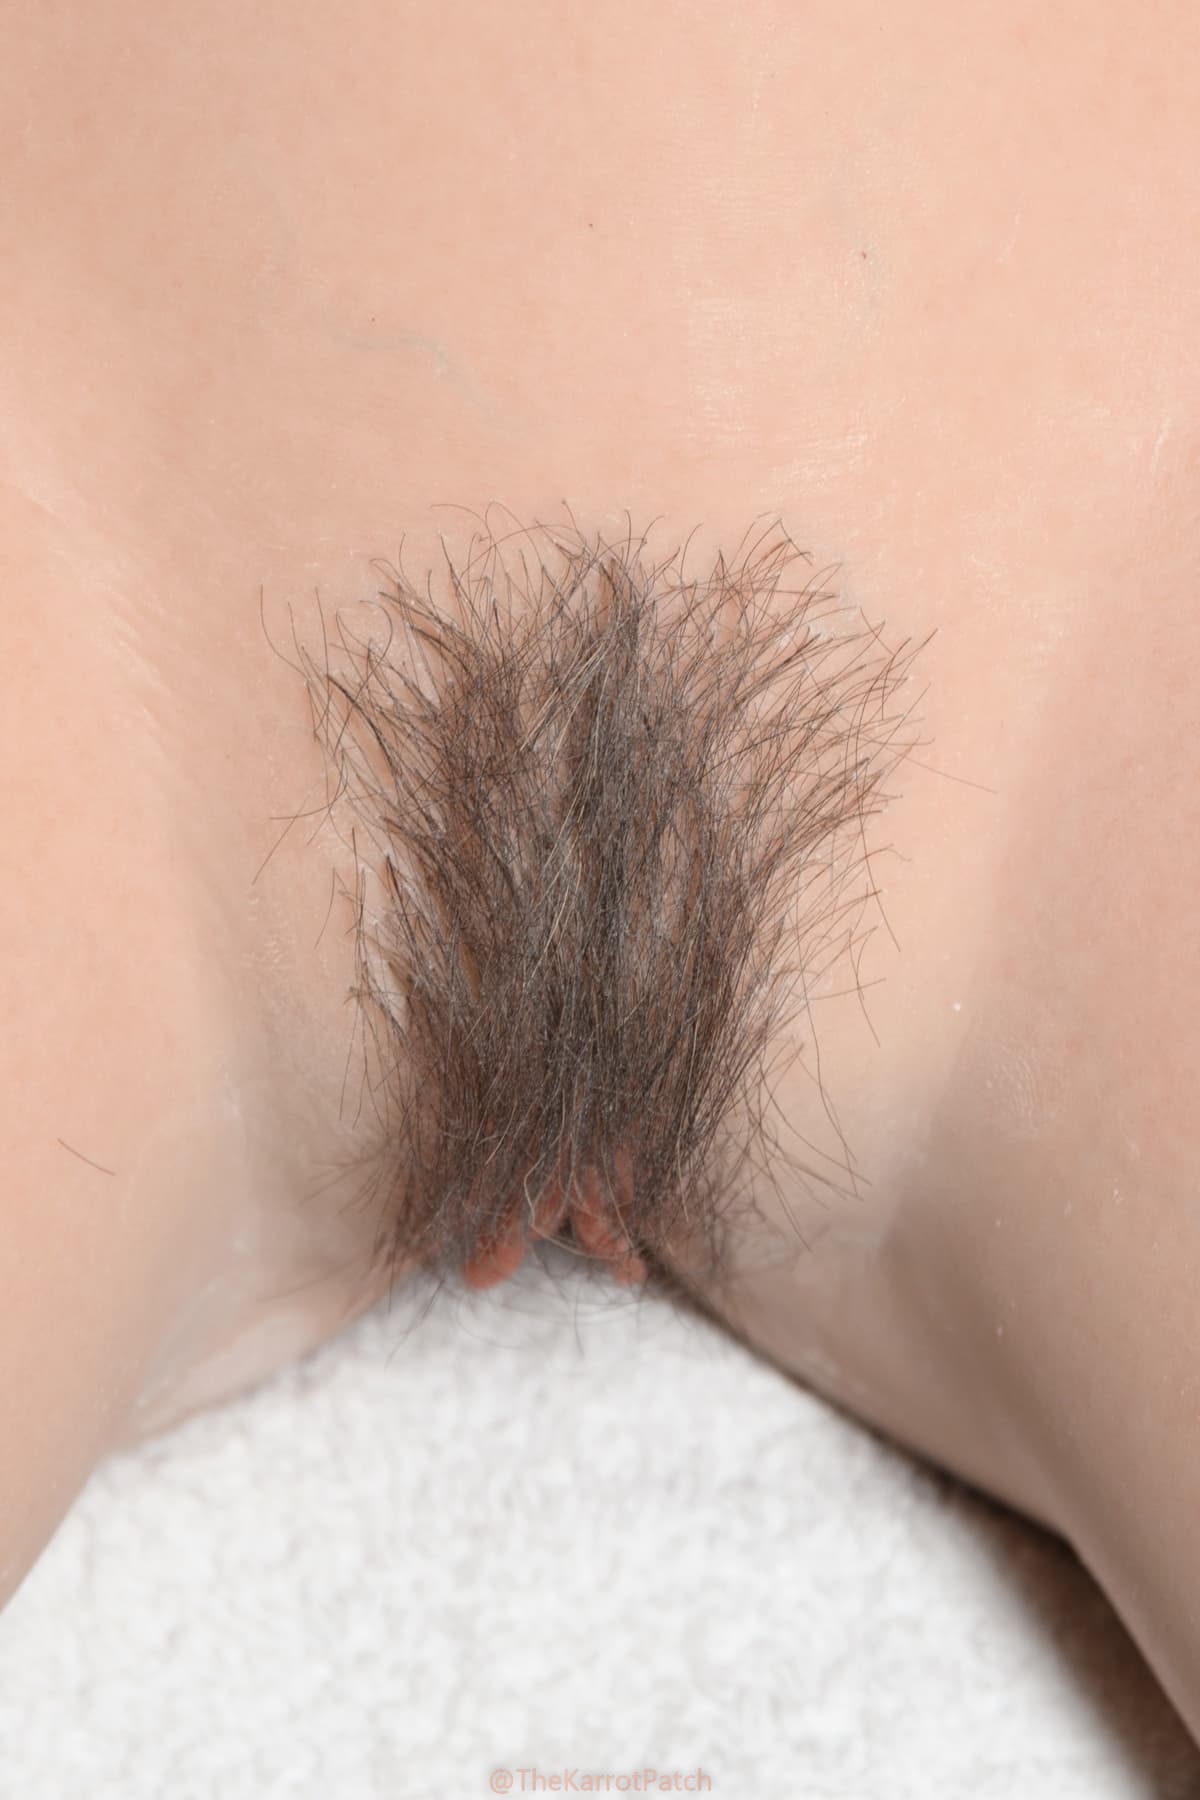
To maintain the look, trim the hairs carefully with sharp scissors to the desired length.
If you decide to remove or redo the work later, you can do so without damaging the surface.
Final Thoughts
It’s a fun and rewarding technique to learn, and the results are truly impressive.
Just watch the video to see how easy it is! If you have any questions,
I’d love to try and answer them. Don’t be afraid to give it a try—you’ll be amazed at what you can create!
Here is the video: