How to repair a TPE doll using a hot knife and heat gun?
Thanks to Mishka for sharing his process of repairing TPE dolls using a heat gun and a hot knife, and for making a video demonstration. We hope this will be helpful for friends who want to try repairing TPE dolls with a heat gun and hot knife!
You can read the full article here: TPE Sex Doll Repair with Hot Air Gun and USB Hot Knife - Coeros
Here are the detailed contents:
Preface and Background
You may have heard about using hot air gun and a hot knife to repair TPE sex dolls. In fact, I have made a few videos describing this technique. I am planning a video to actually demonstrate the use of these same tools. For this repair, I will demonstrate how I would approach a small cut and repair it to satisfactory levels.
Objective and Workflow
Safety first!
Since we are repairing TPE sex dolls, consider working in a ventilated area, garage with door open, and fan on. You may also consider a charcoal respirator.
Using mineral (Baby oil), soak the TPE area well and clean with a paper towel. Keep the area soaked well for the entire operation. Oil soaked TPE conducts heat very well!
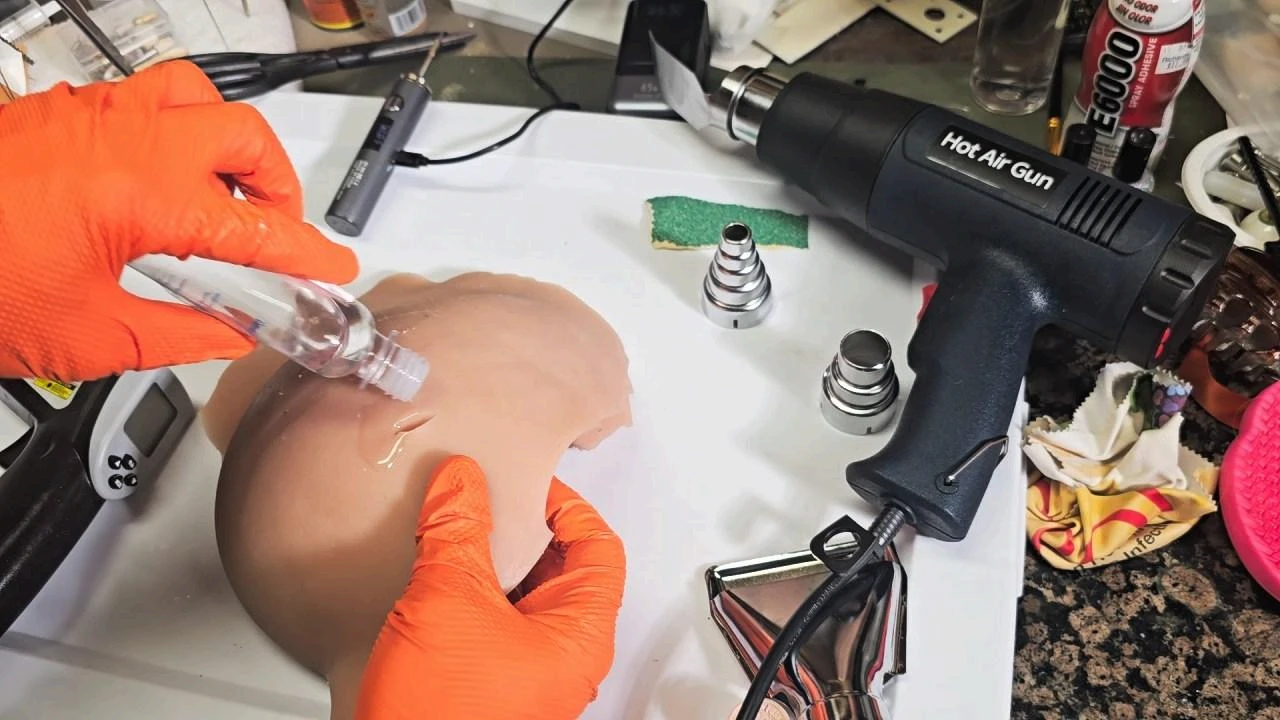
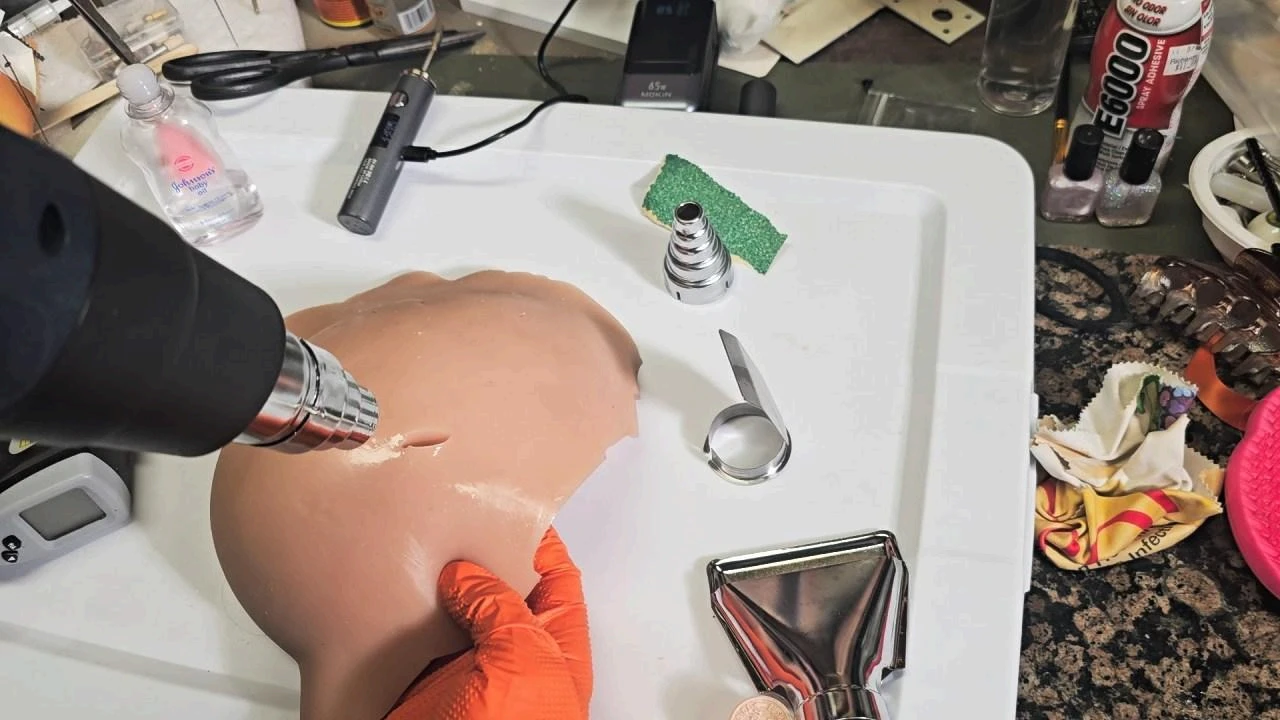
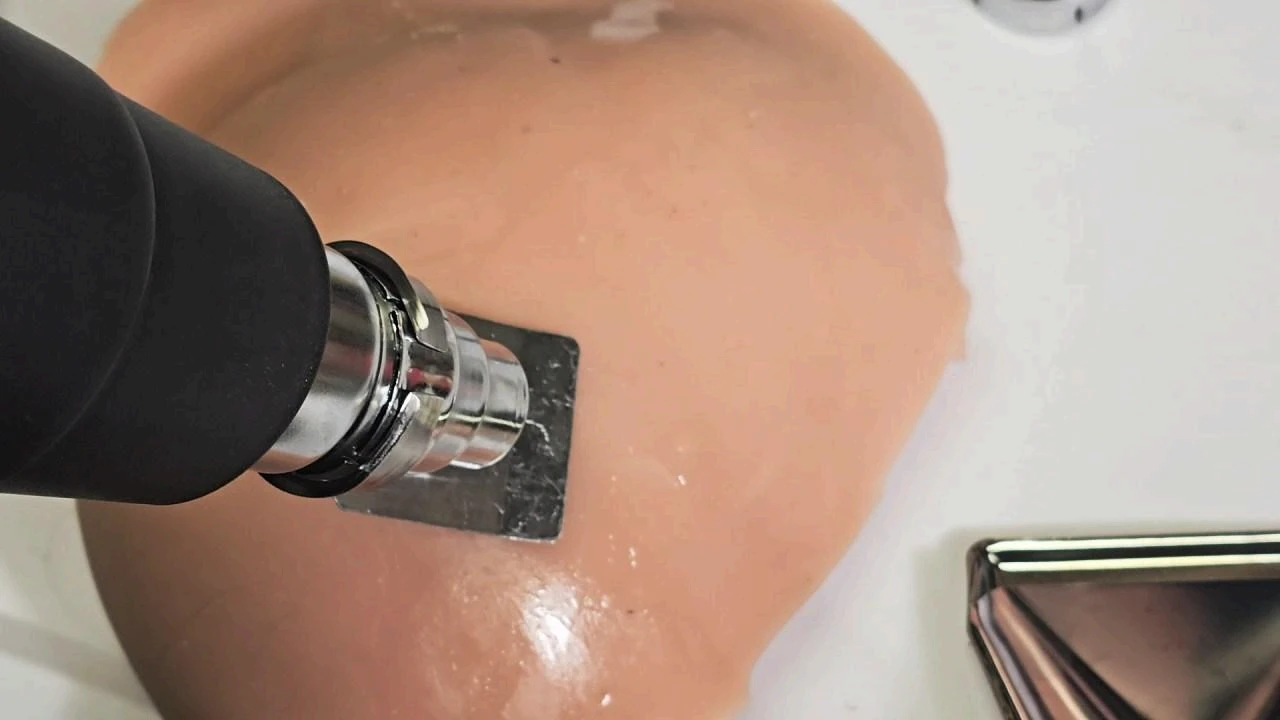
We will begin with a piece of TPE, cut it with scissors to simulate the damage cut, and then approach the repair systematically. The general repairs, I set the heat gun to low speed, around 300℃ so the air comes out very hot. If you place your hand 30cm away from the air outlet, you will find the air to be much cooler, so you need to increase the temperature to between 300-400℃, and work the TPE piece till you get the surface of it to be ~110℃.
This is enough to start melting the surface. If at any time you see smoke, then the TPE material is too hot and is burning. Once the material is close to 110℃, (Verify with a portable IR Temperature Gun), you can start on the next step – using the hot knife. You know you are ready to proceed when you observe the surface melting by noticing shininess and reflectivity increasing.
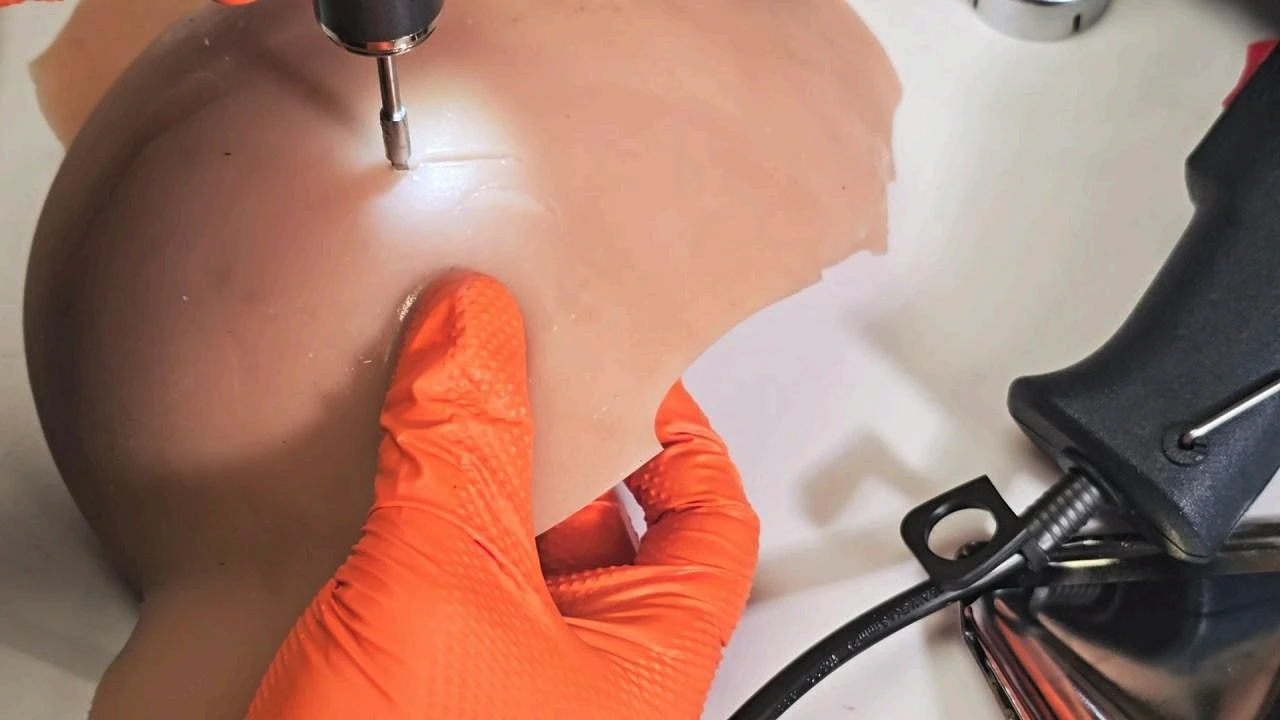
Once you have achieved the correct temperature of the TPE, you need the hot knife pre-warmed to a working temperature (Start with 260℃), and see if it melts a small test sample well. If you are in the correct temperature range, you will be able to quickly melt TPE like you would melt a candle. If you are filling in a hole, you first melt a small piece of TPE into the hole, and using the flat bladed accessory bit (You will use this one for most repairs), insert it into the cut and melt it well and then press the TPE shut to seal the damaged area. Once it cools (in ~10 seconds), you can release the sample and see if it remains closed. You can at this stage also move the tool over the repair, and smooth it out.
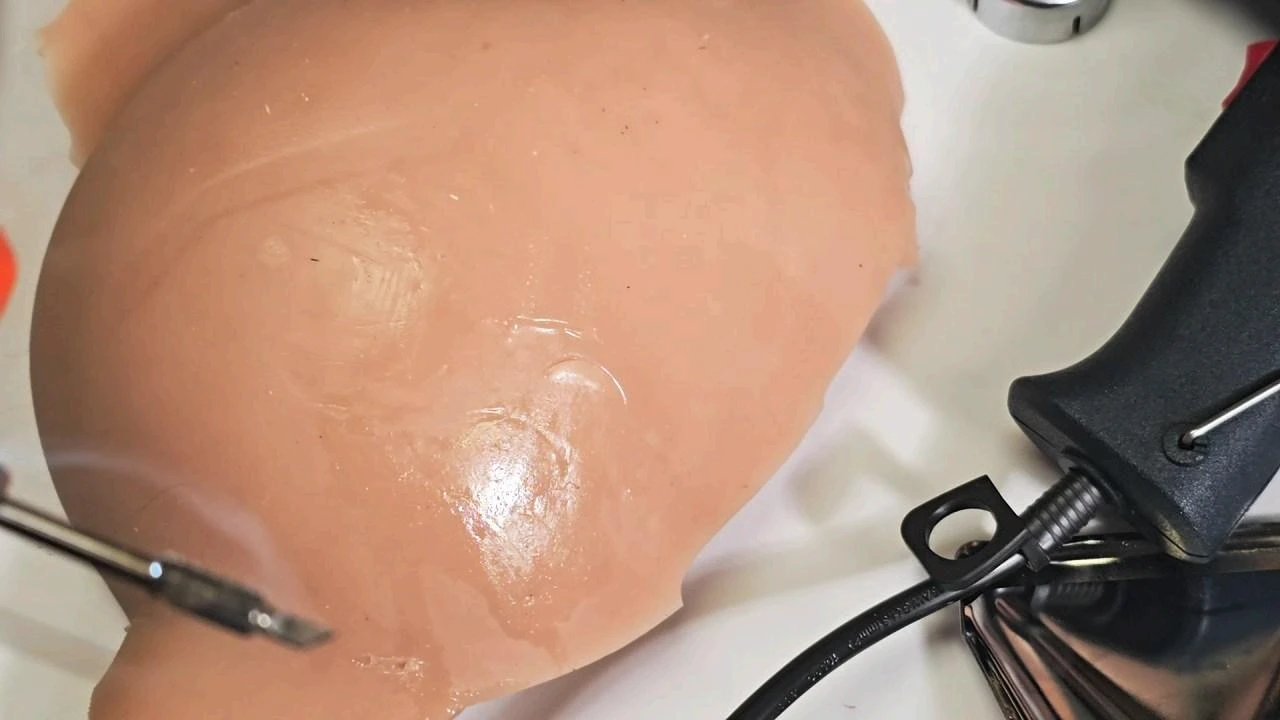
Next, to smooth over a larger area, the hot air gun can be used again (preheated to ~300℃), and using the flat blade attachment, you press down on the TPE and feather it smooth. Consider practicing this on a separate piece of TPE to perfect it.
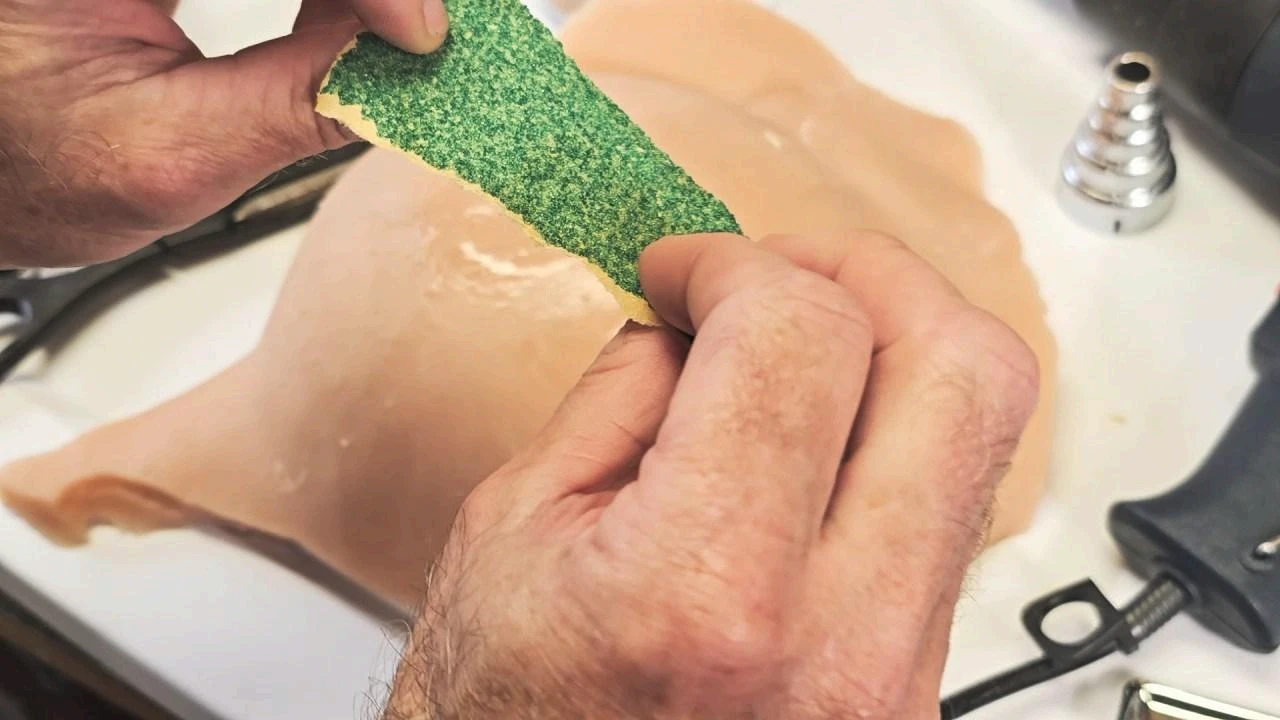
You can additionally use 100 grit (or finer) non black sandpaper and add in texture with the heat gun.
Finally, you are finished when the repair looks satisfactory to you.
Optional Sandpaper
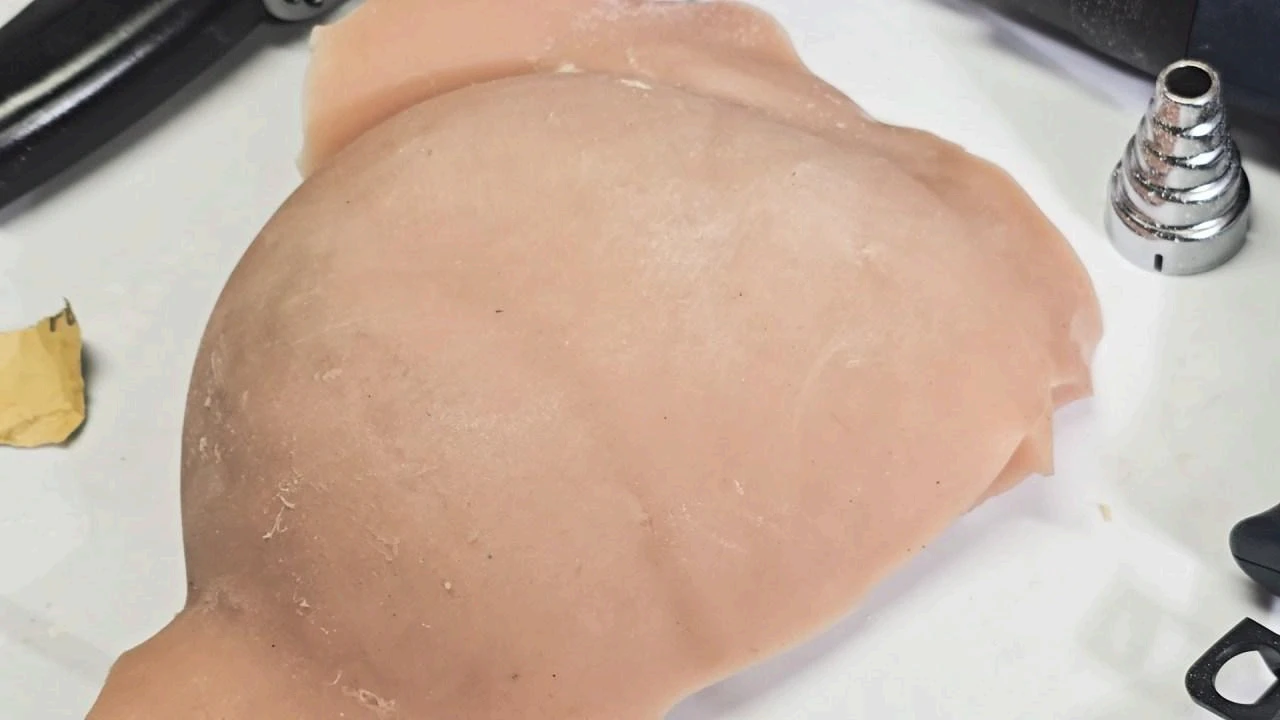
Powdering makes the TPE lighter
Final step, to get rid of the slight powdering, use a damp hand towel dipped in baby oil. Lightly dab the TPE and clean. The repair is just barely visible, but the damage should be gone.
Conclusions
By using these two tools (a heat gun and a hot knife), along with an IR temperature gun, baby oil, and sandpaper, you can repair almost any damage on a TPE doll. As shown in many videos online (Search TPE doll repair on YouTube), and you will see similar methods used. I perfected this technique years ago using tools I had lying around, and with this kit, you should have similar success. It takes practice, and using samples of TPE that you can either buy or use from inserts, eventually get similar results. This repair can be used for more serious damage like holes, splits, and cracks. Just remember, you may need filler TPE to replace what gets lost from this method due to melting. Give it a shot!
About the Author
This article was written by Mishka on December 16,2025. Below is a personal introduction about Mishka:
I am a photographer with a deep-rooted passion for capturing dolls since 2014. Initially drawn to TPE dolls, I later switched my focus to posing them for photos, using a Nikon D300 before upgrading to a Sony a7RIV. Over the past decade, I have had the privilege of photographing dolls for various companies and watched the industry evolve with better improvements each year. I saw this as an opportunity to invest in more lifelike dolls, appreciating their improved detail and realism. For the last five years I have been traveling extensively across the US, in my camper van loaded with dolls which I photographed at various roadside locations. Currently, I have about a dozen dolls posed around my house and often host larger doll meets, fostering friendships within this unique hobby. My experiences traveling and photographing these dolls have led to unique connections with others who share the similar interests, forming a tight-knit community in this niche hobby.