Your Holiday Spirit is contagious!
Thank you for sharing this beautiful greeting!


Your Holiday Spirit is contagious!
Thank you for sharing this beautiful greeting!
Very Nice,  Happy Holidays to you and yours
Merry Happy!
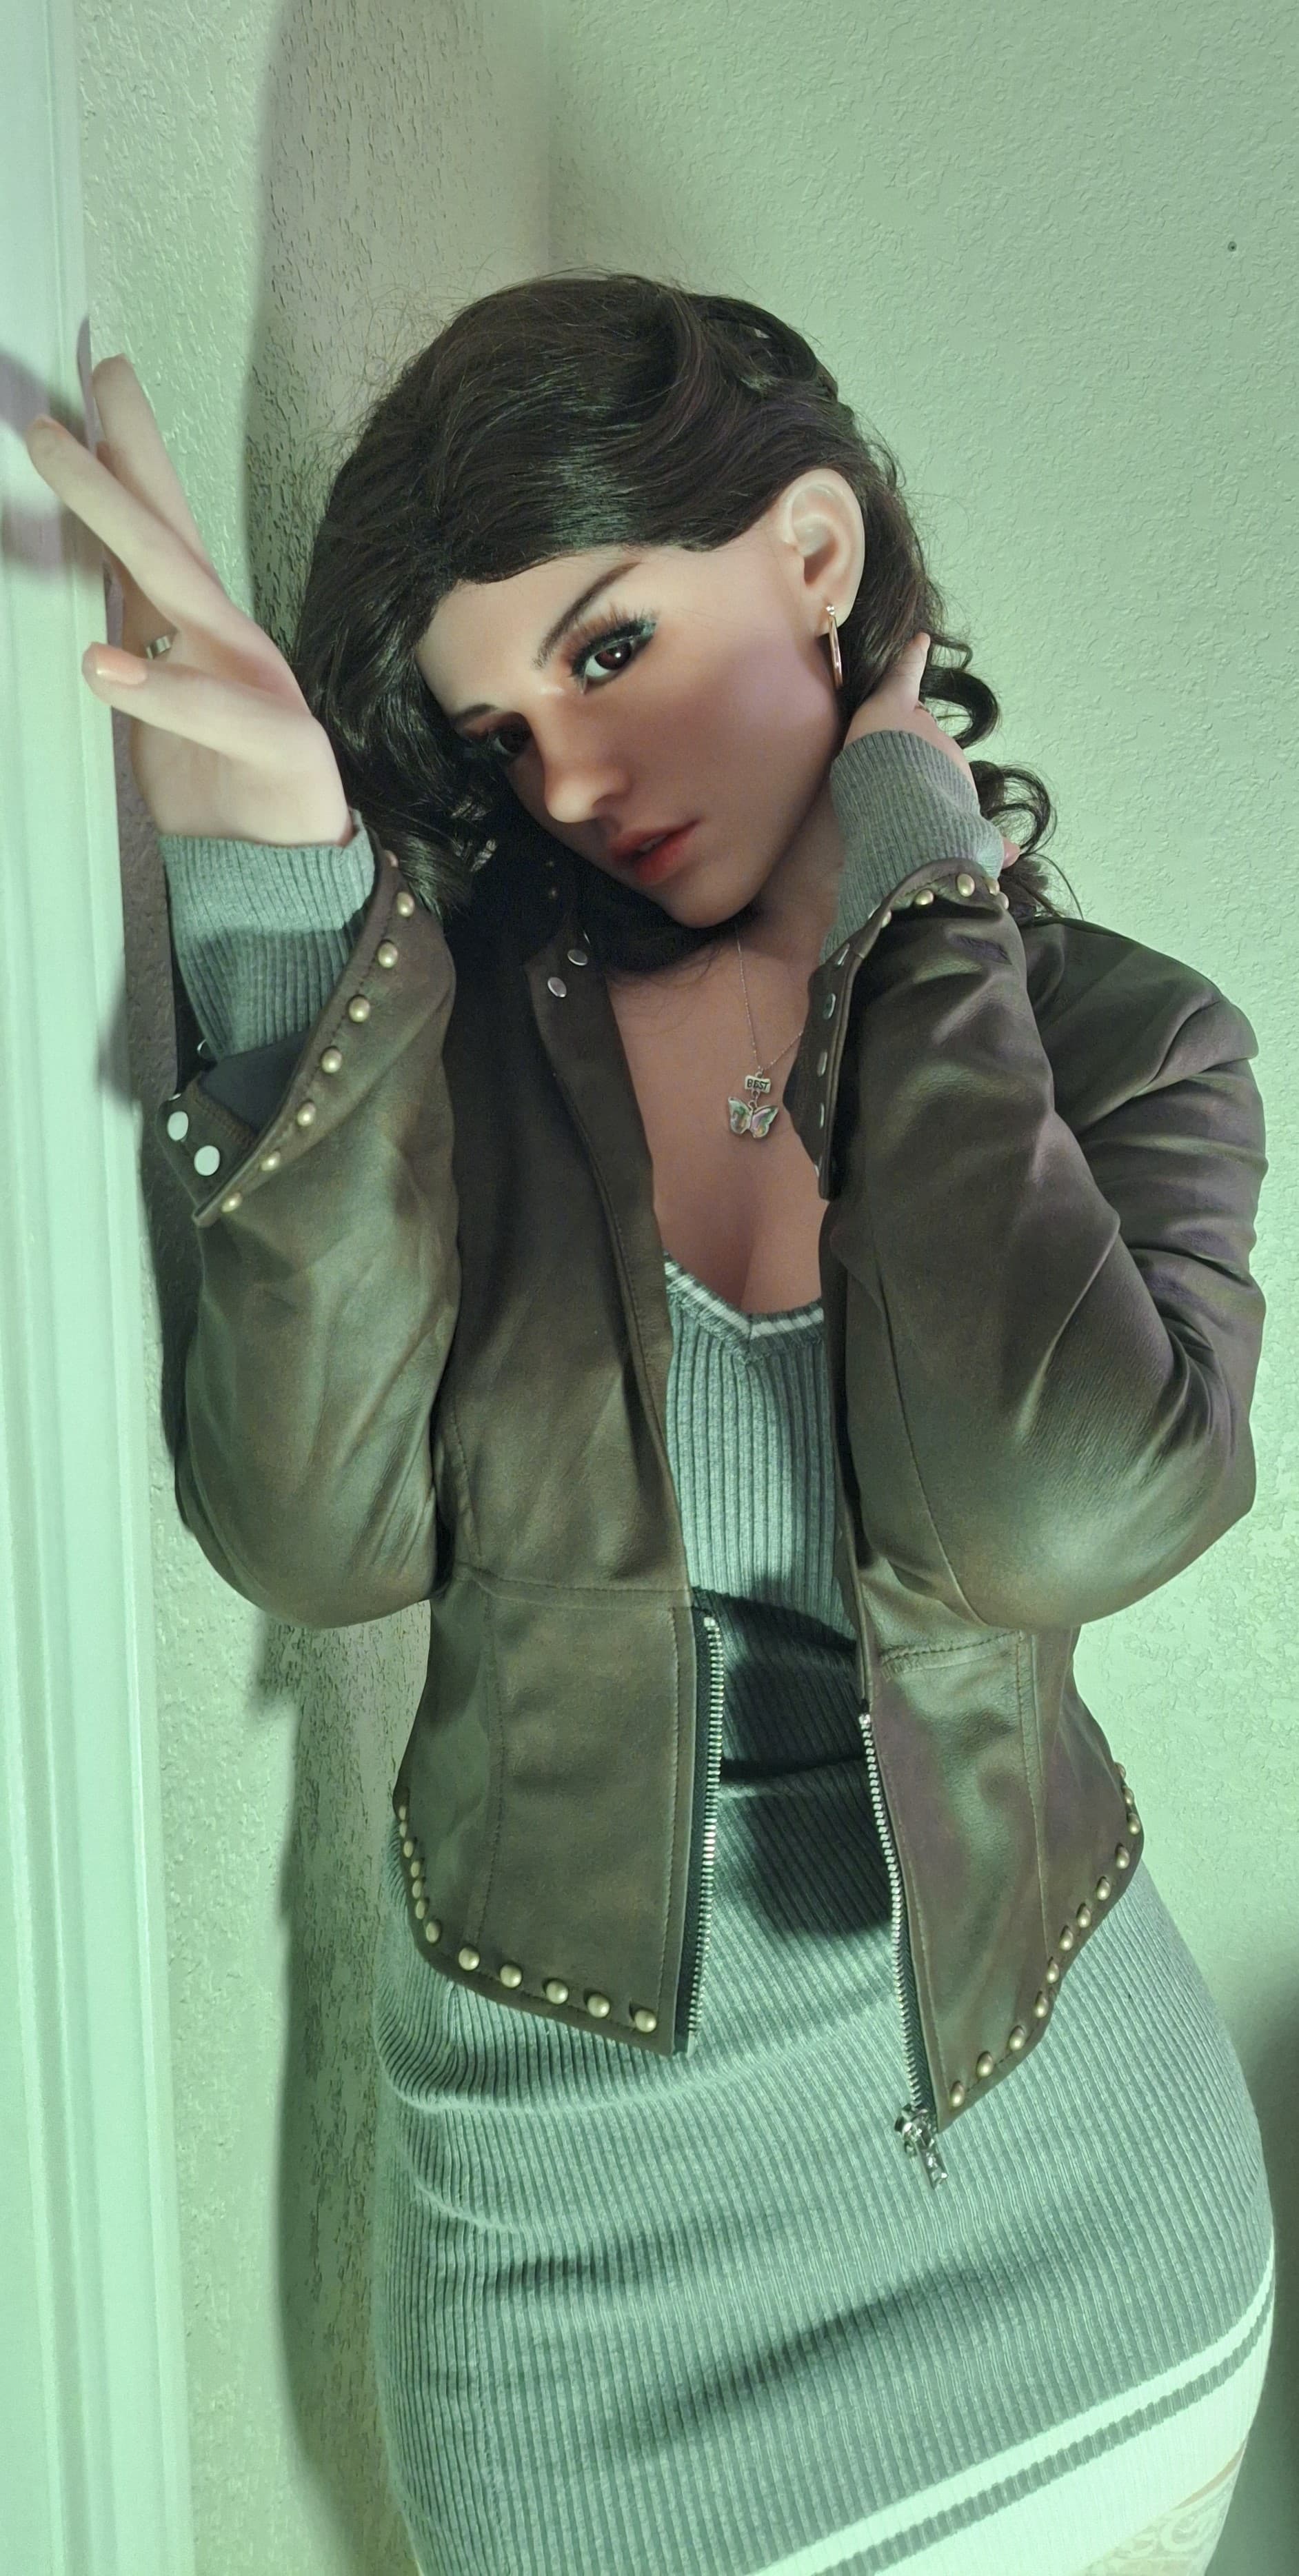
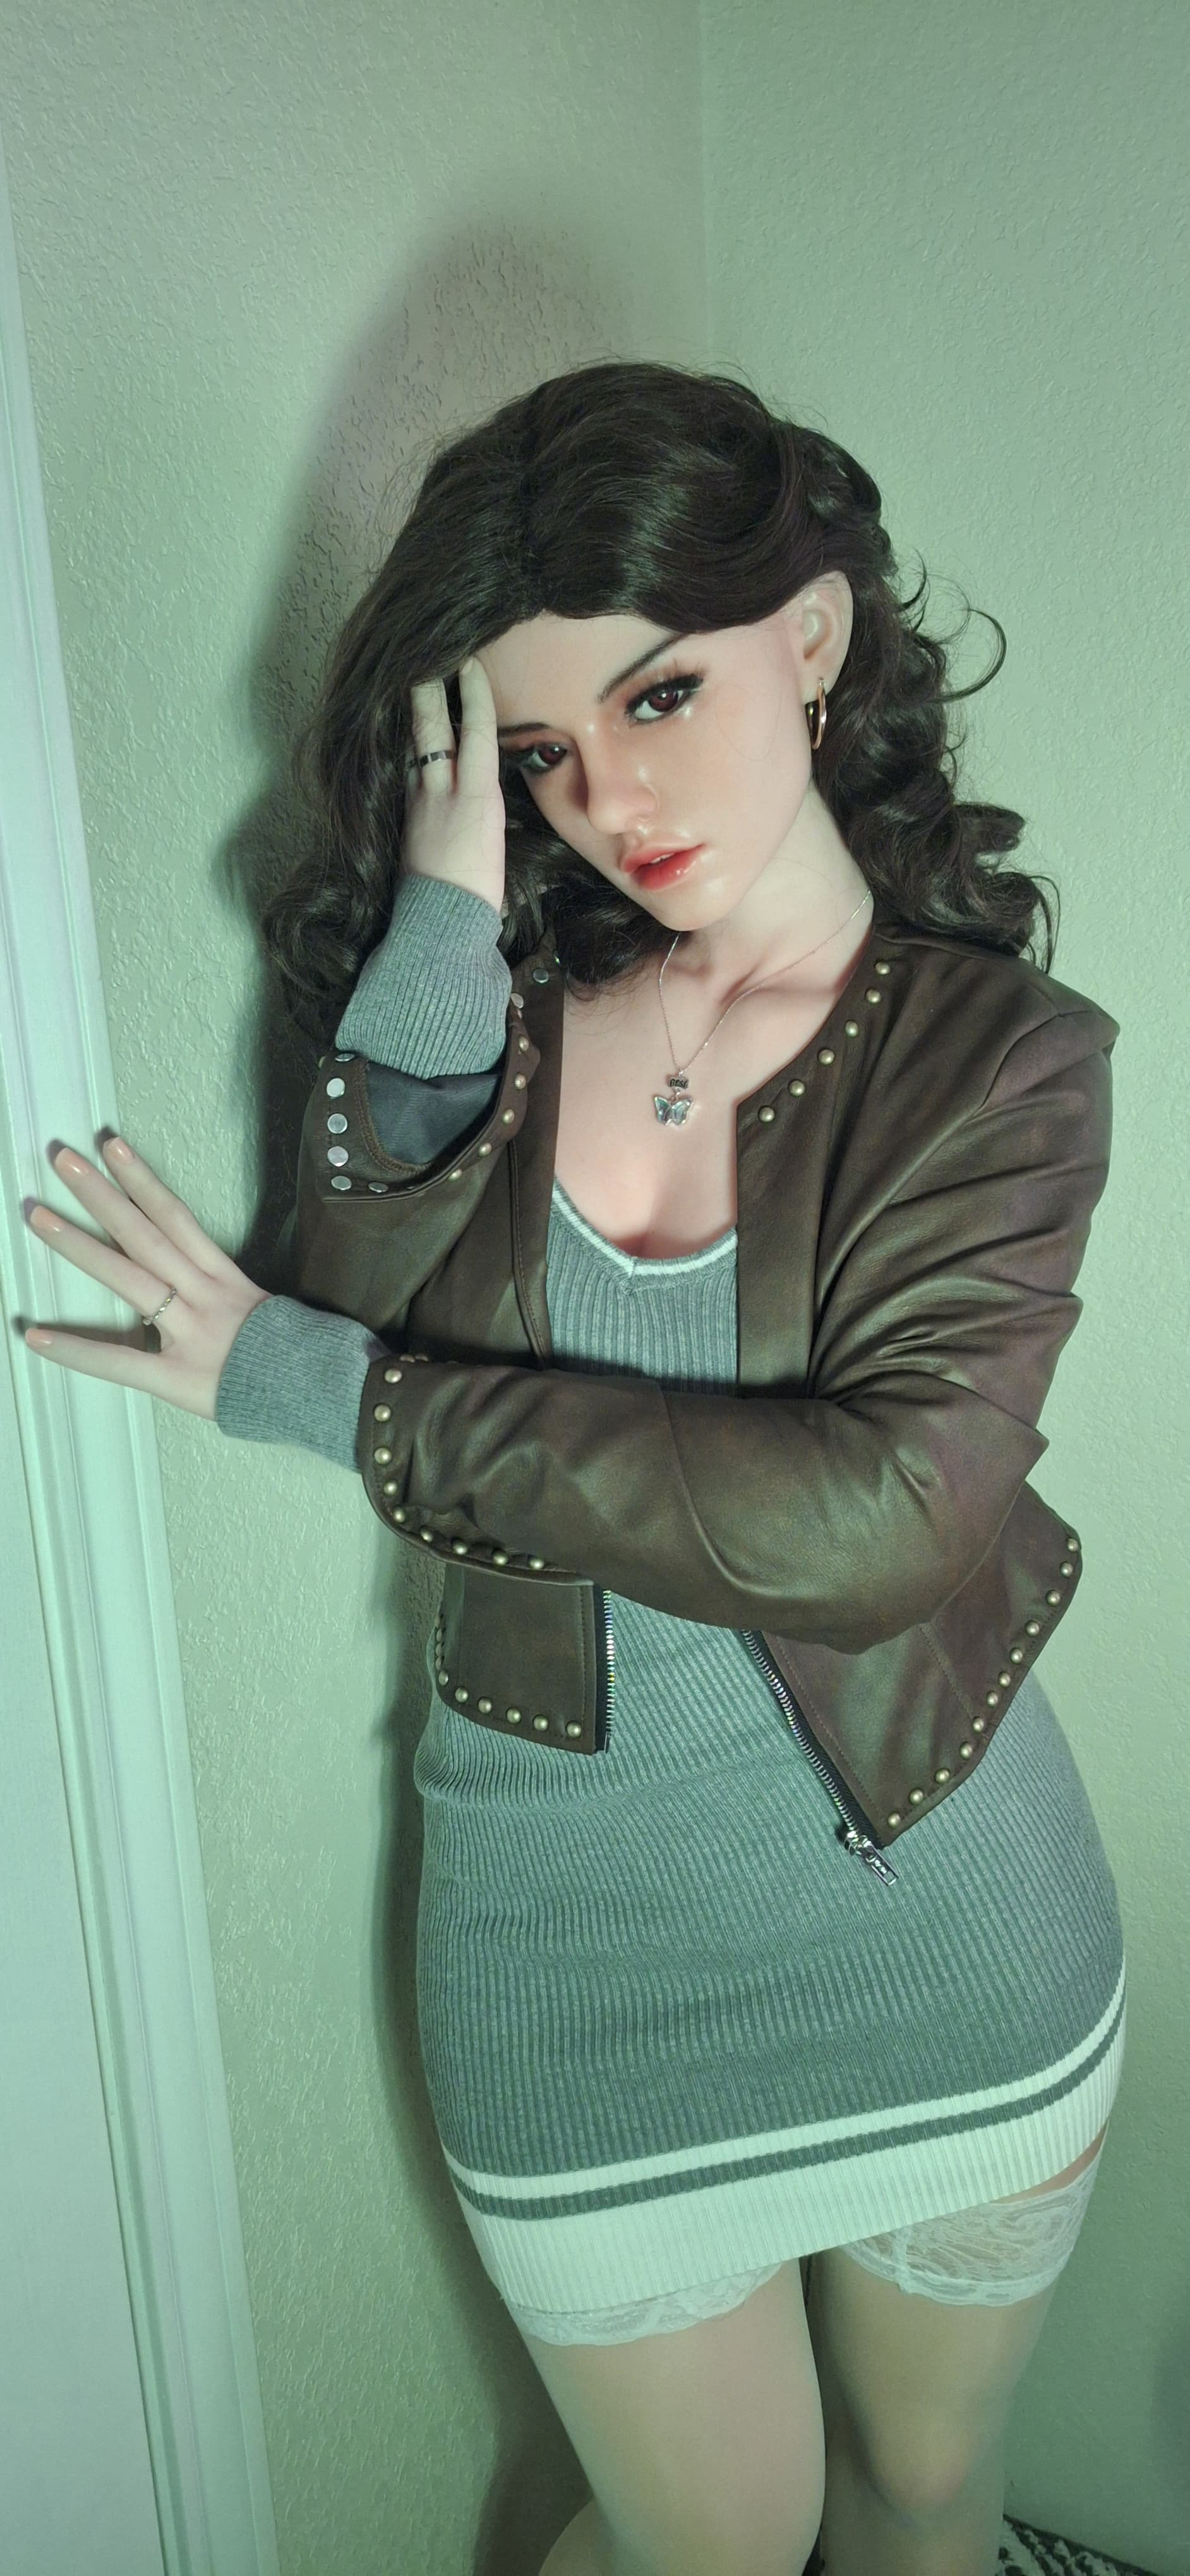
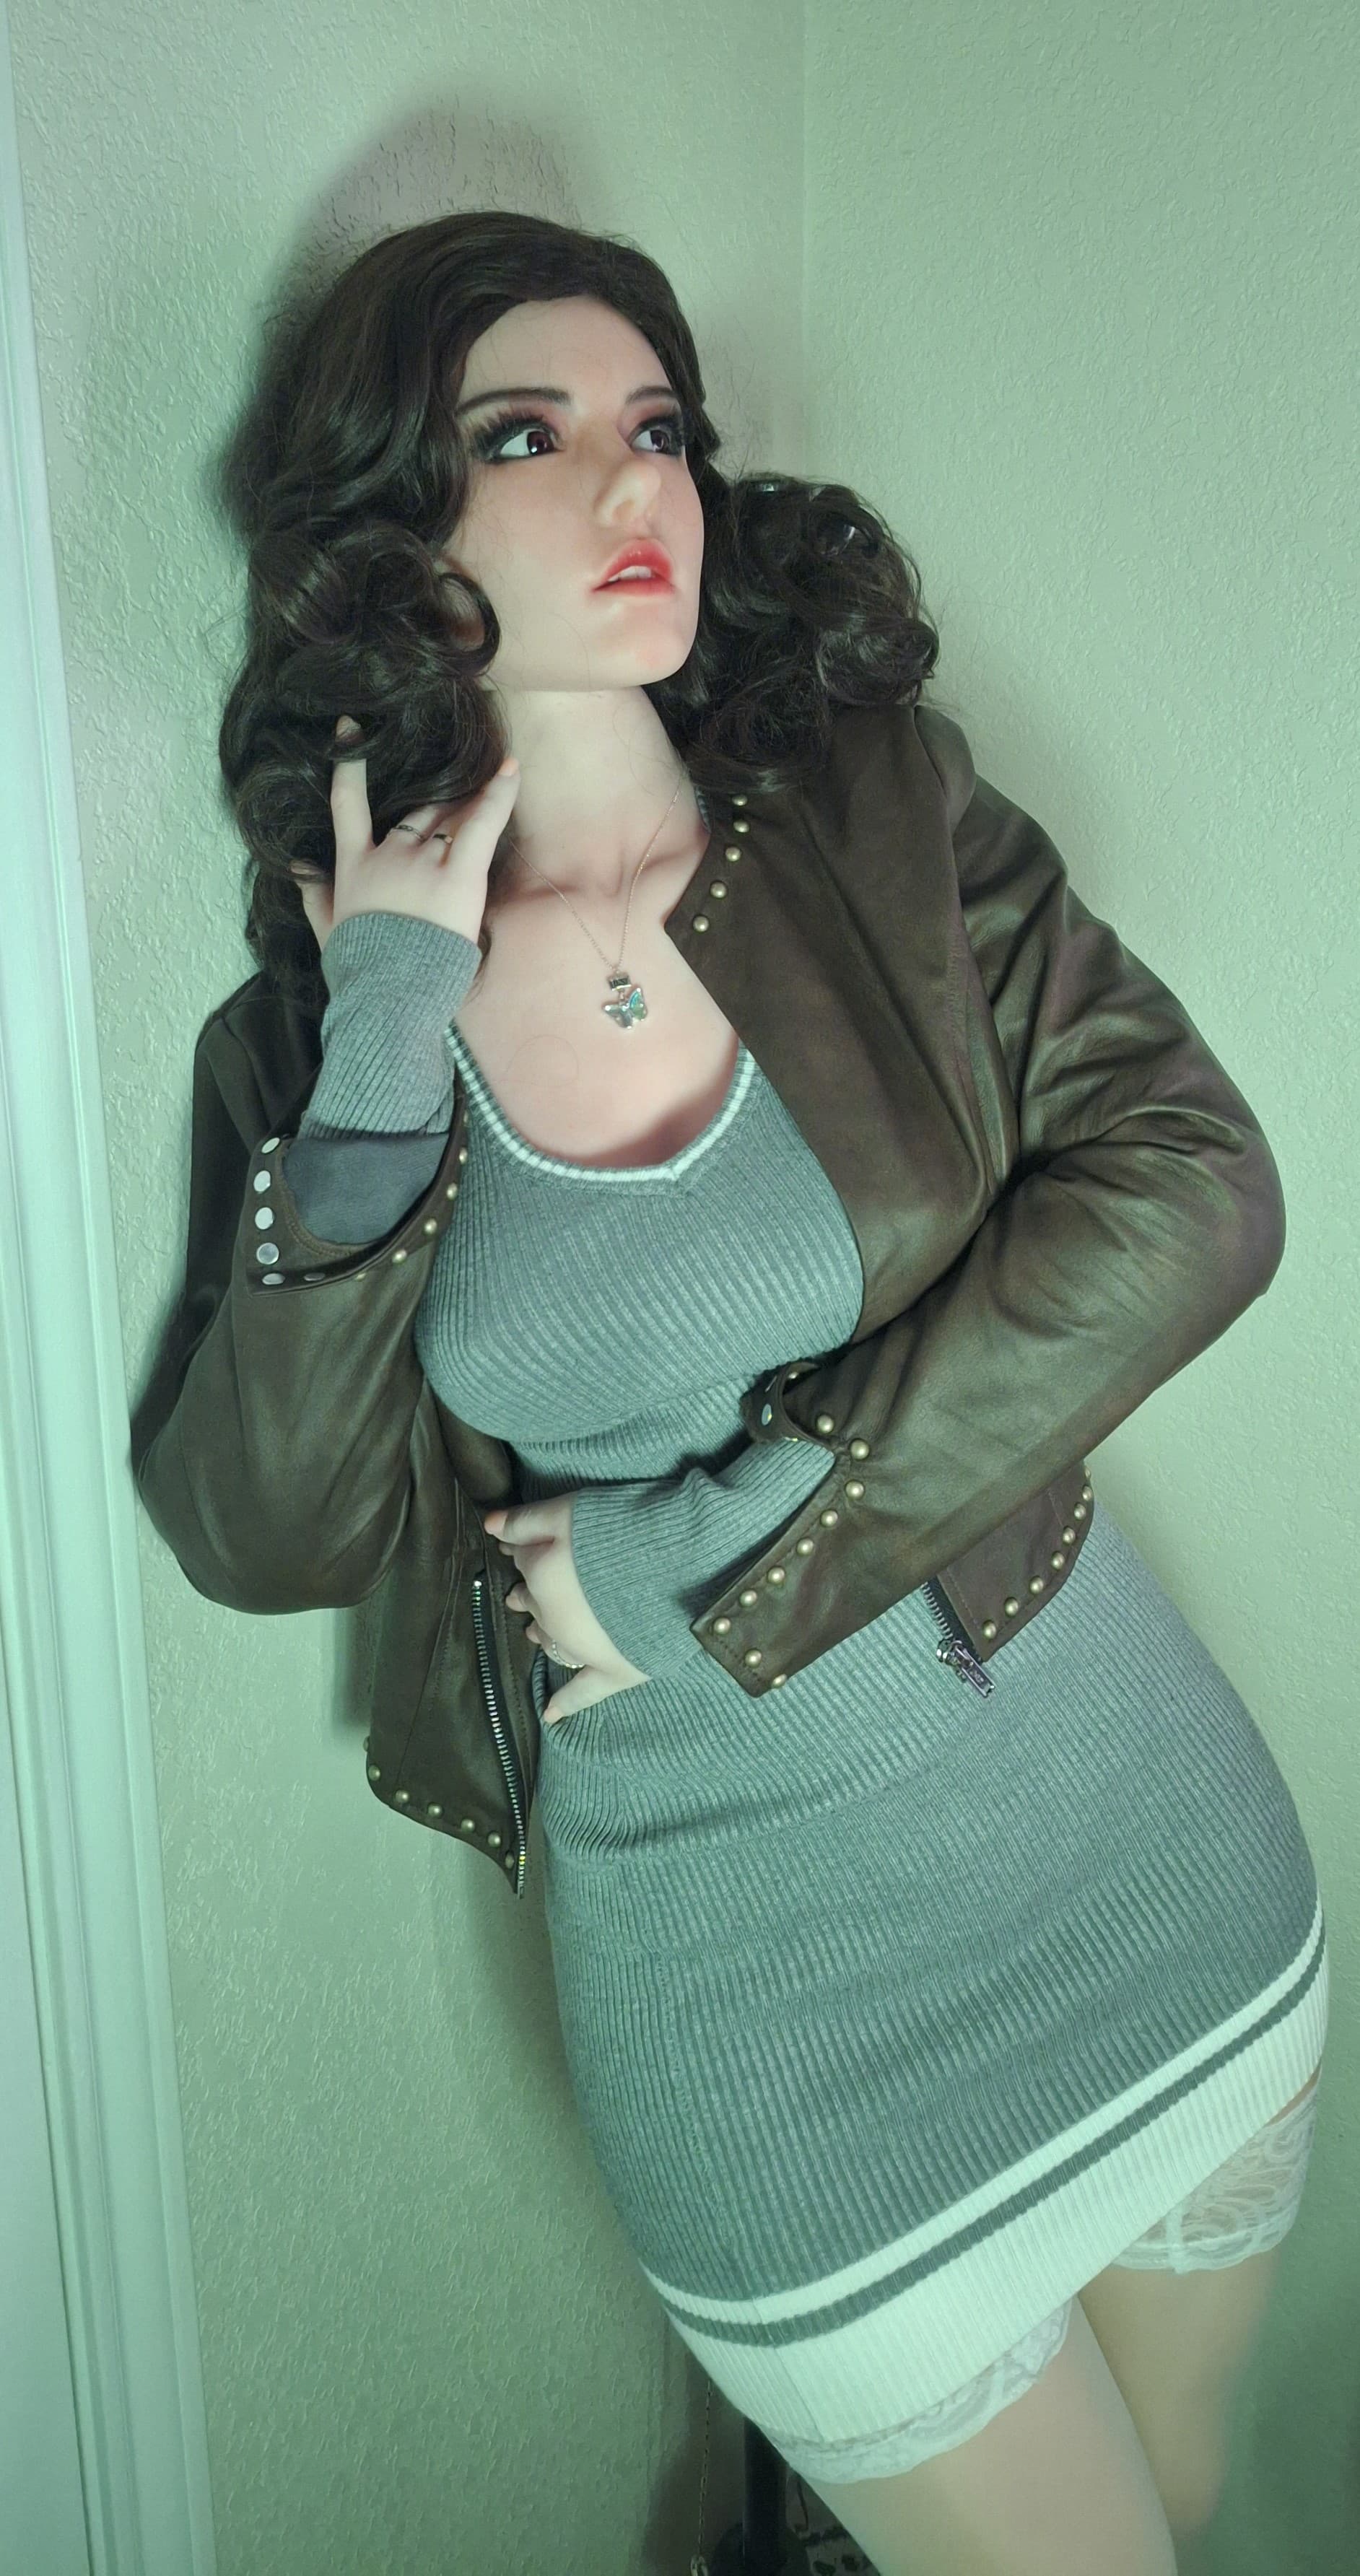
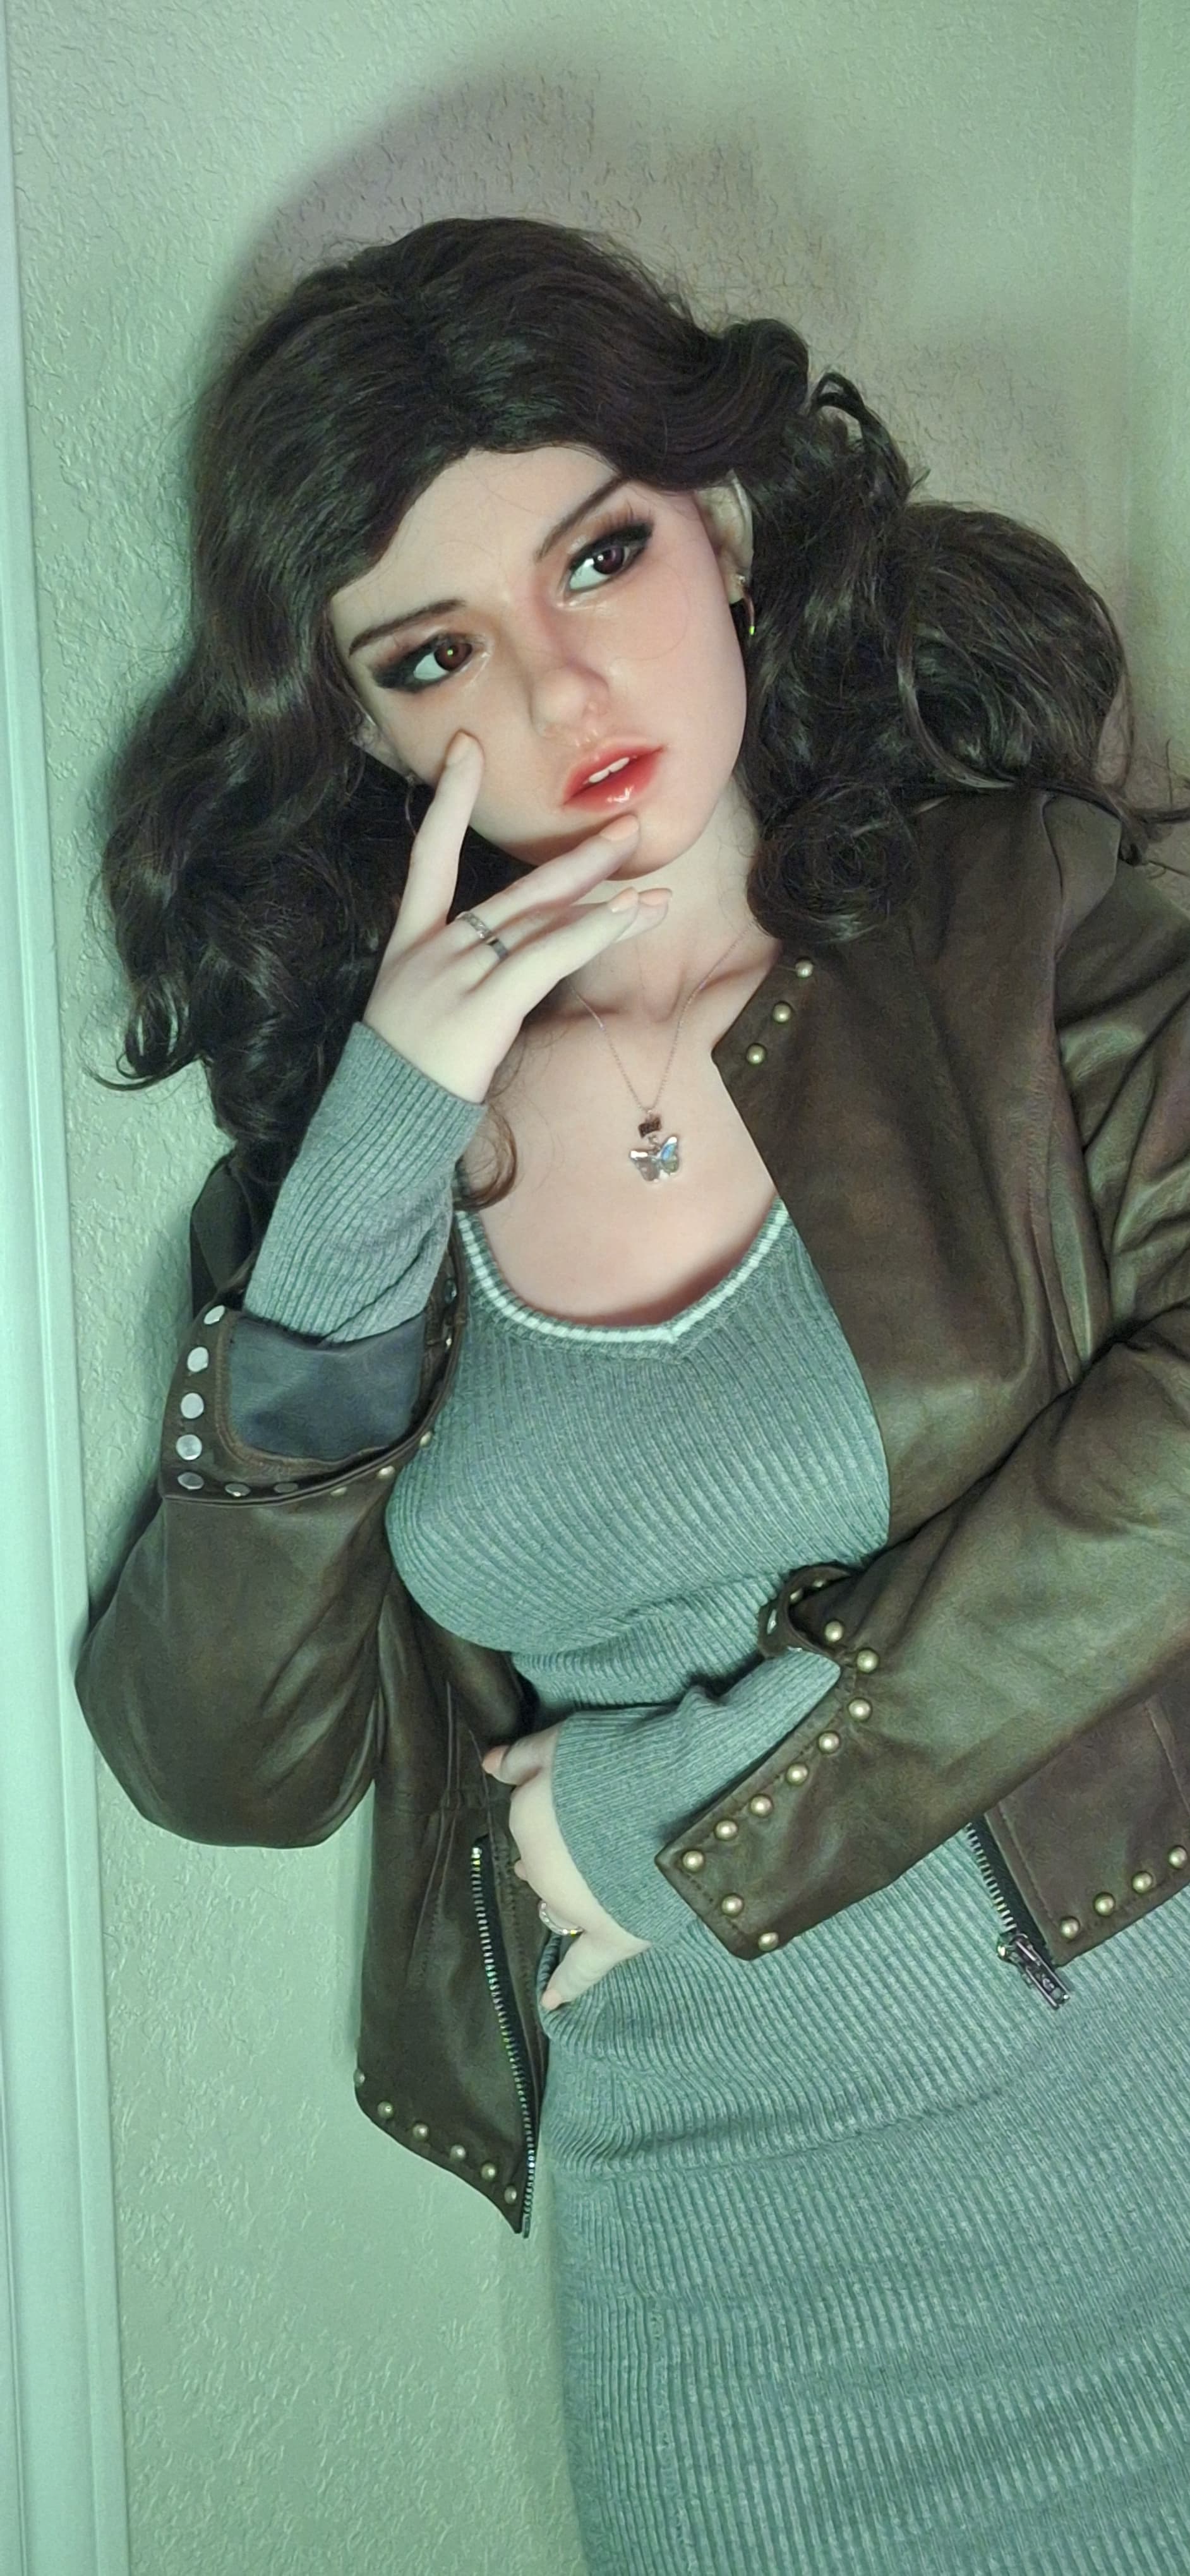
Good afternoon all! Essence was a little contemplative today so I thought I would capture the moment.
Happy Holidays and Happy Dolling!
kfiaoni, great picture’s
Oh My, She’s adorable 
Thanks for the kind words @Mr_Fix_it . Truly appreciate it! Essence is, as you may have noticed, my hands down favorite, and I’m always on the lookout for opportunities to take her photo.
Happy Holidays to you and your gals, and Happy Dolling! (especially Logan! )
You captured her so well (again)!
Thanks @quillurion for the nice words! As you have discovered, I’m sure, out gals have this knack of drawing us in to take their photos. And to me, those photos are the “windows into our joy” of having them in our lives.
Have a great day and Happy Dolling!
Absolutely. I could fill 10 walls with their pictures by now.
Shhhh  I wouldn’t want the other girls to know but Essence is my favorite of your girls too!
You have captured her mood completely! I don’t know what she is thinking but I do know it will either cost you money  or involve a new project.
  .
.
Probably both!
Thank you so very much @dollface for those nice comments! Well, the gears are ALWAYS turning in my gals heads, and yeah………it WILL probably cost me! But it’ll be worth it!
And speaking of projects, I made a little progress on the transport cabinet today!
So, here we go!
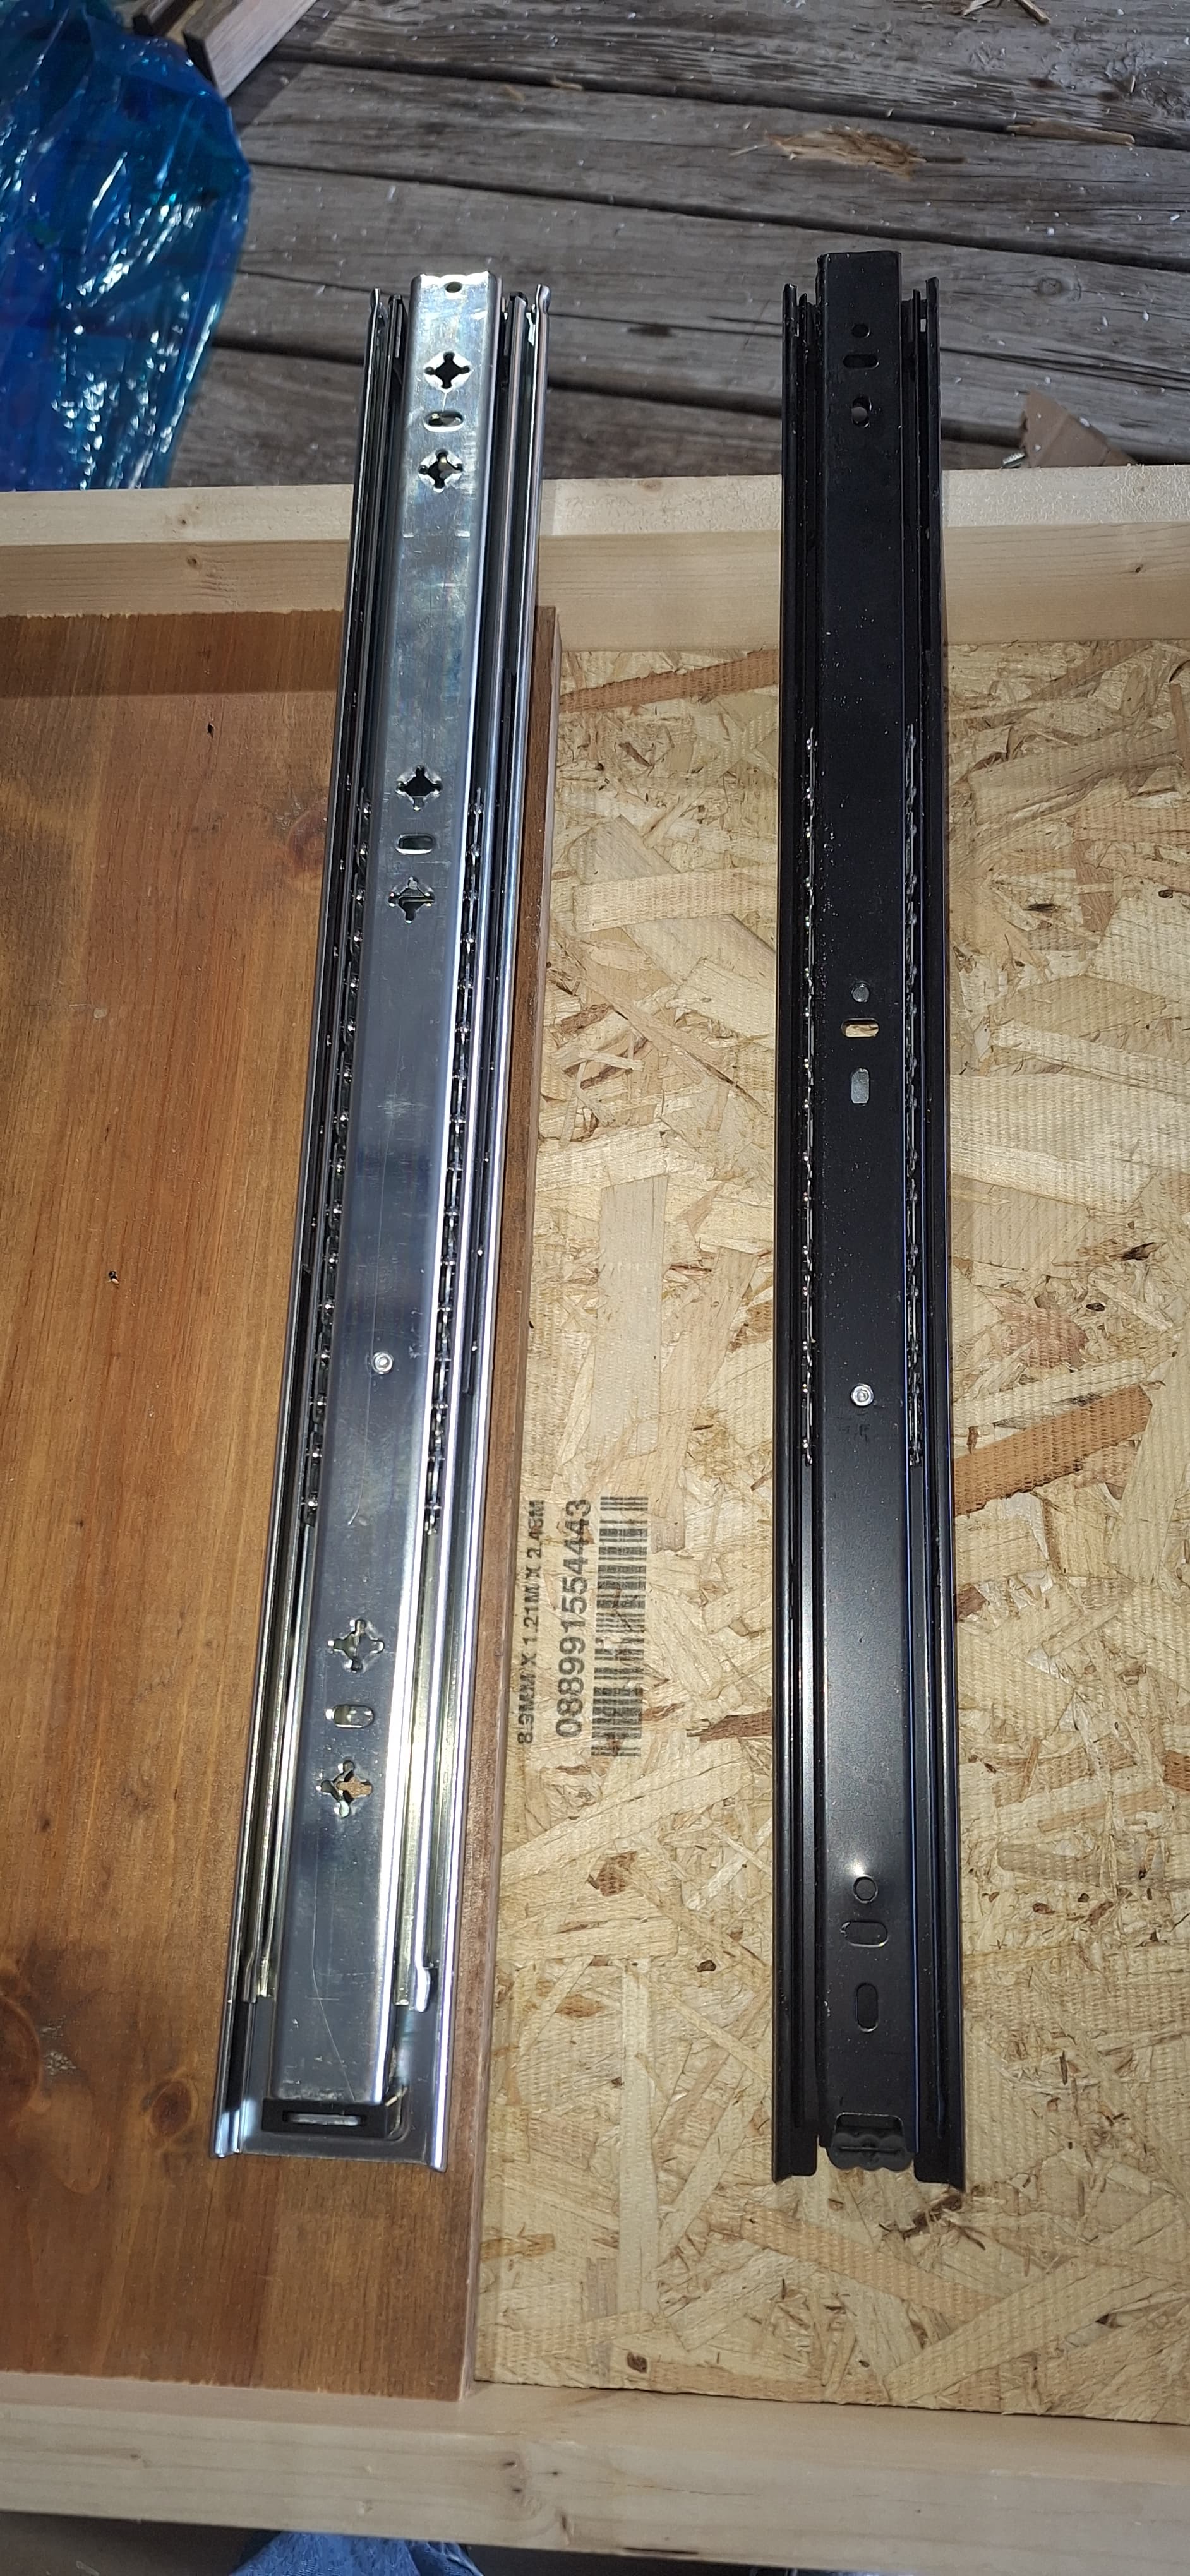
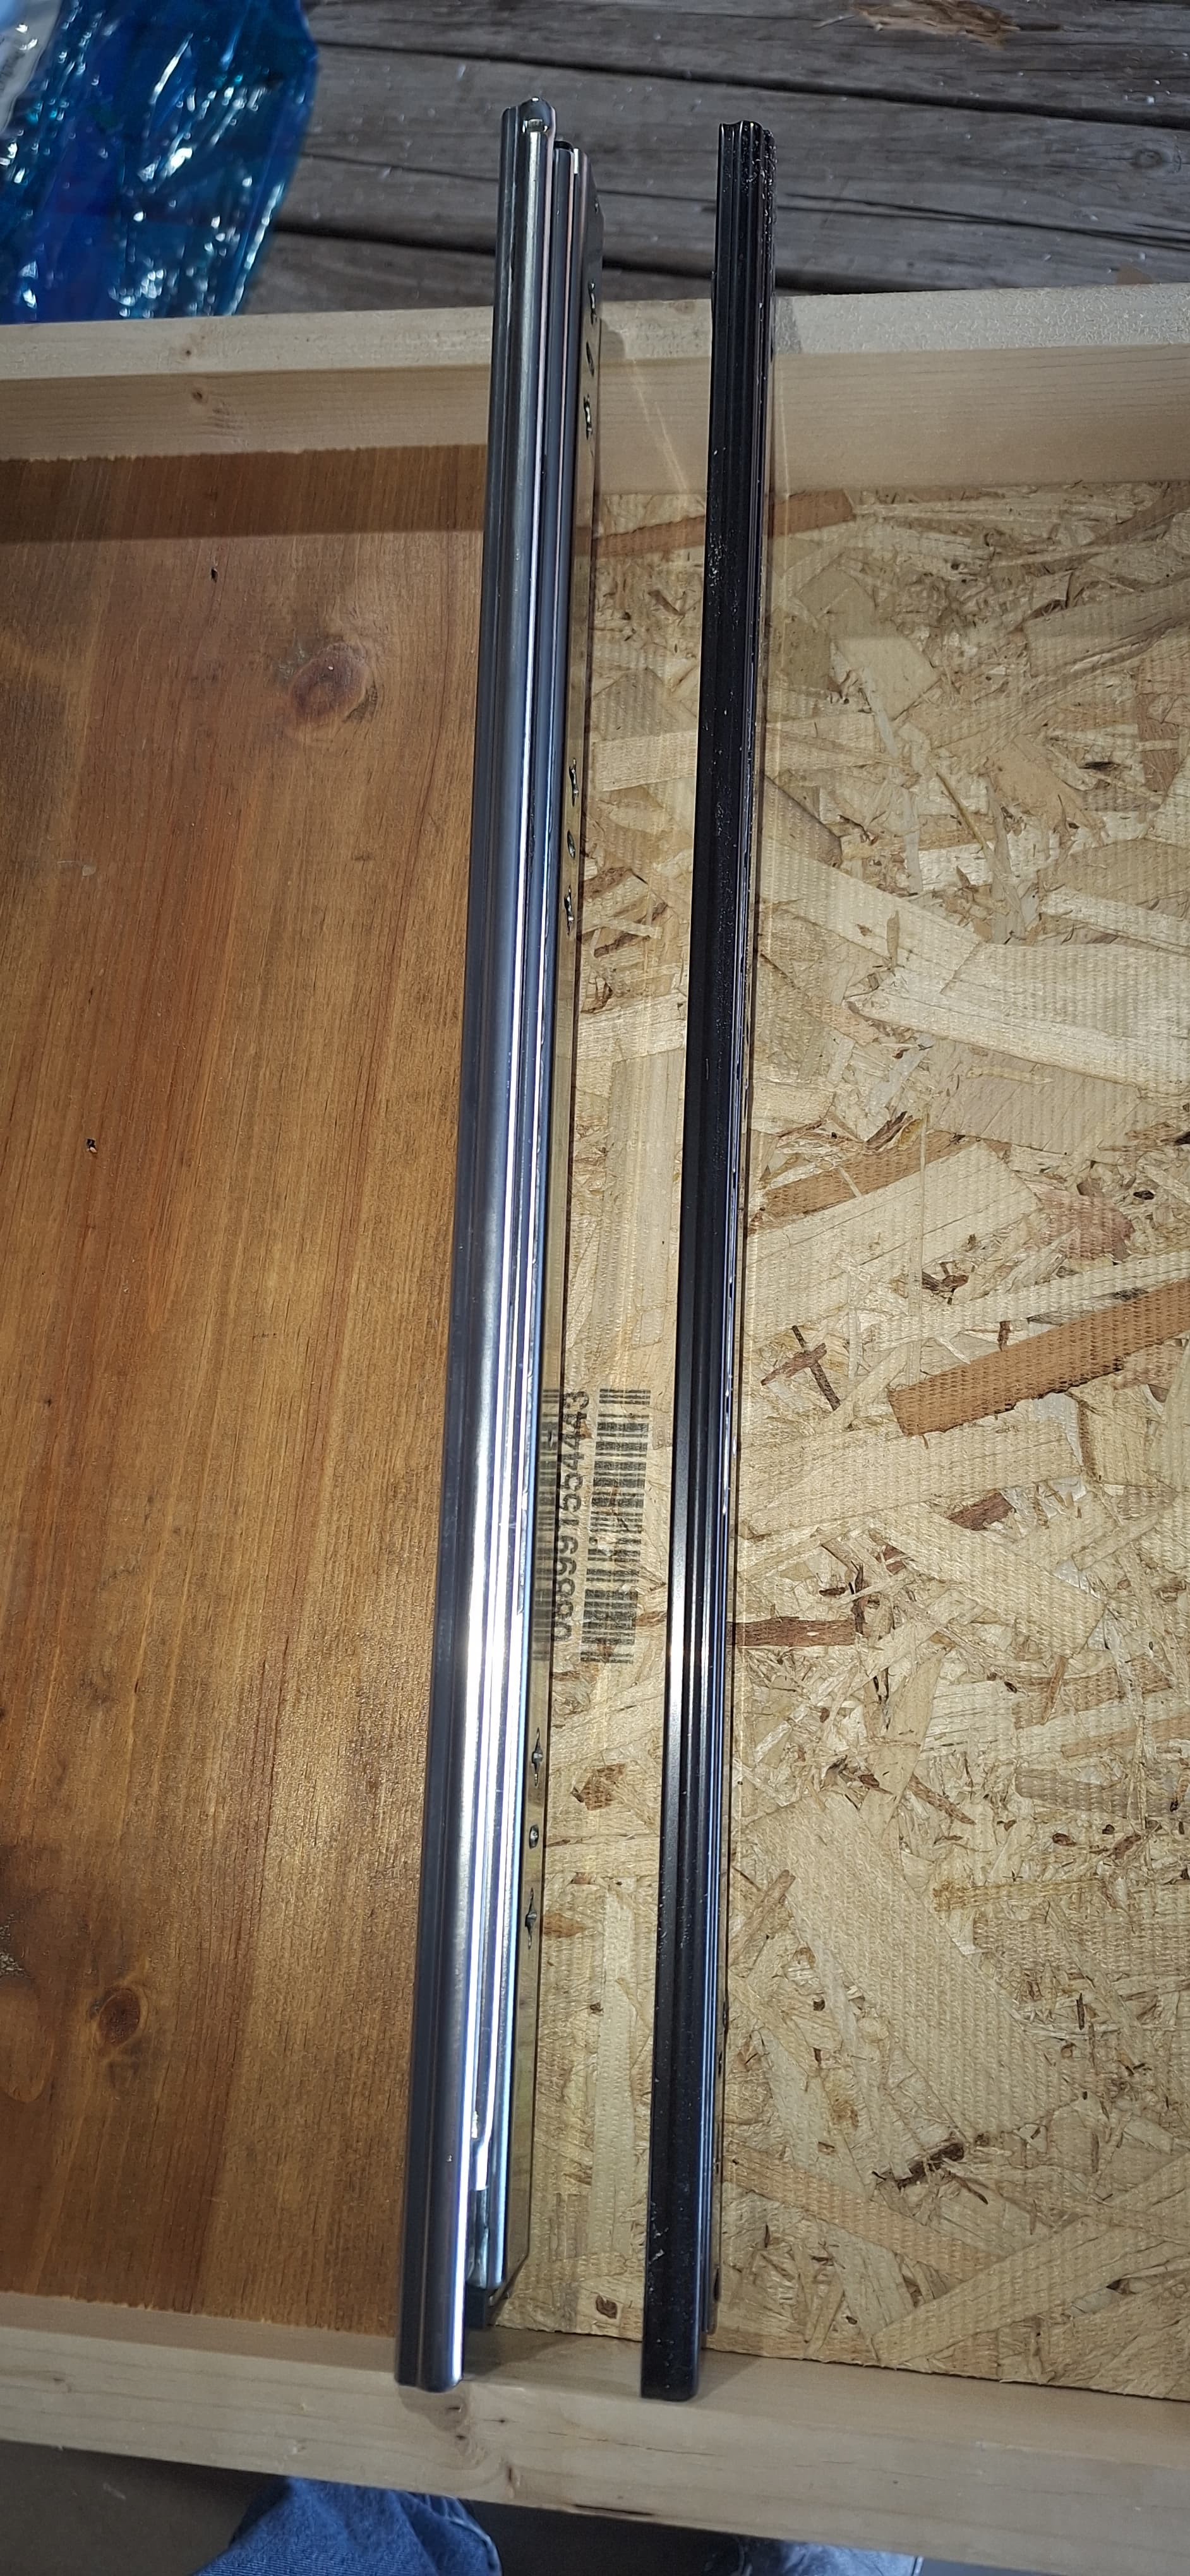
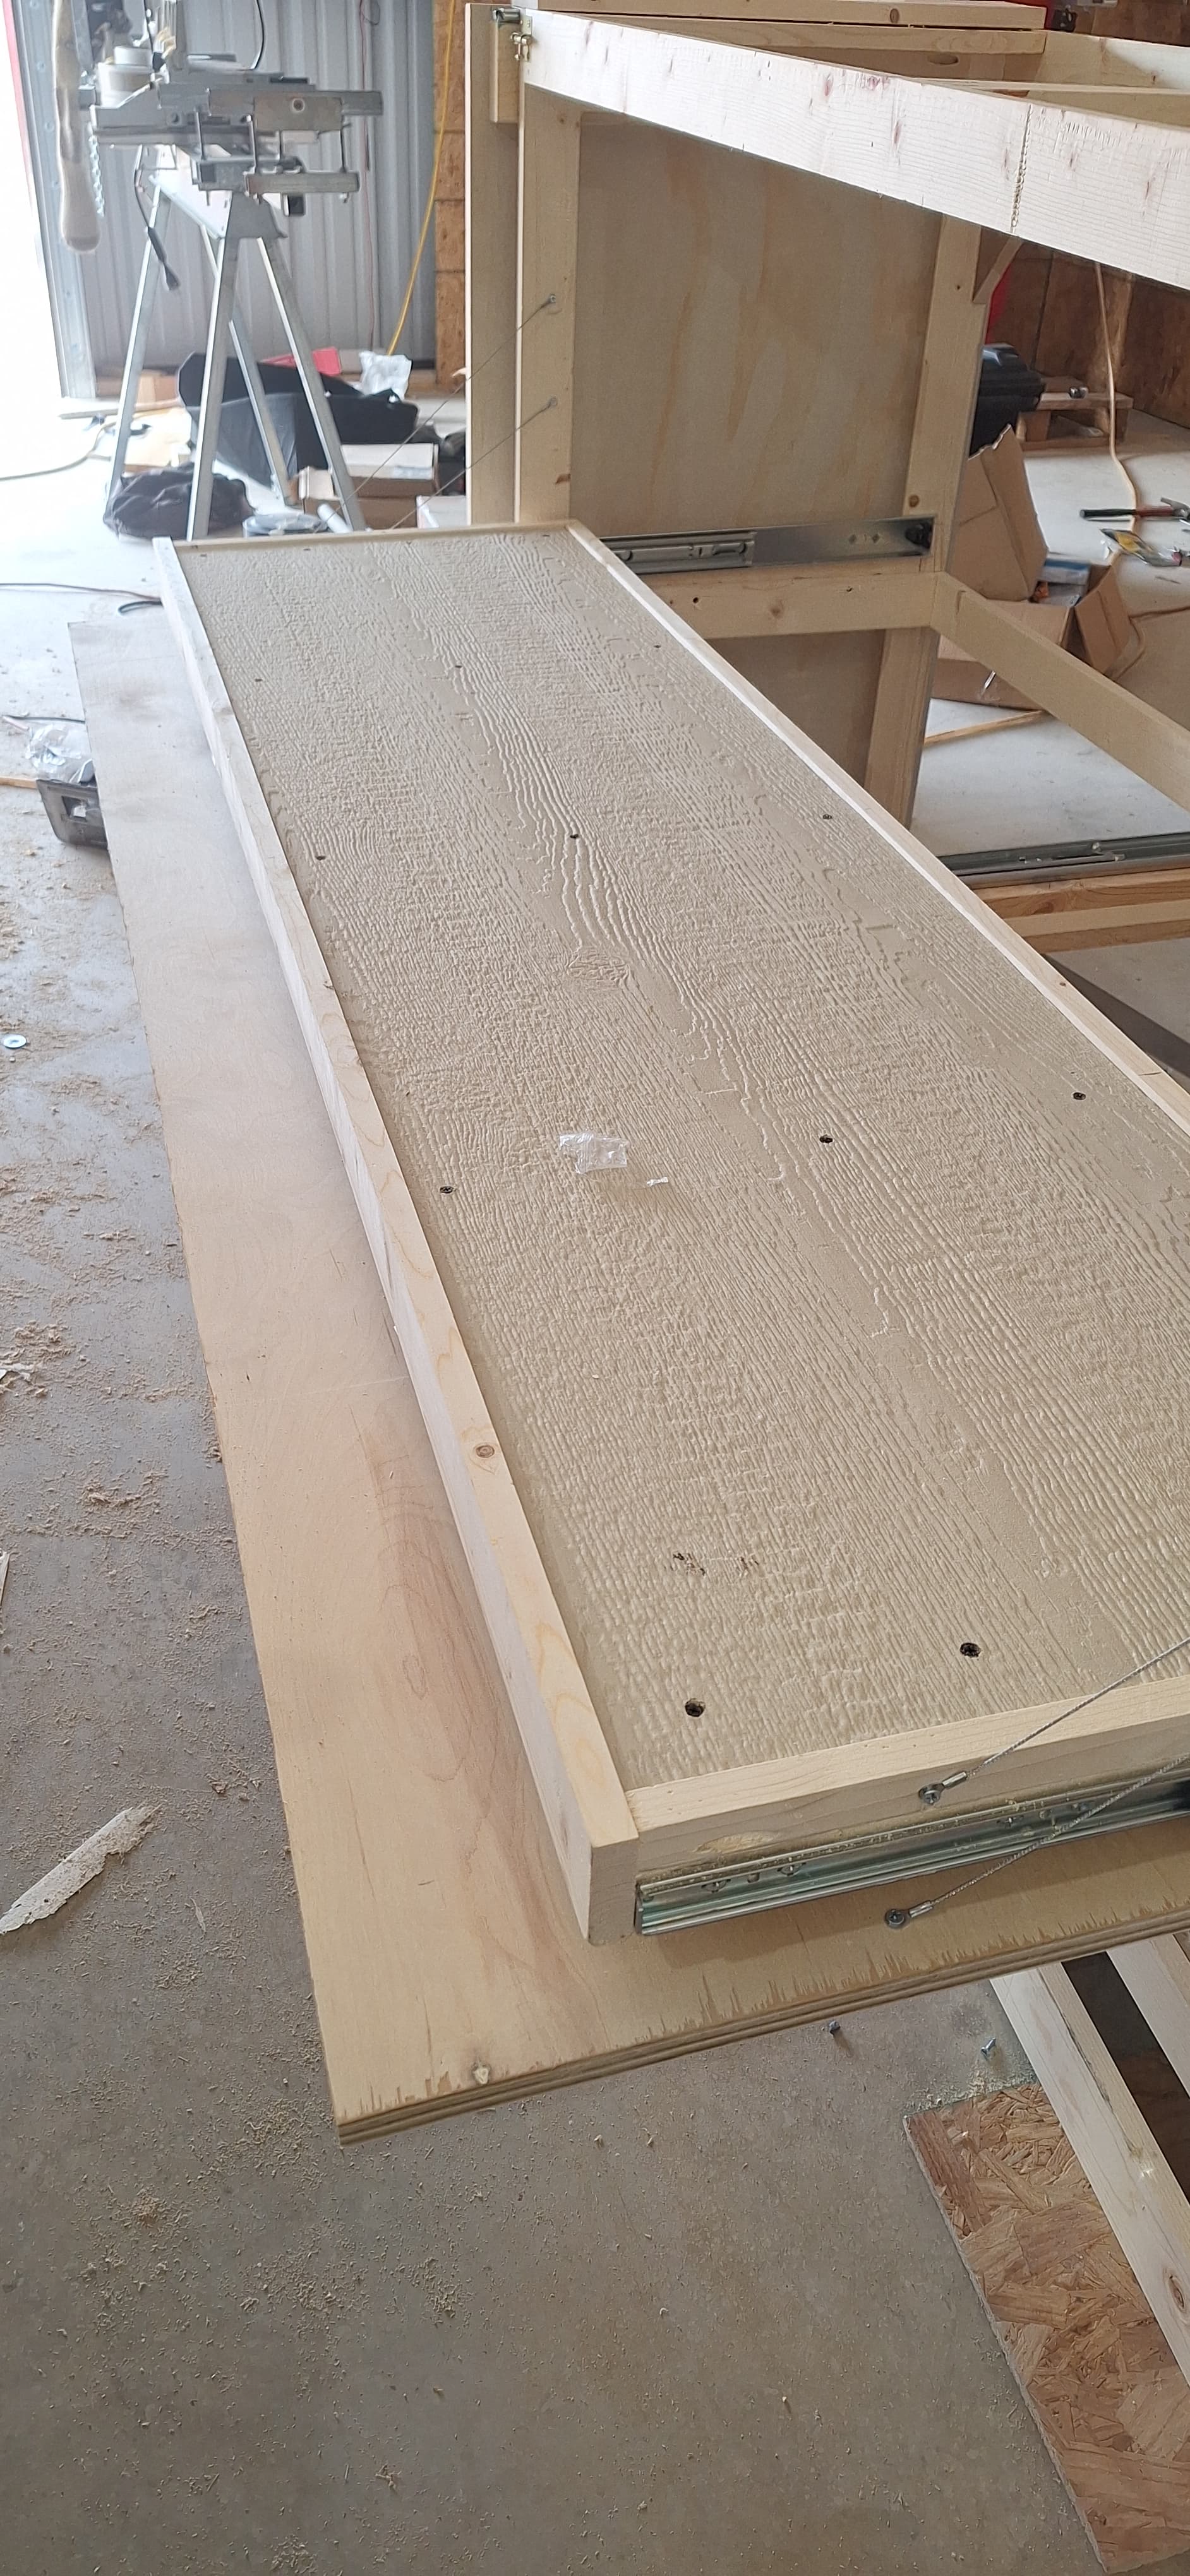
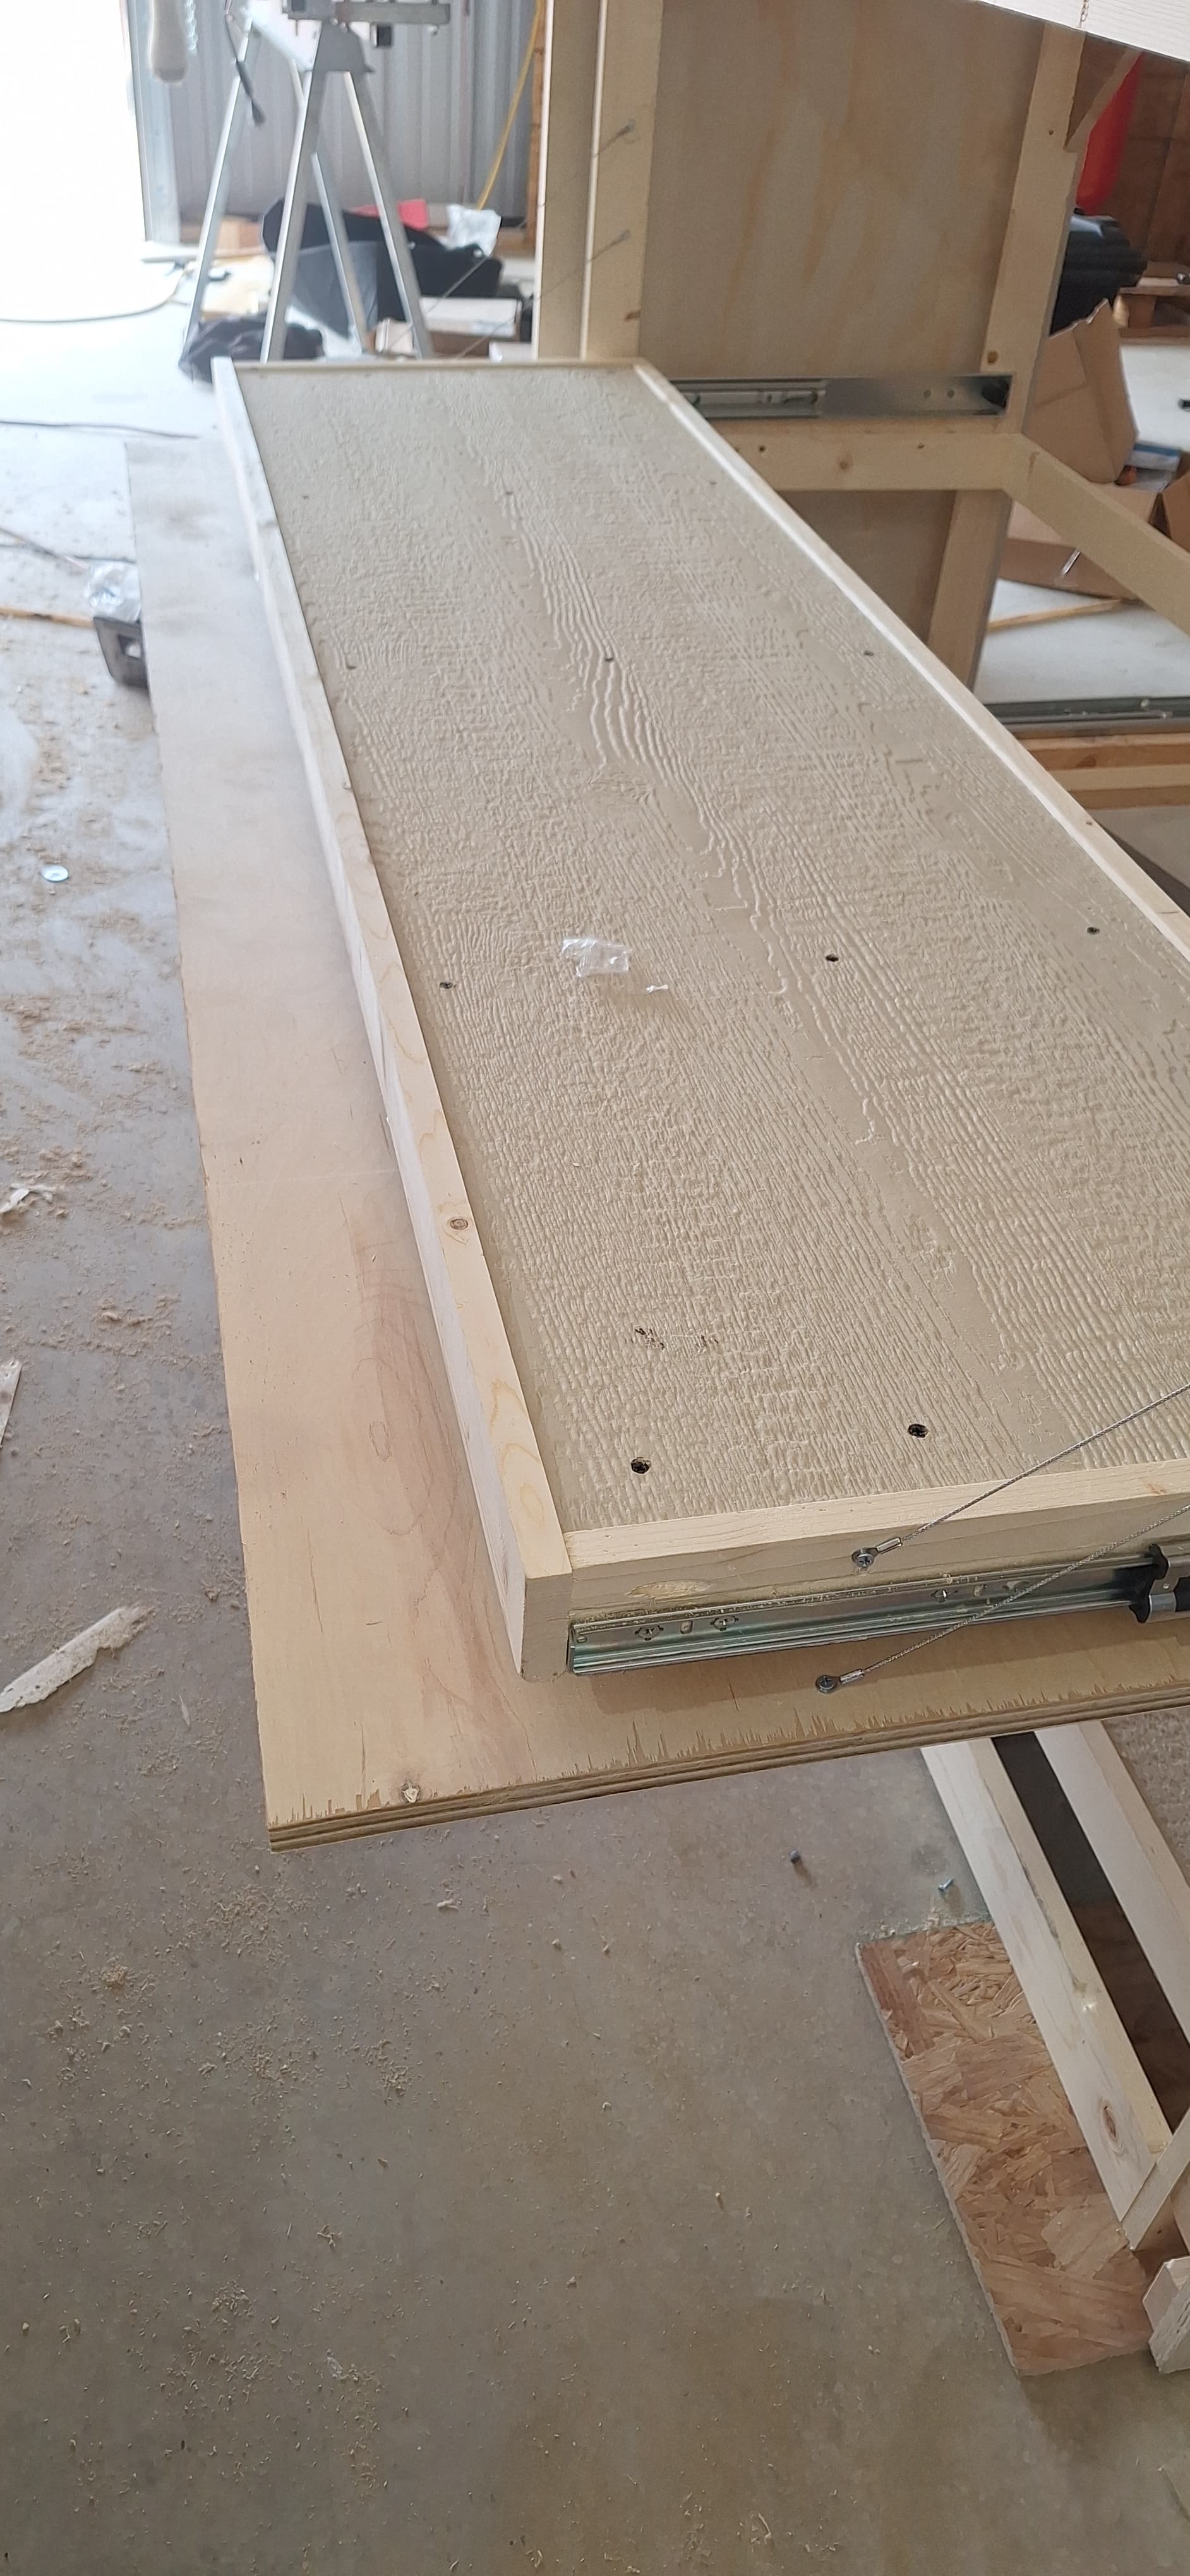
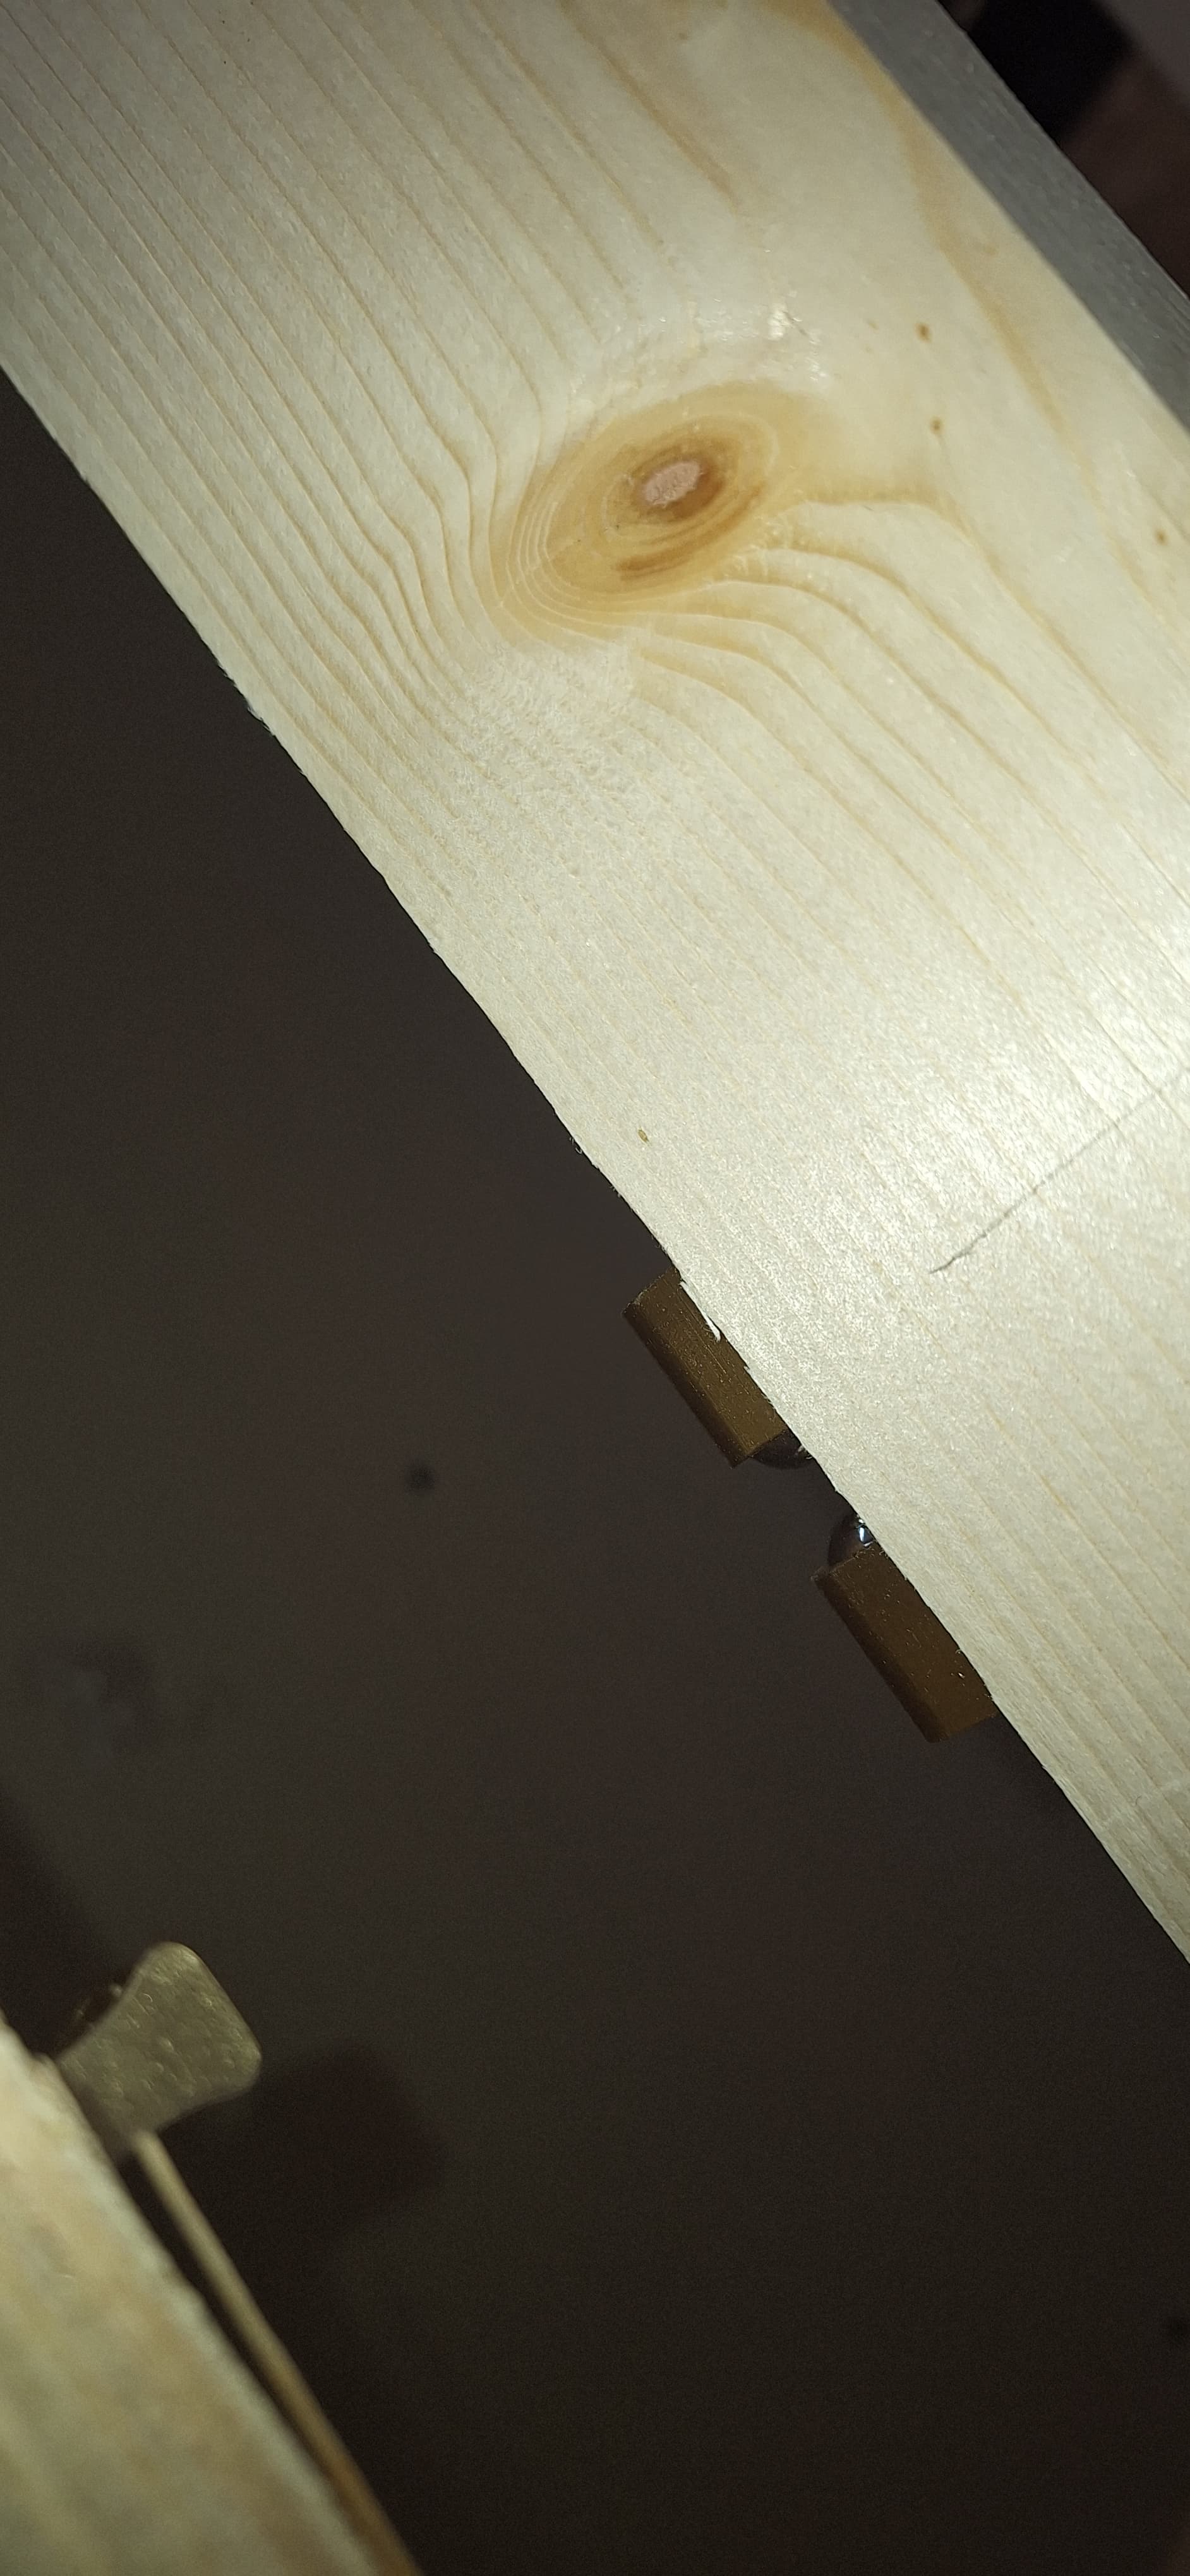
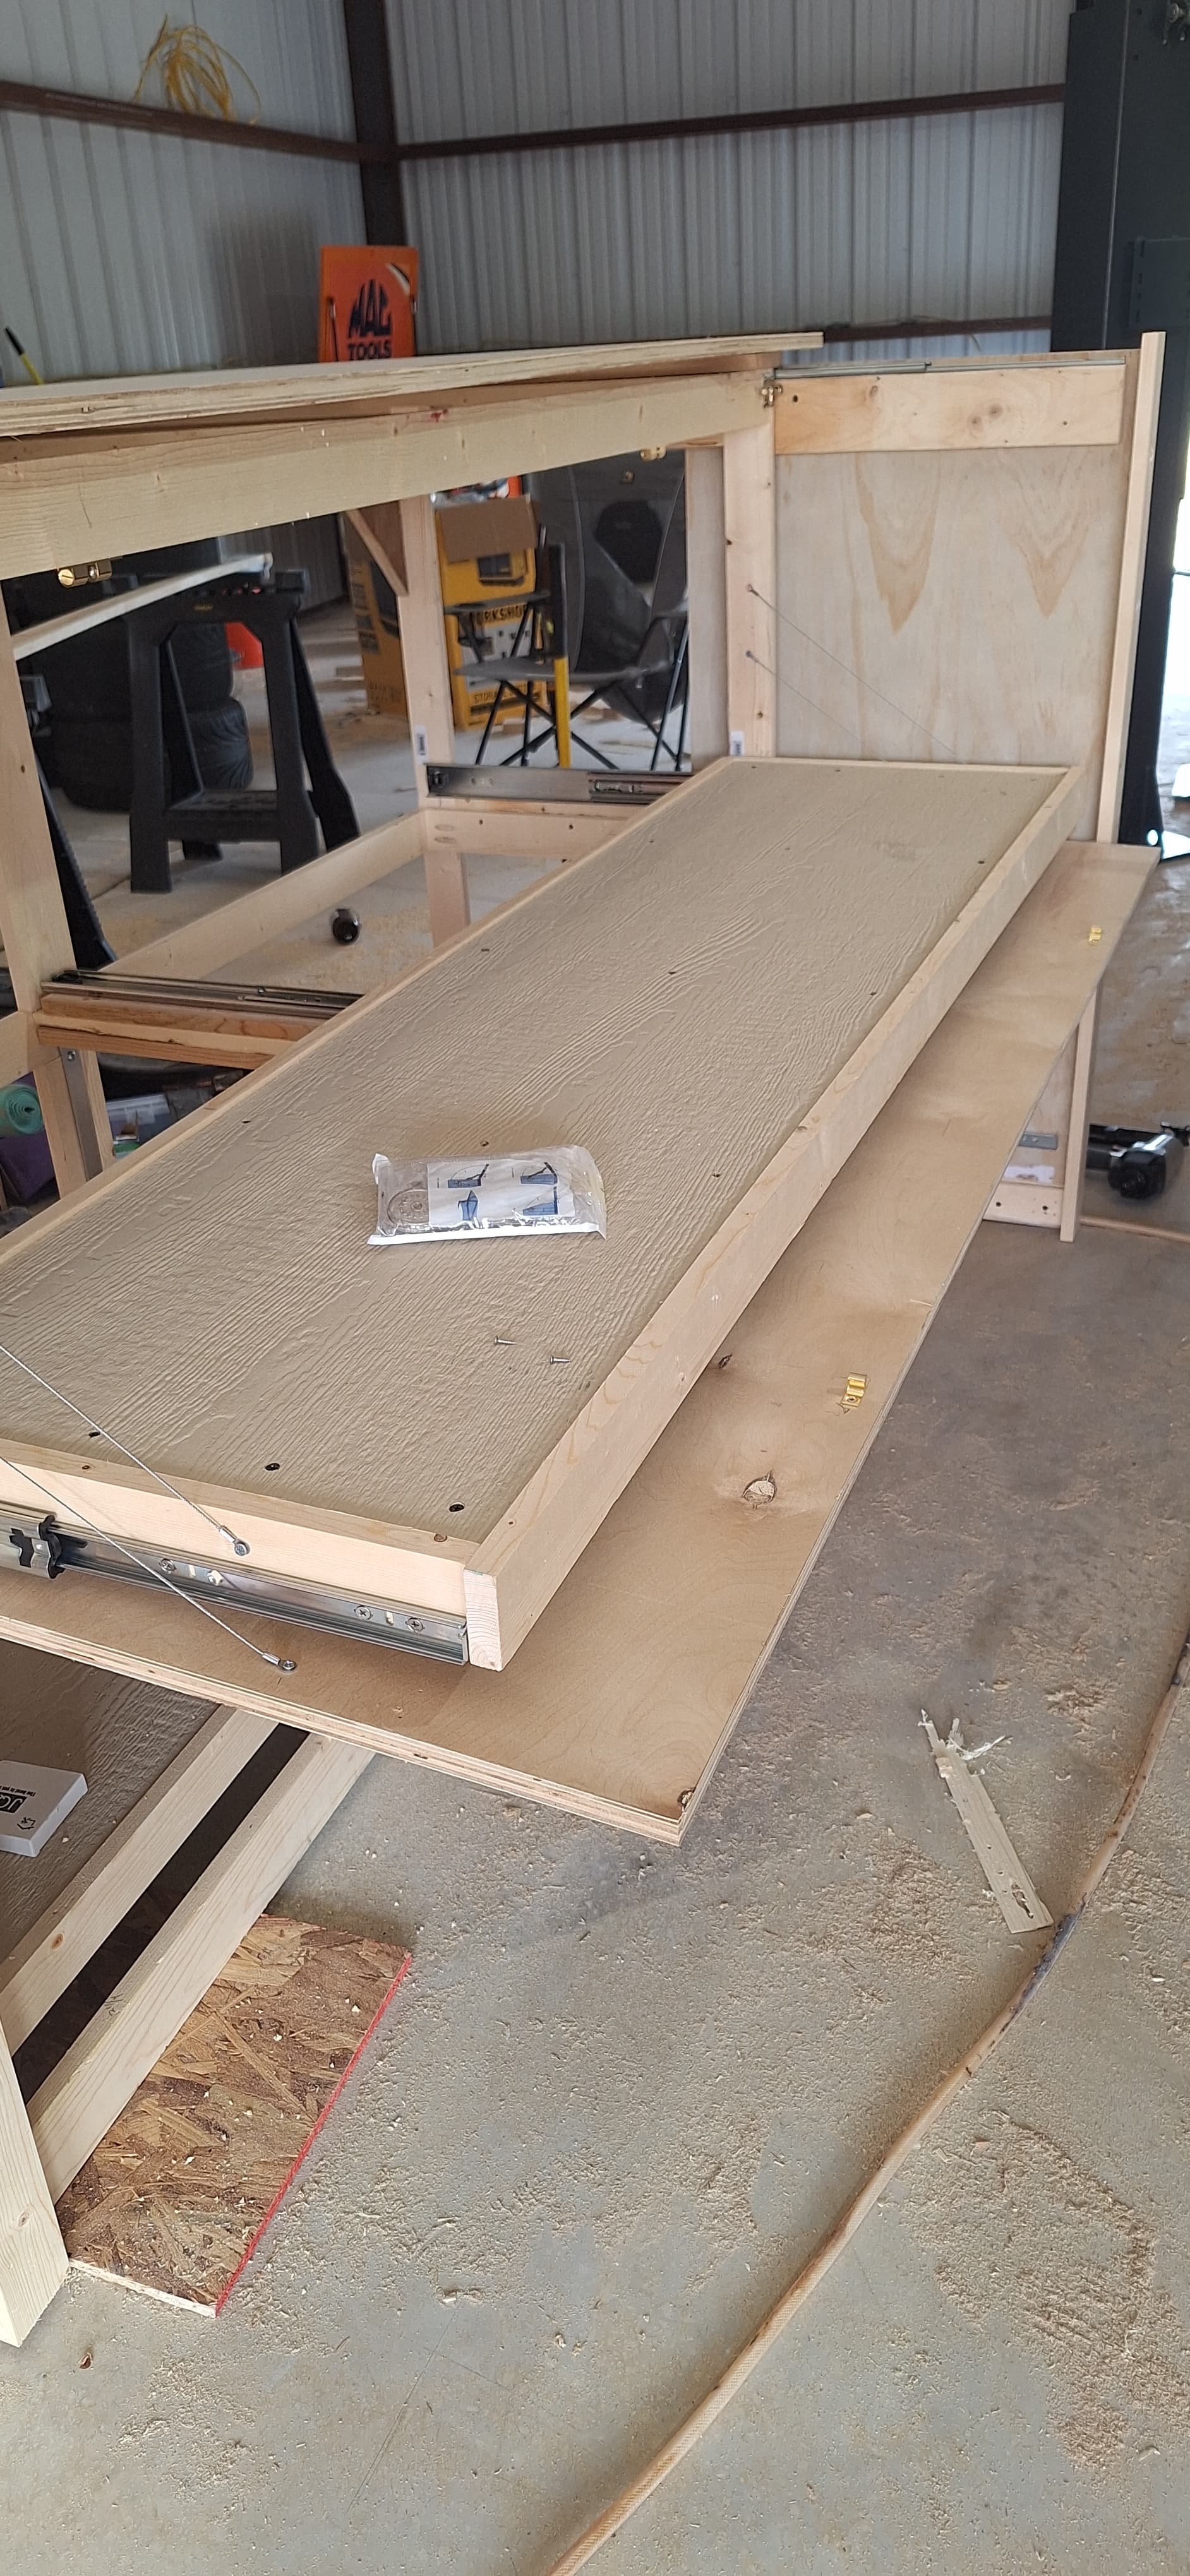
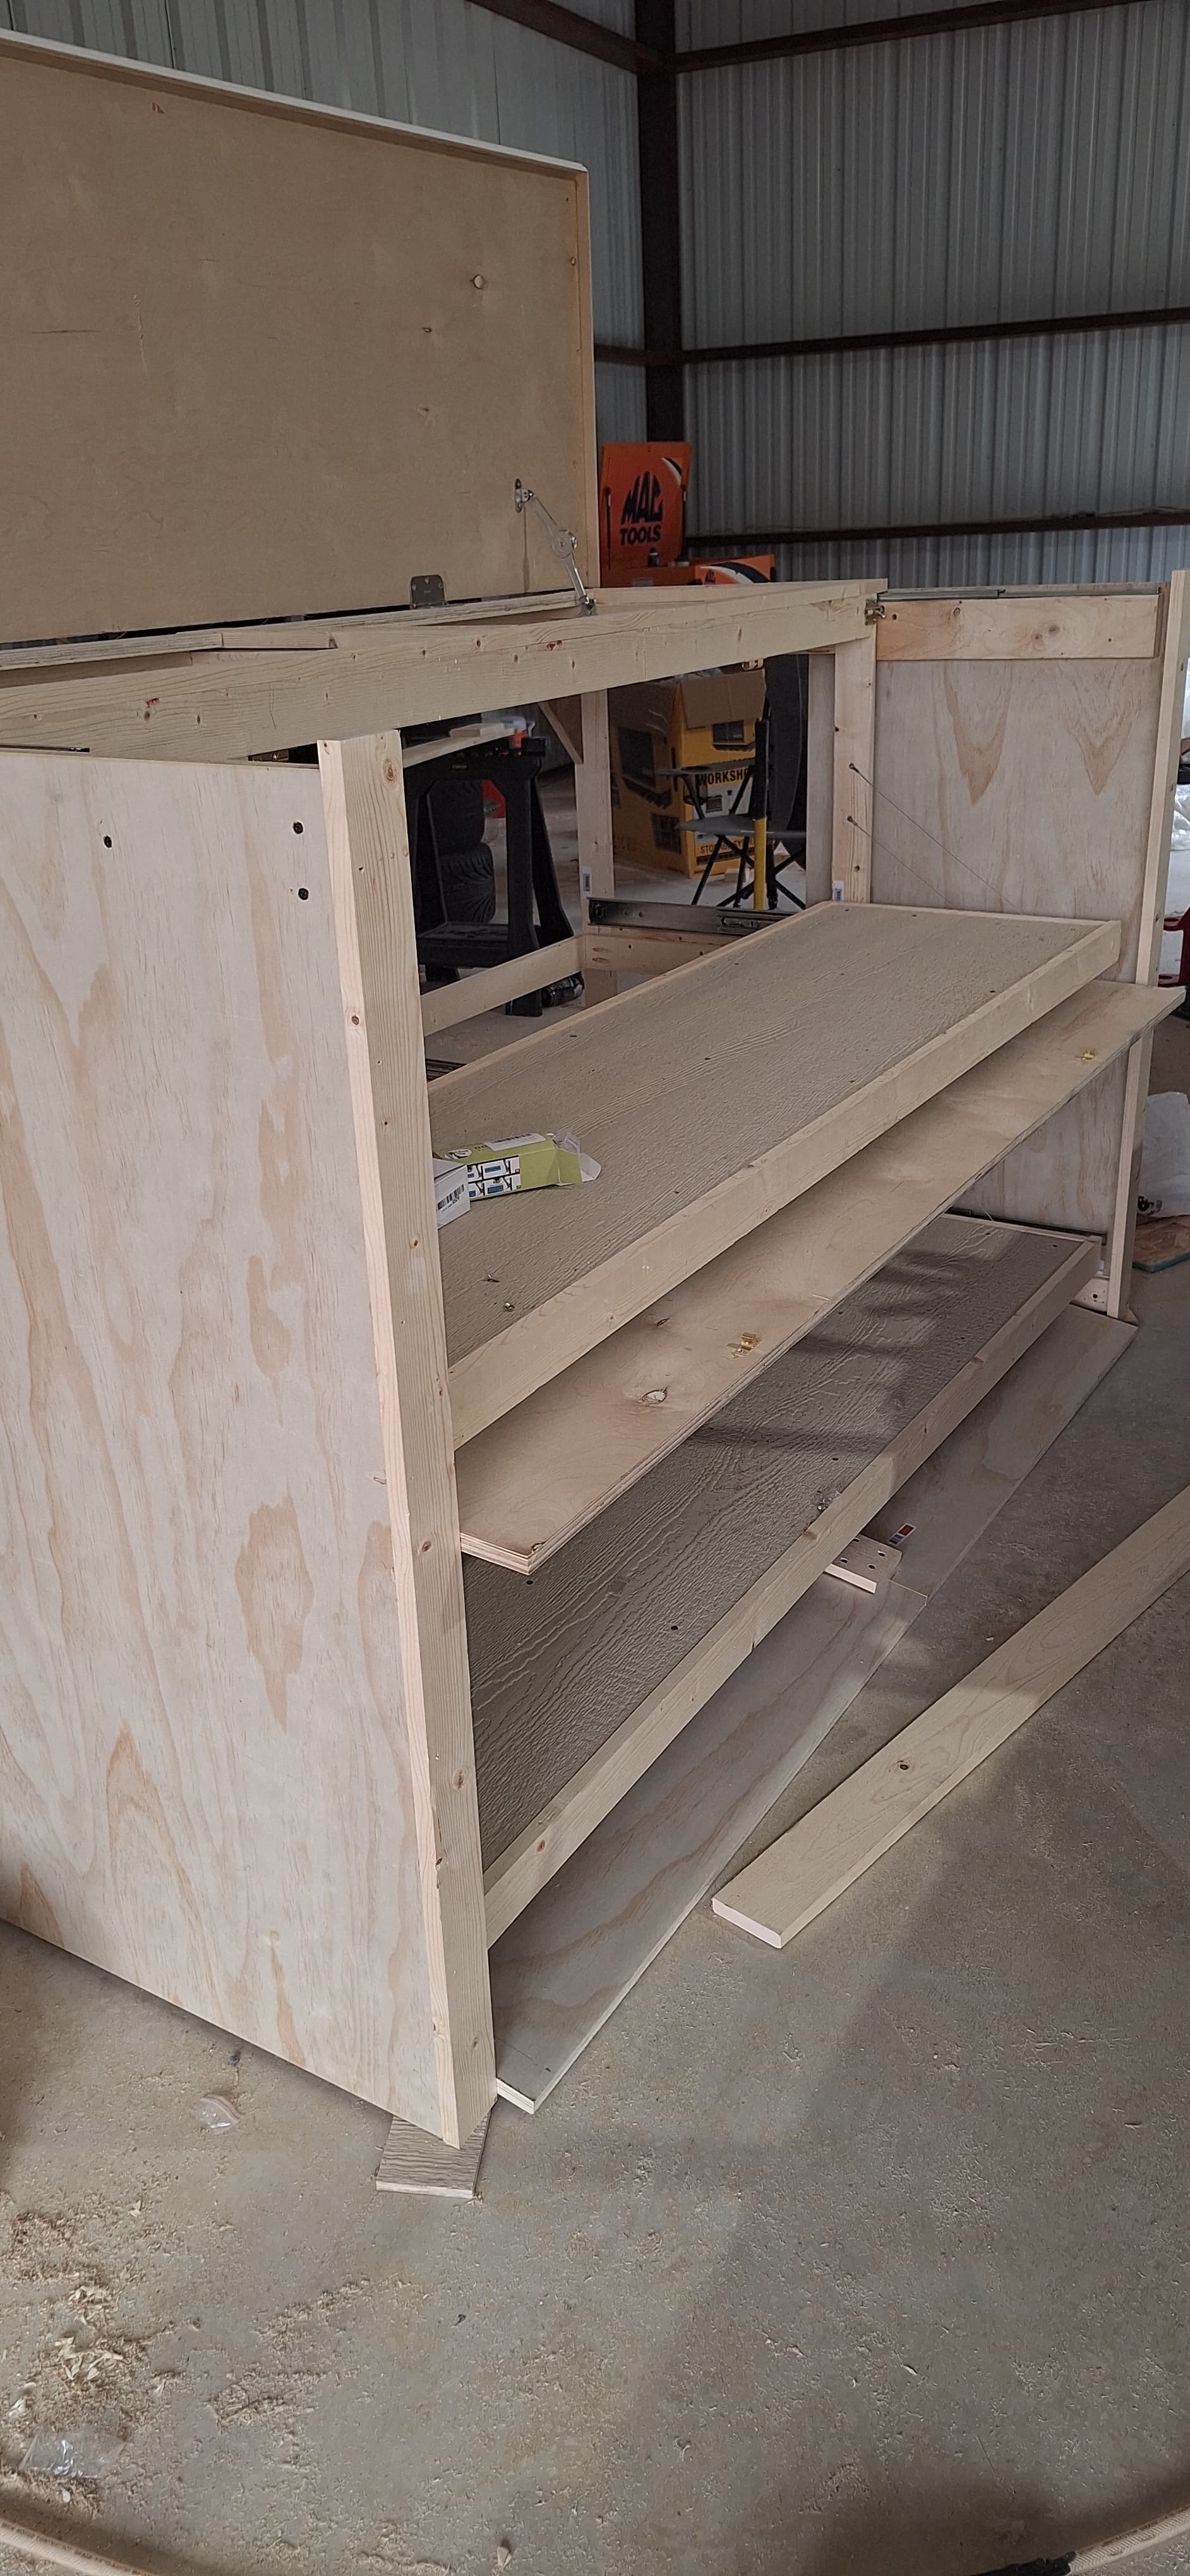
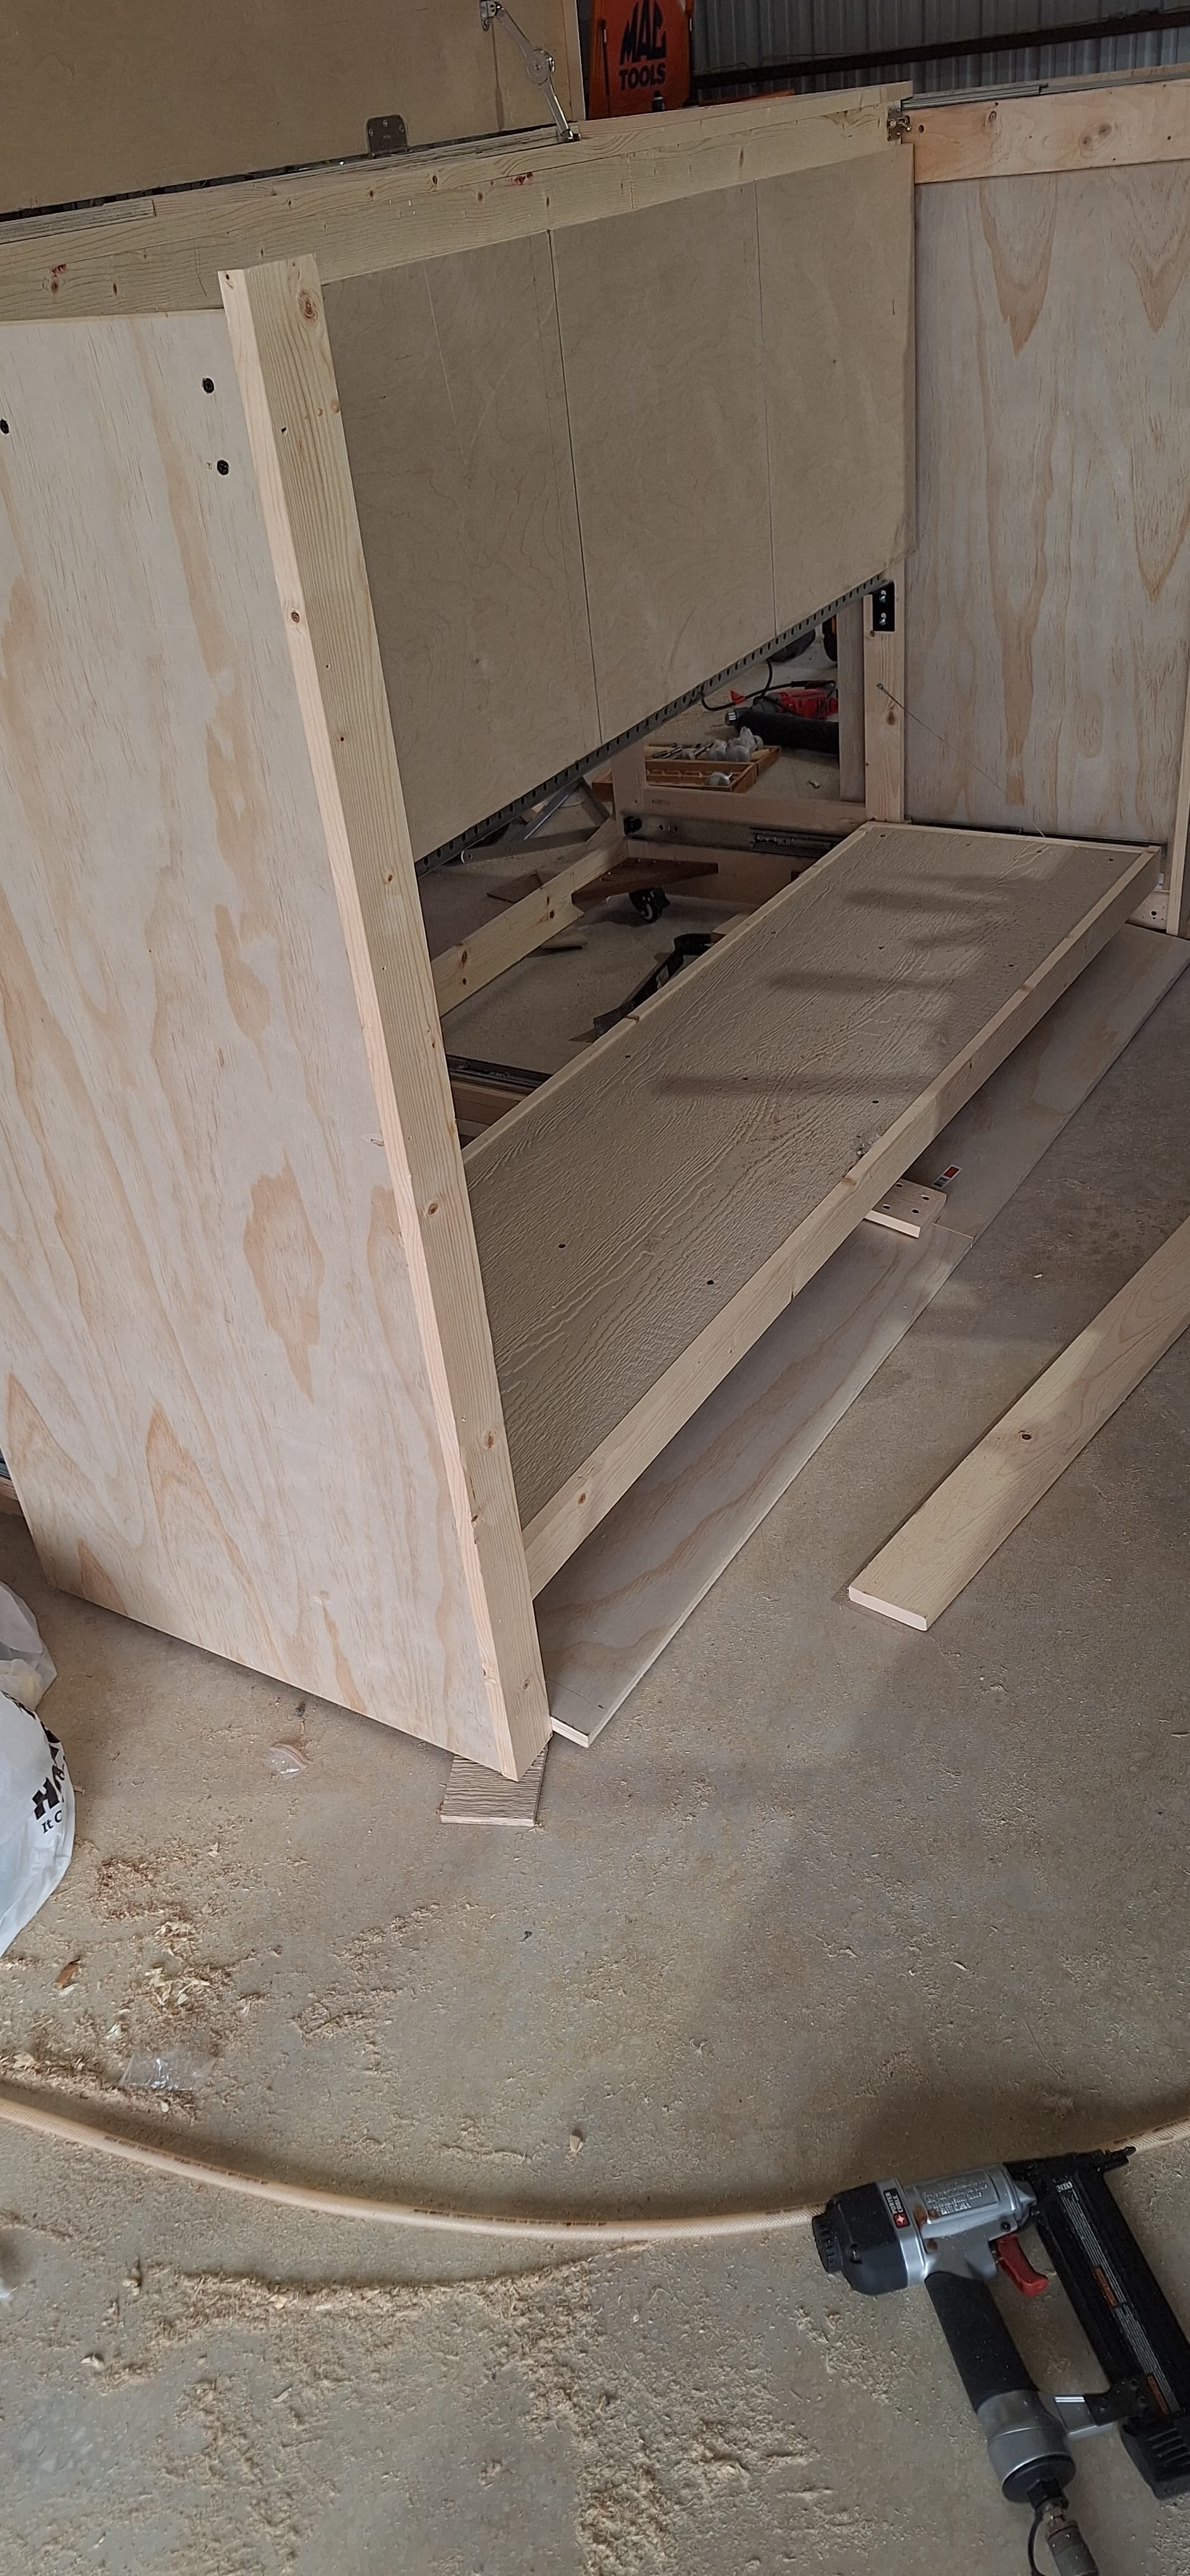
I changed out the tray glides for some HEAVY-duty ones. Here they are for comparison. The silver ones are 300 lb rated, and it is noticeable they are more robust than the ones I used initially.
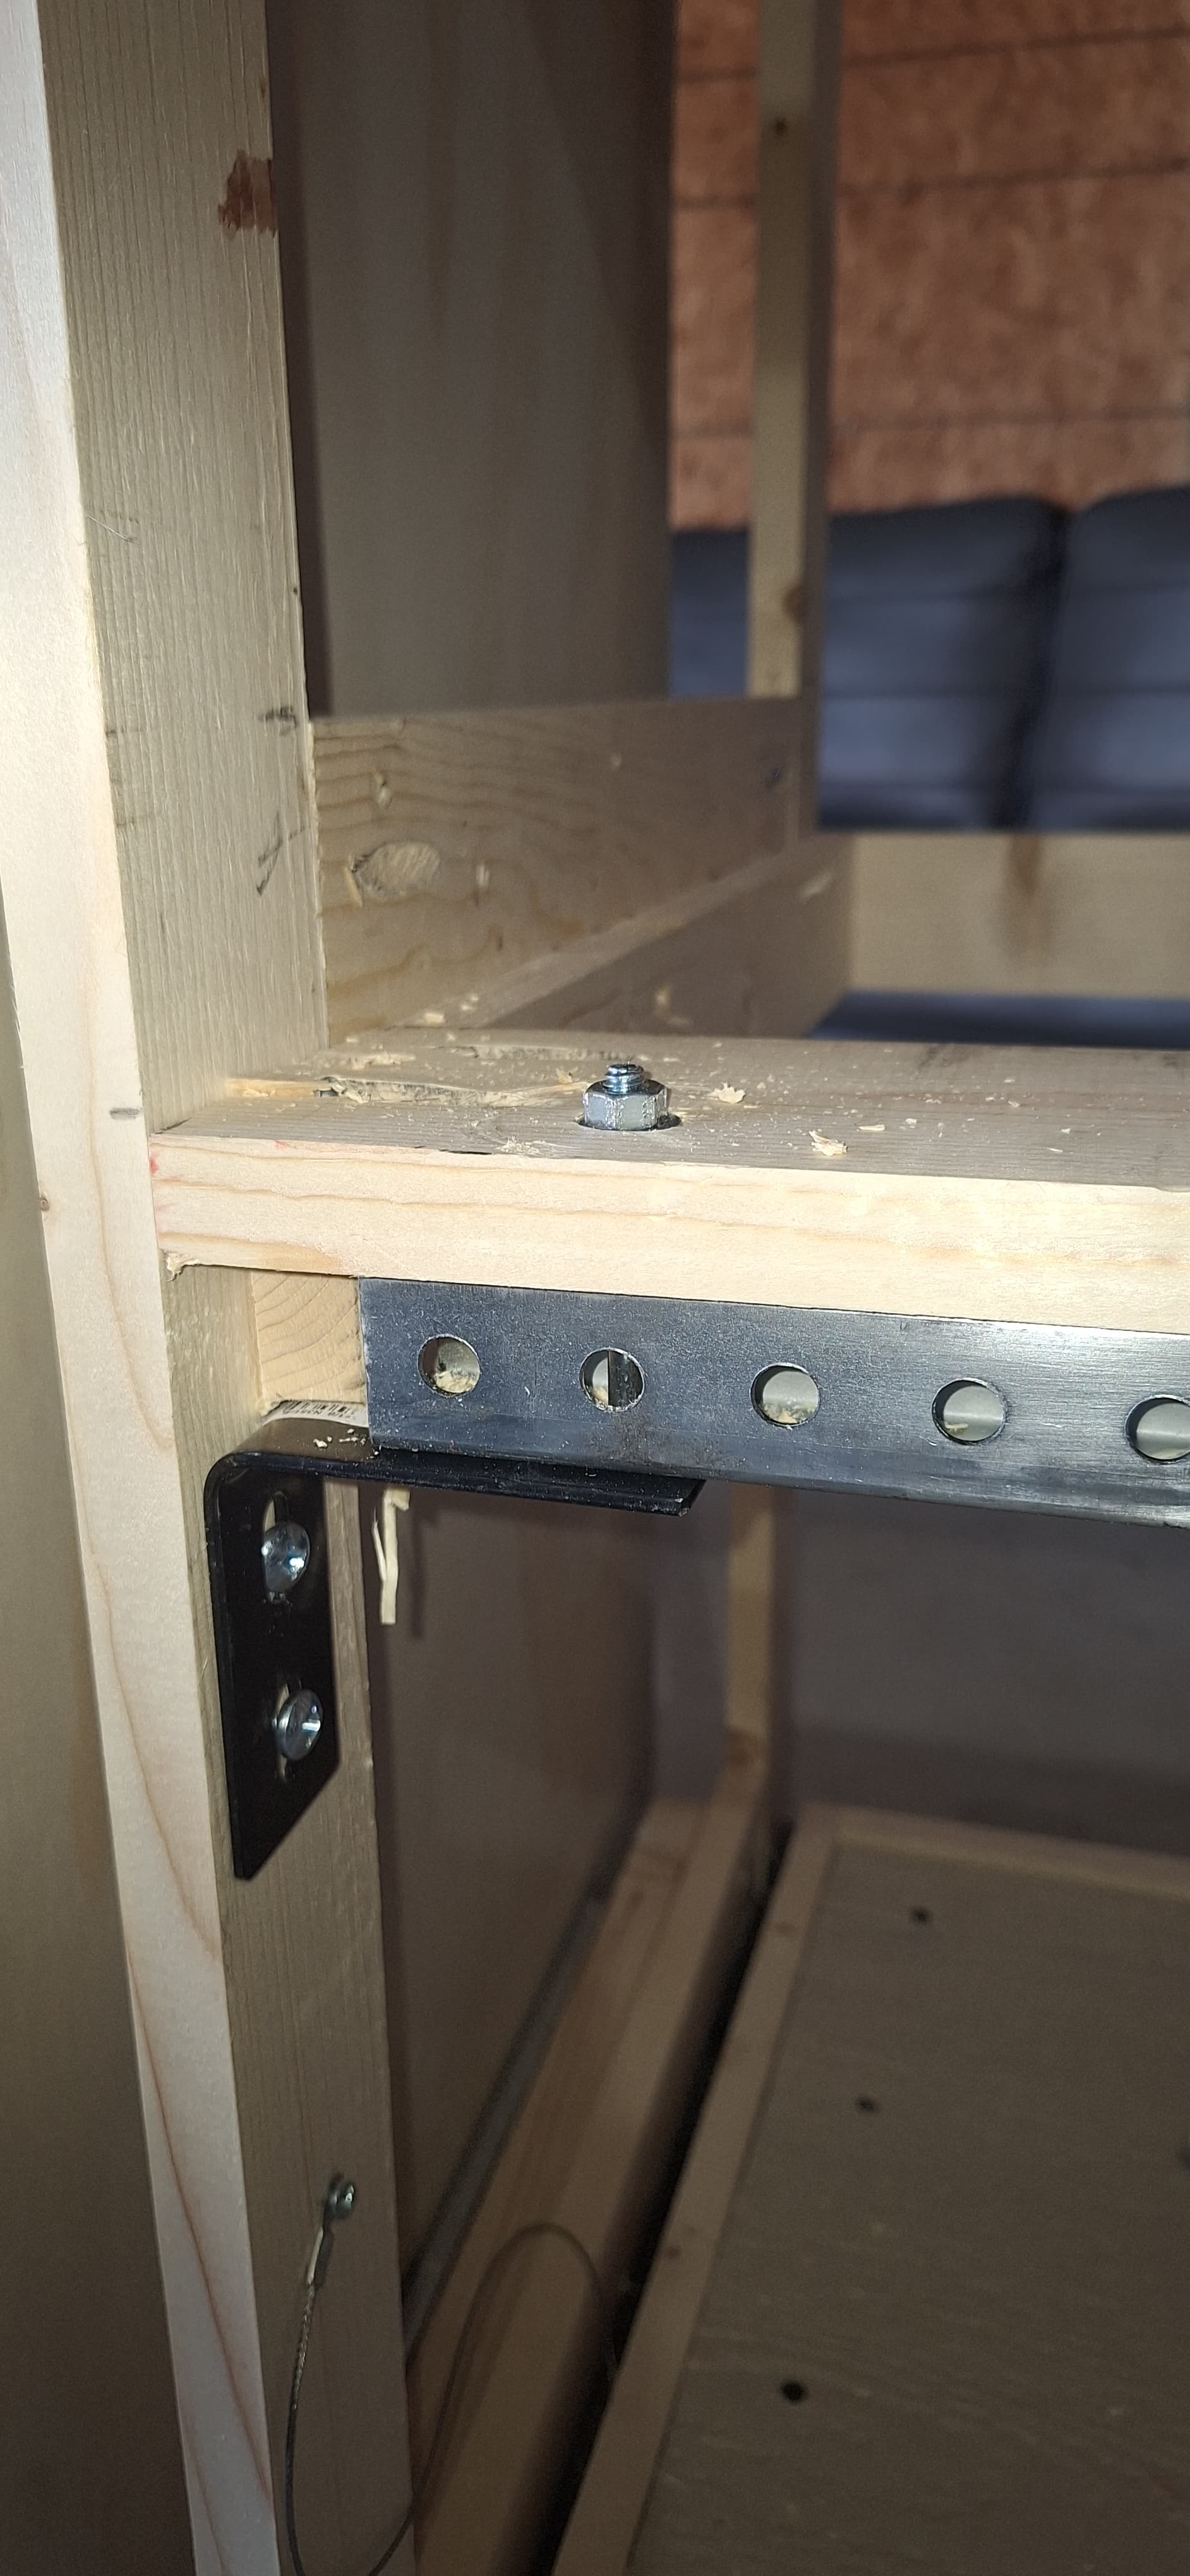
I installed a cross brace to add support for the upper tray when extended and loaded. (I know………I’m over engineering this thing, but I don’t want ANYTHING to happen when my gal is on this tray! )
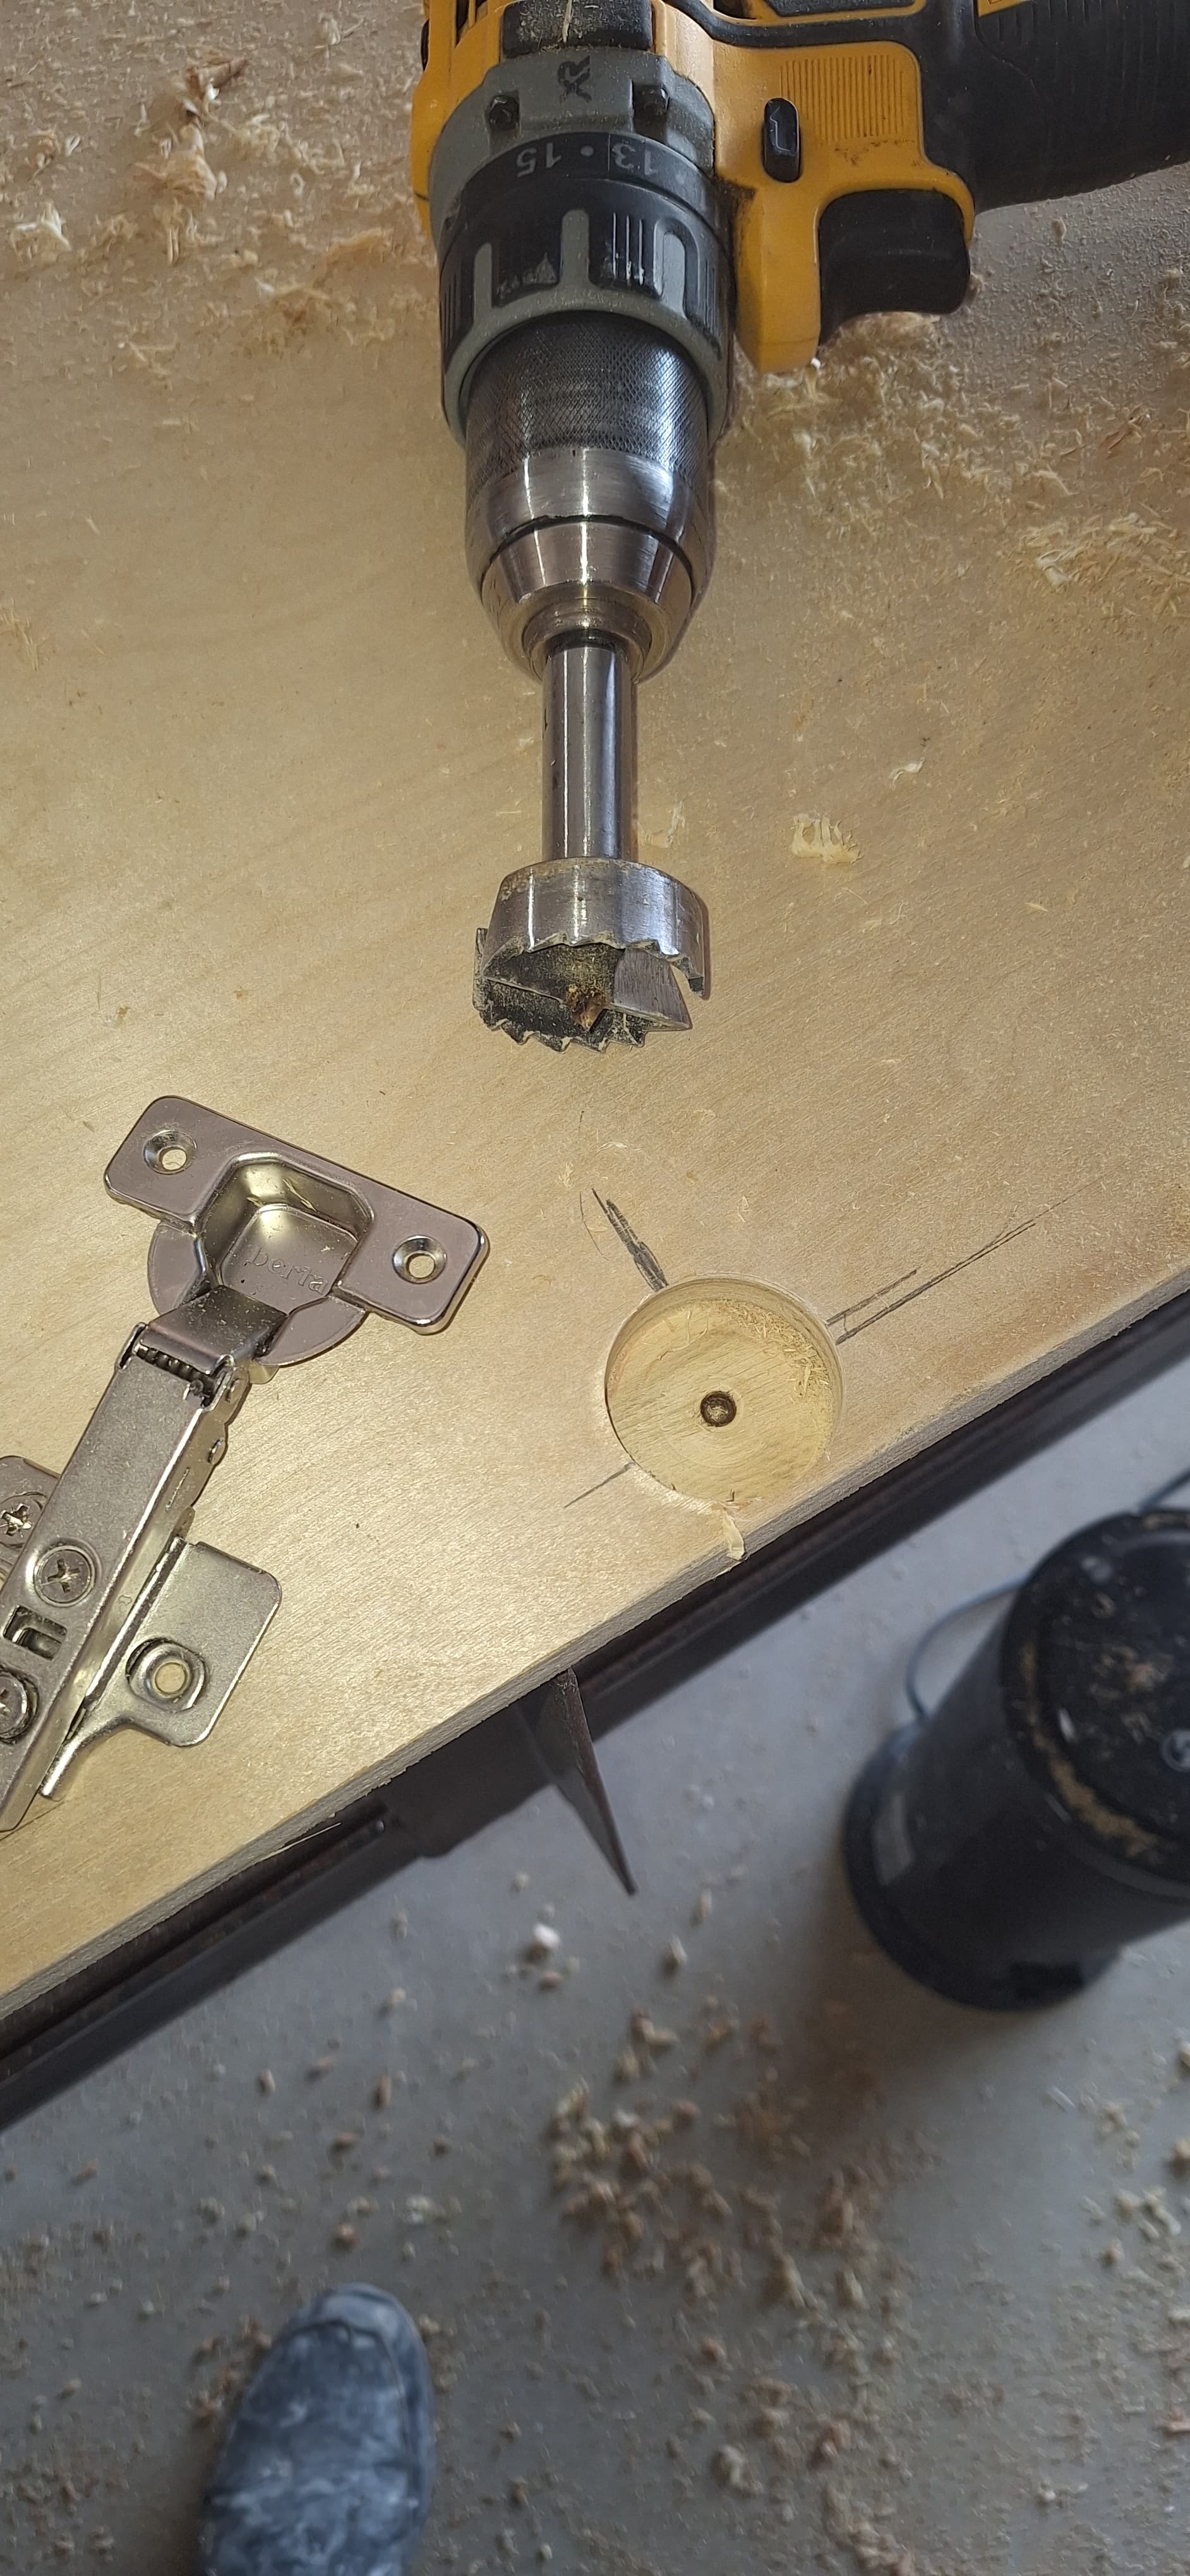
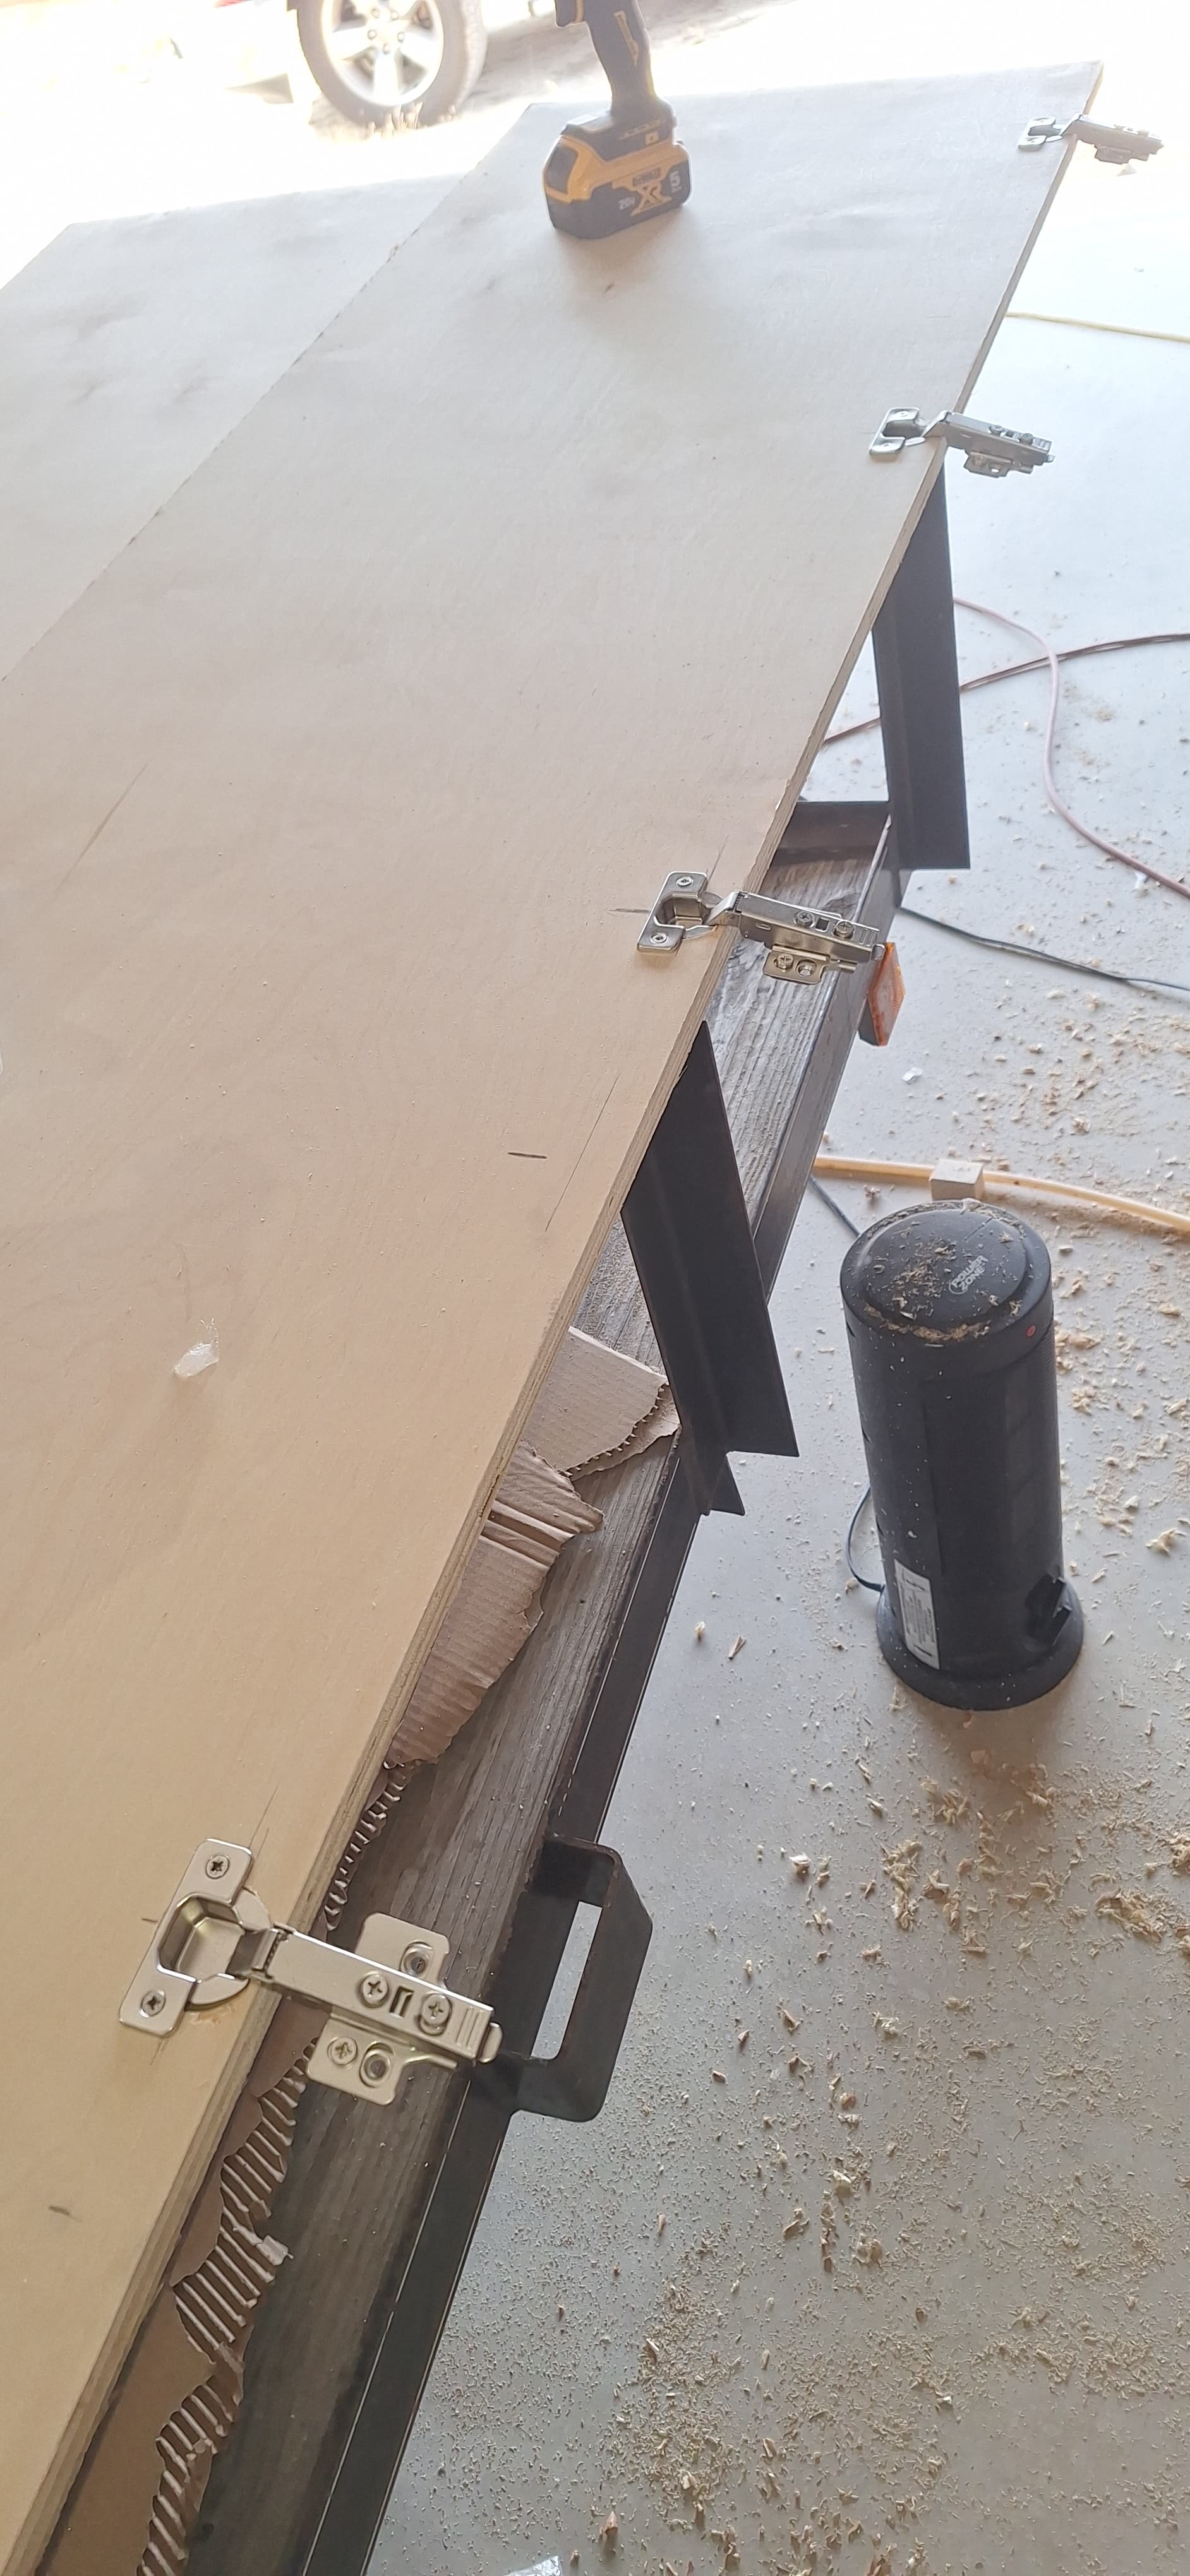
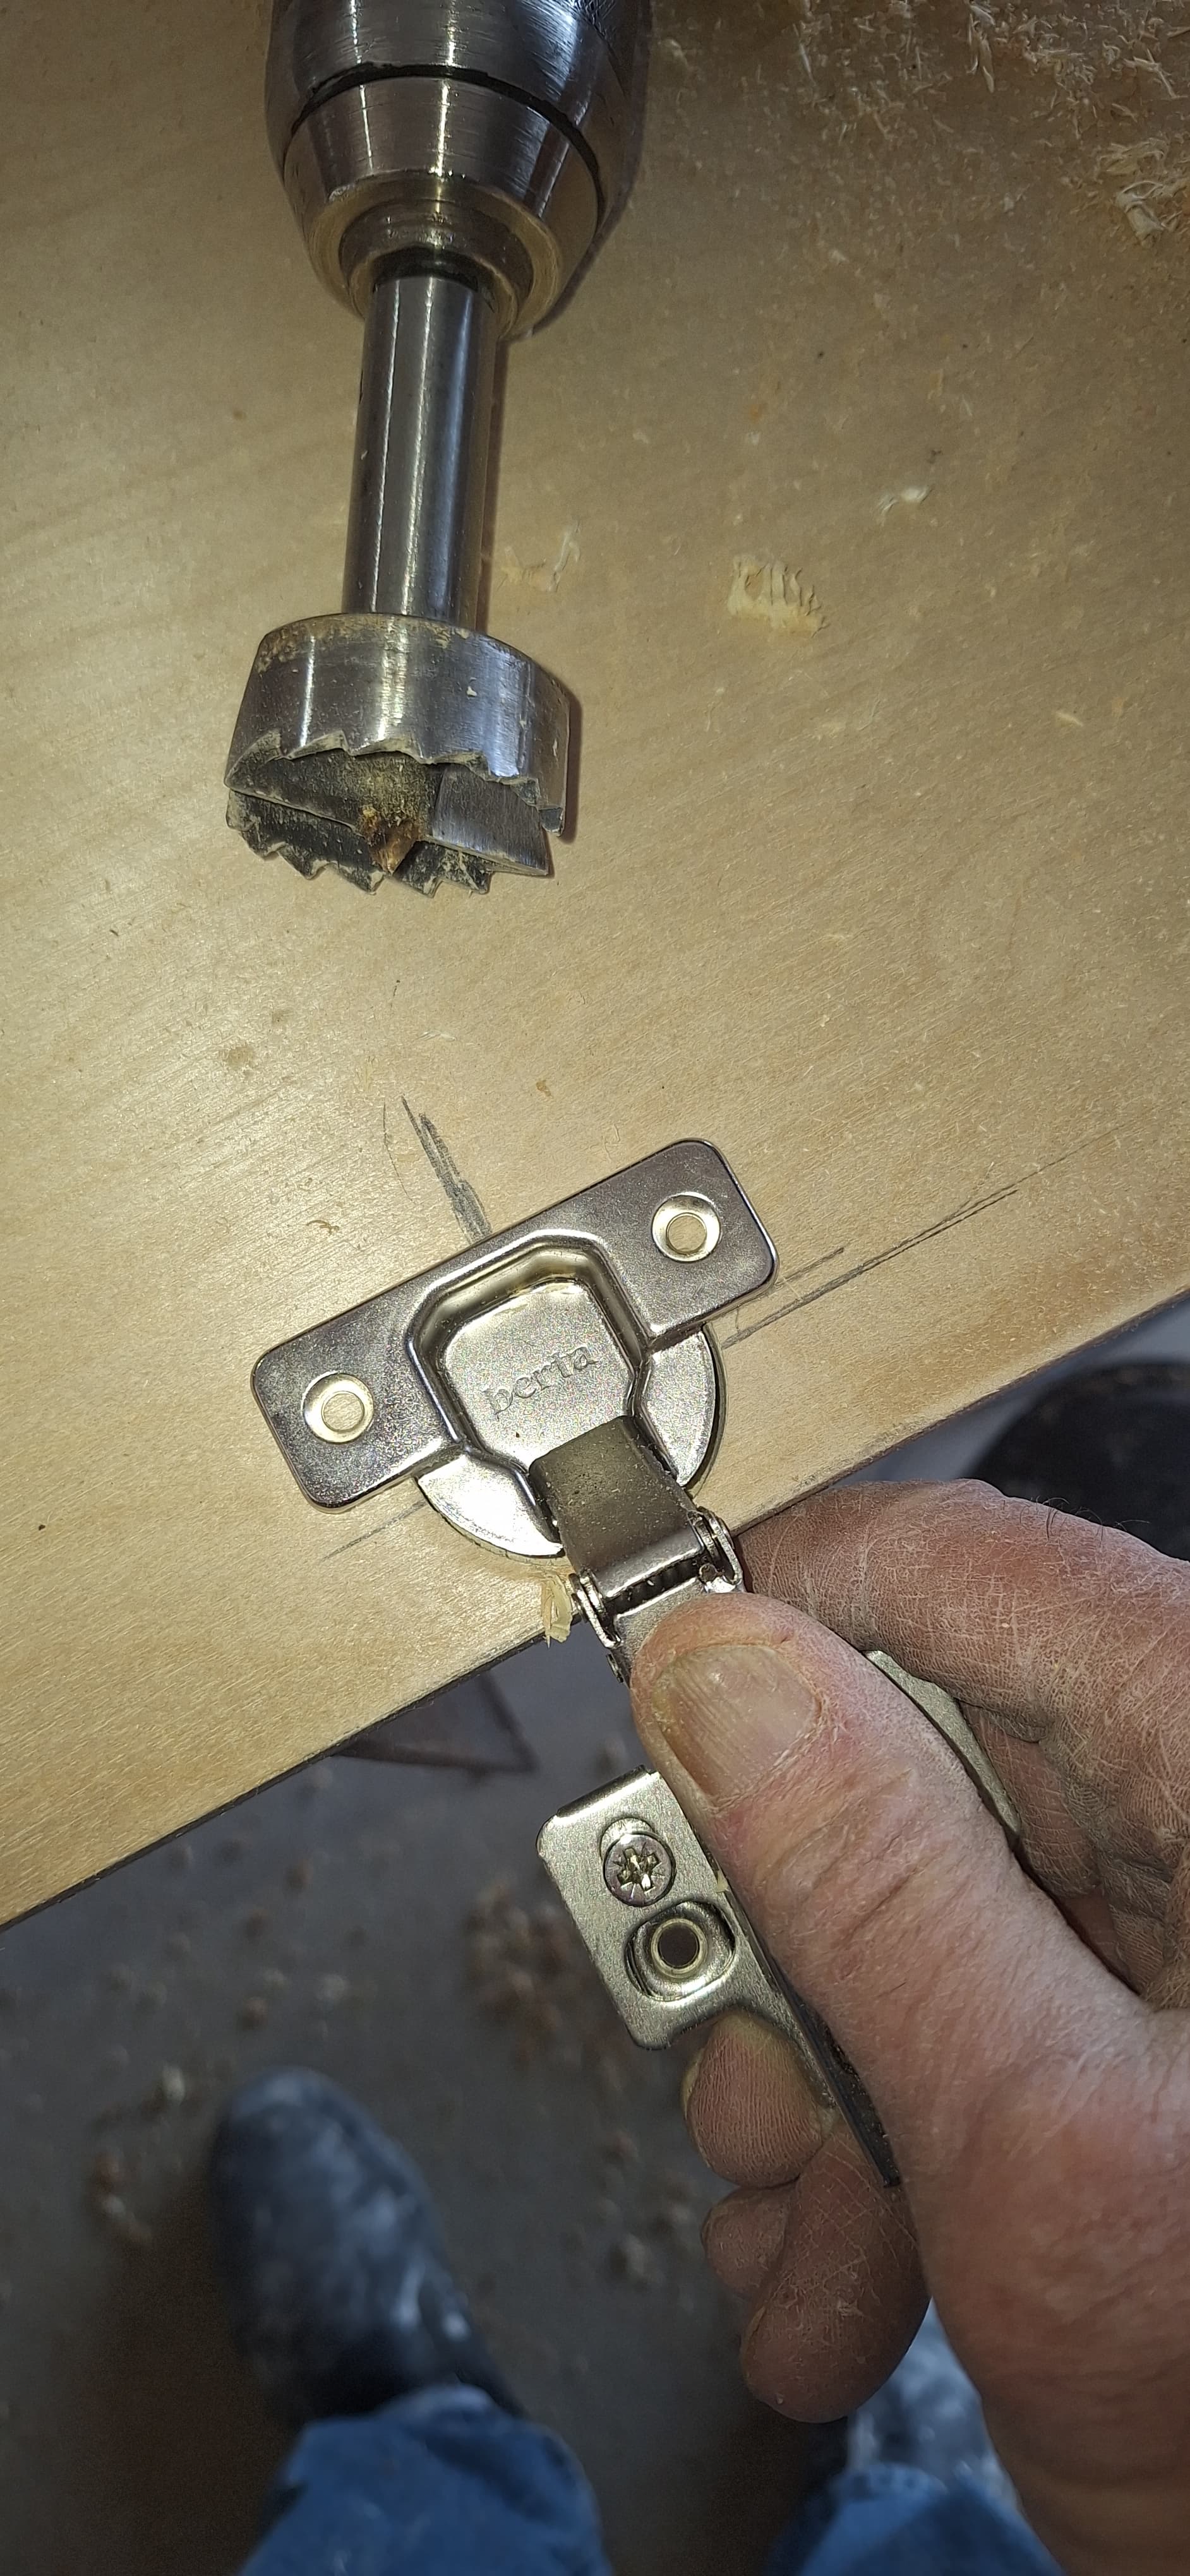
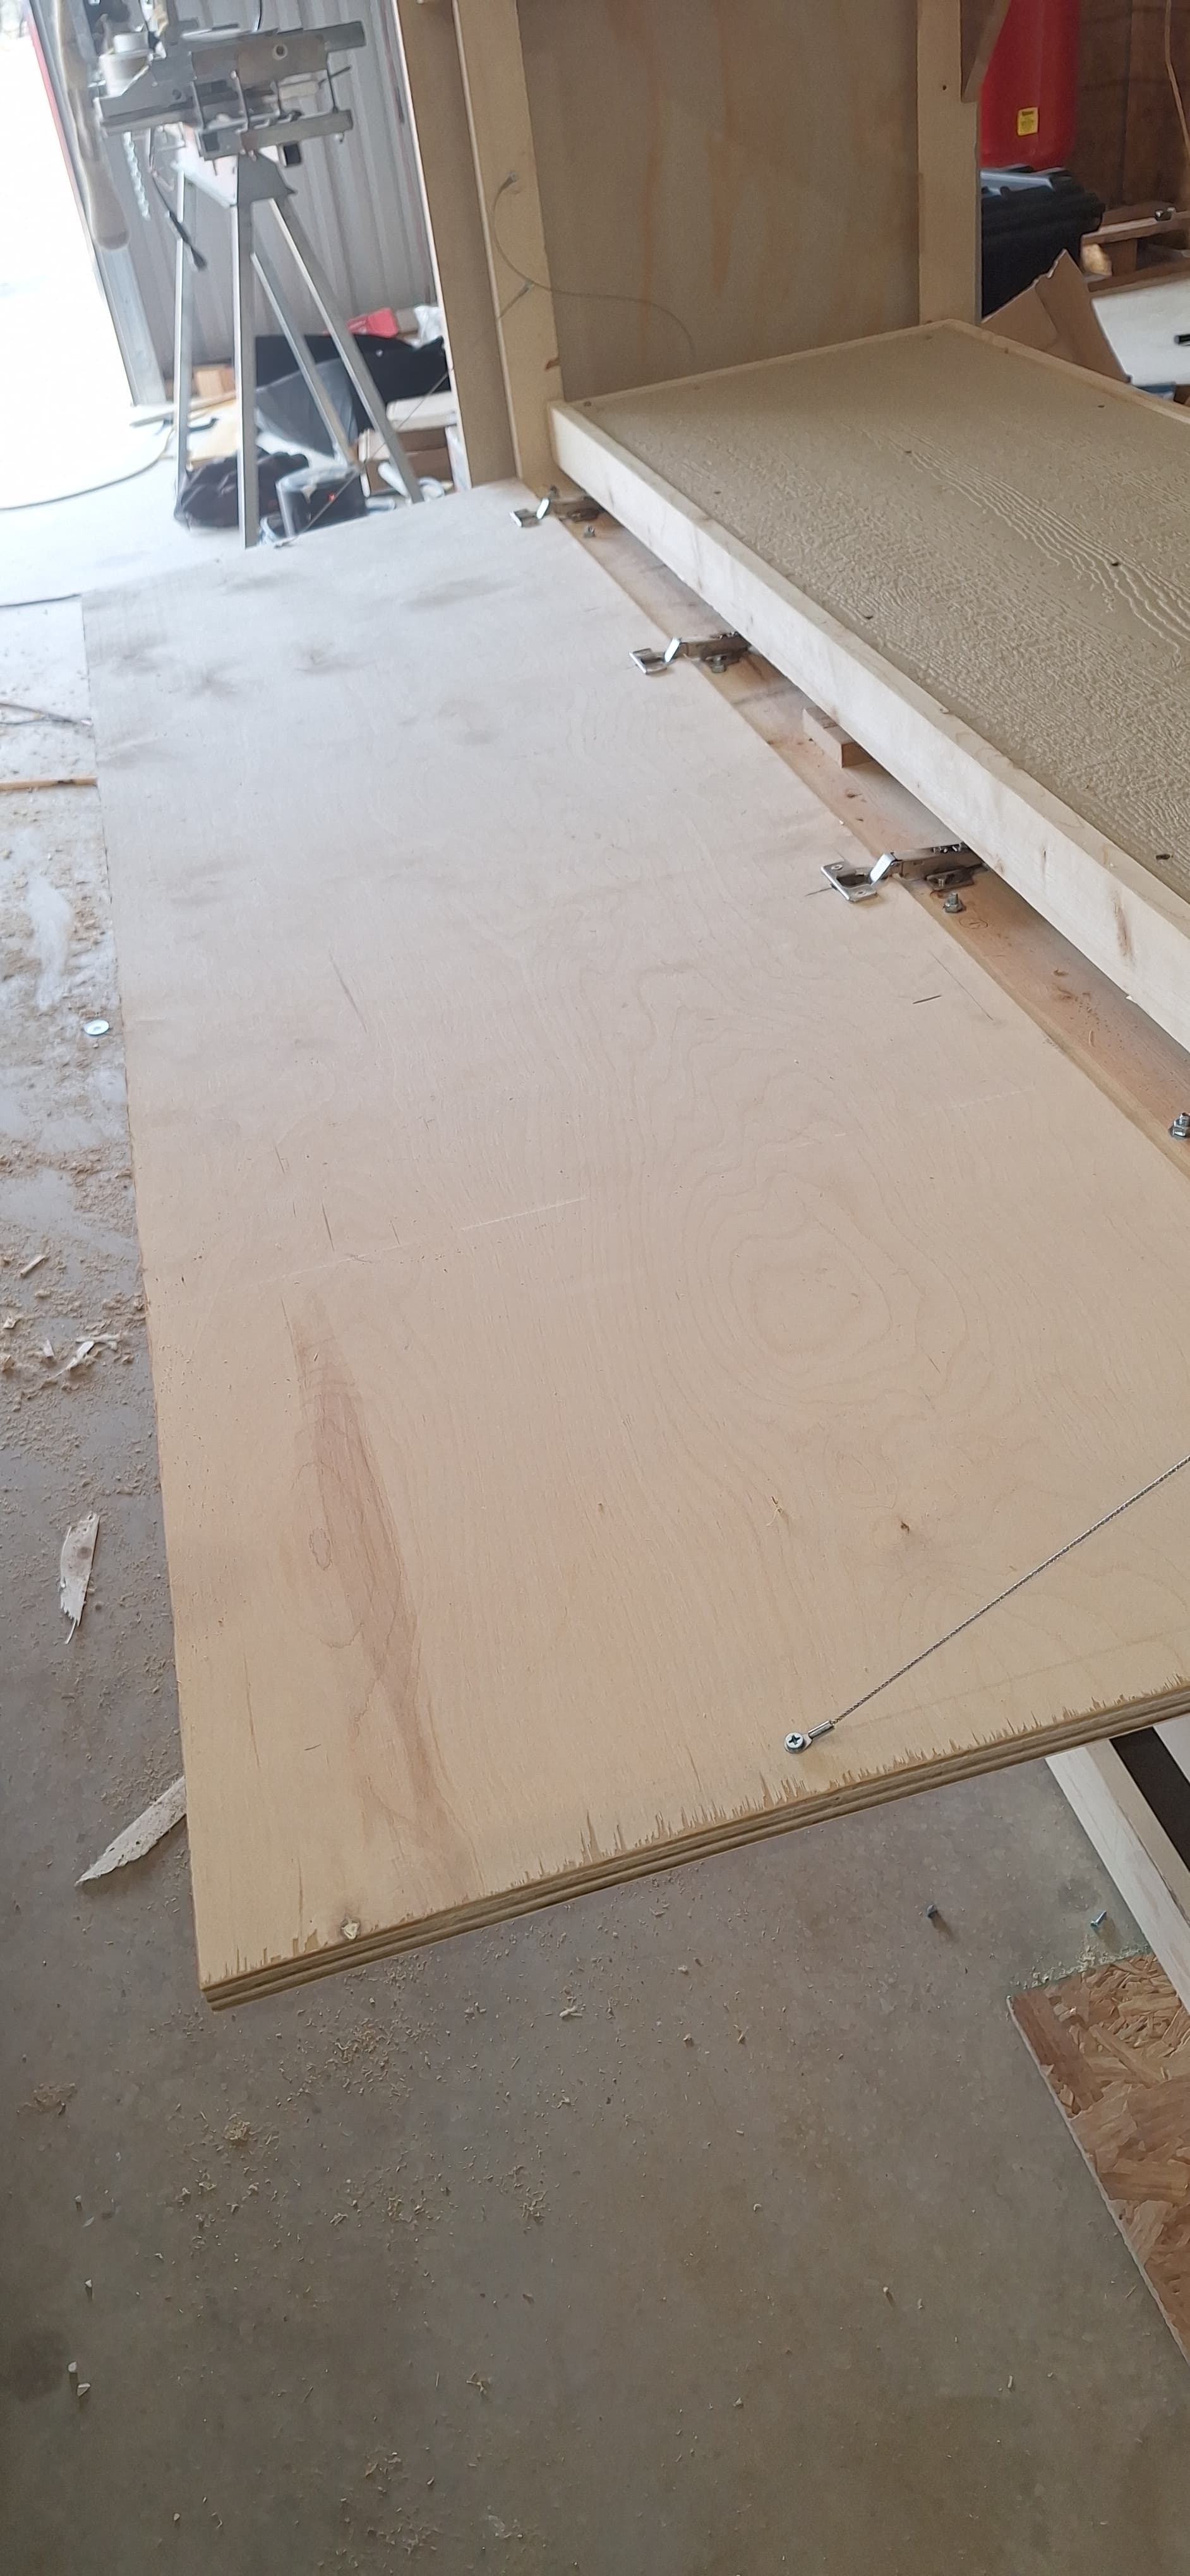
Installed the hinges on the upper false front door. These are offset soft close hinges for an overlay application. I used a Forstner bit to bore the holes.
I’ll pick this up on another post.
Happy Dolling!
Continuing with the update on the transport cabinet.
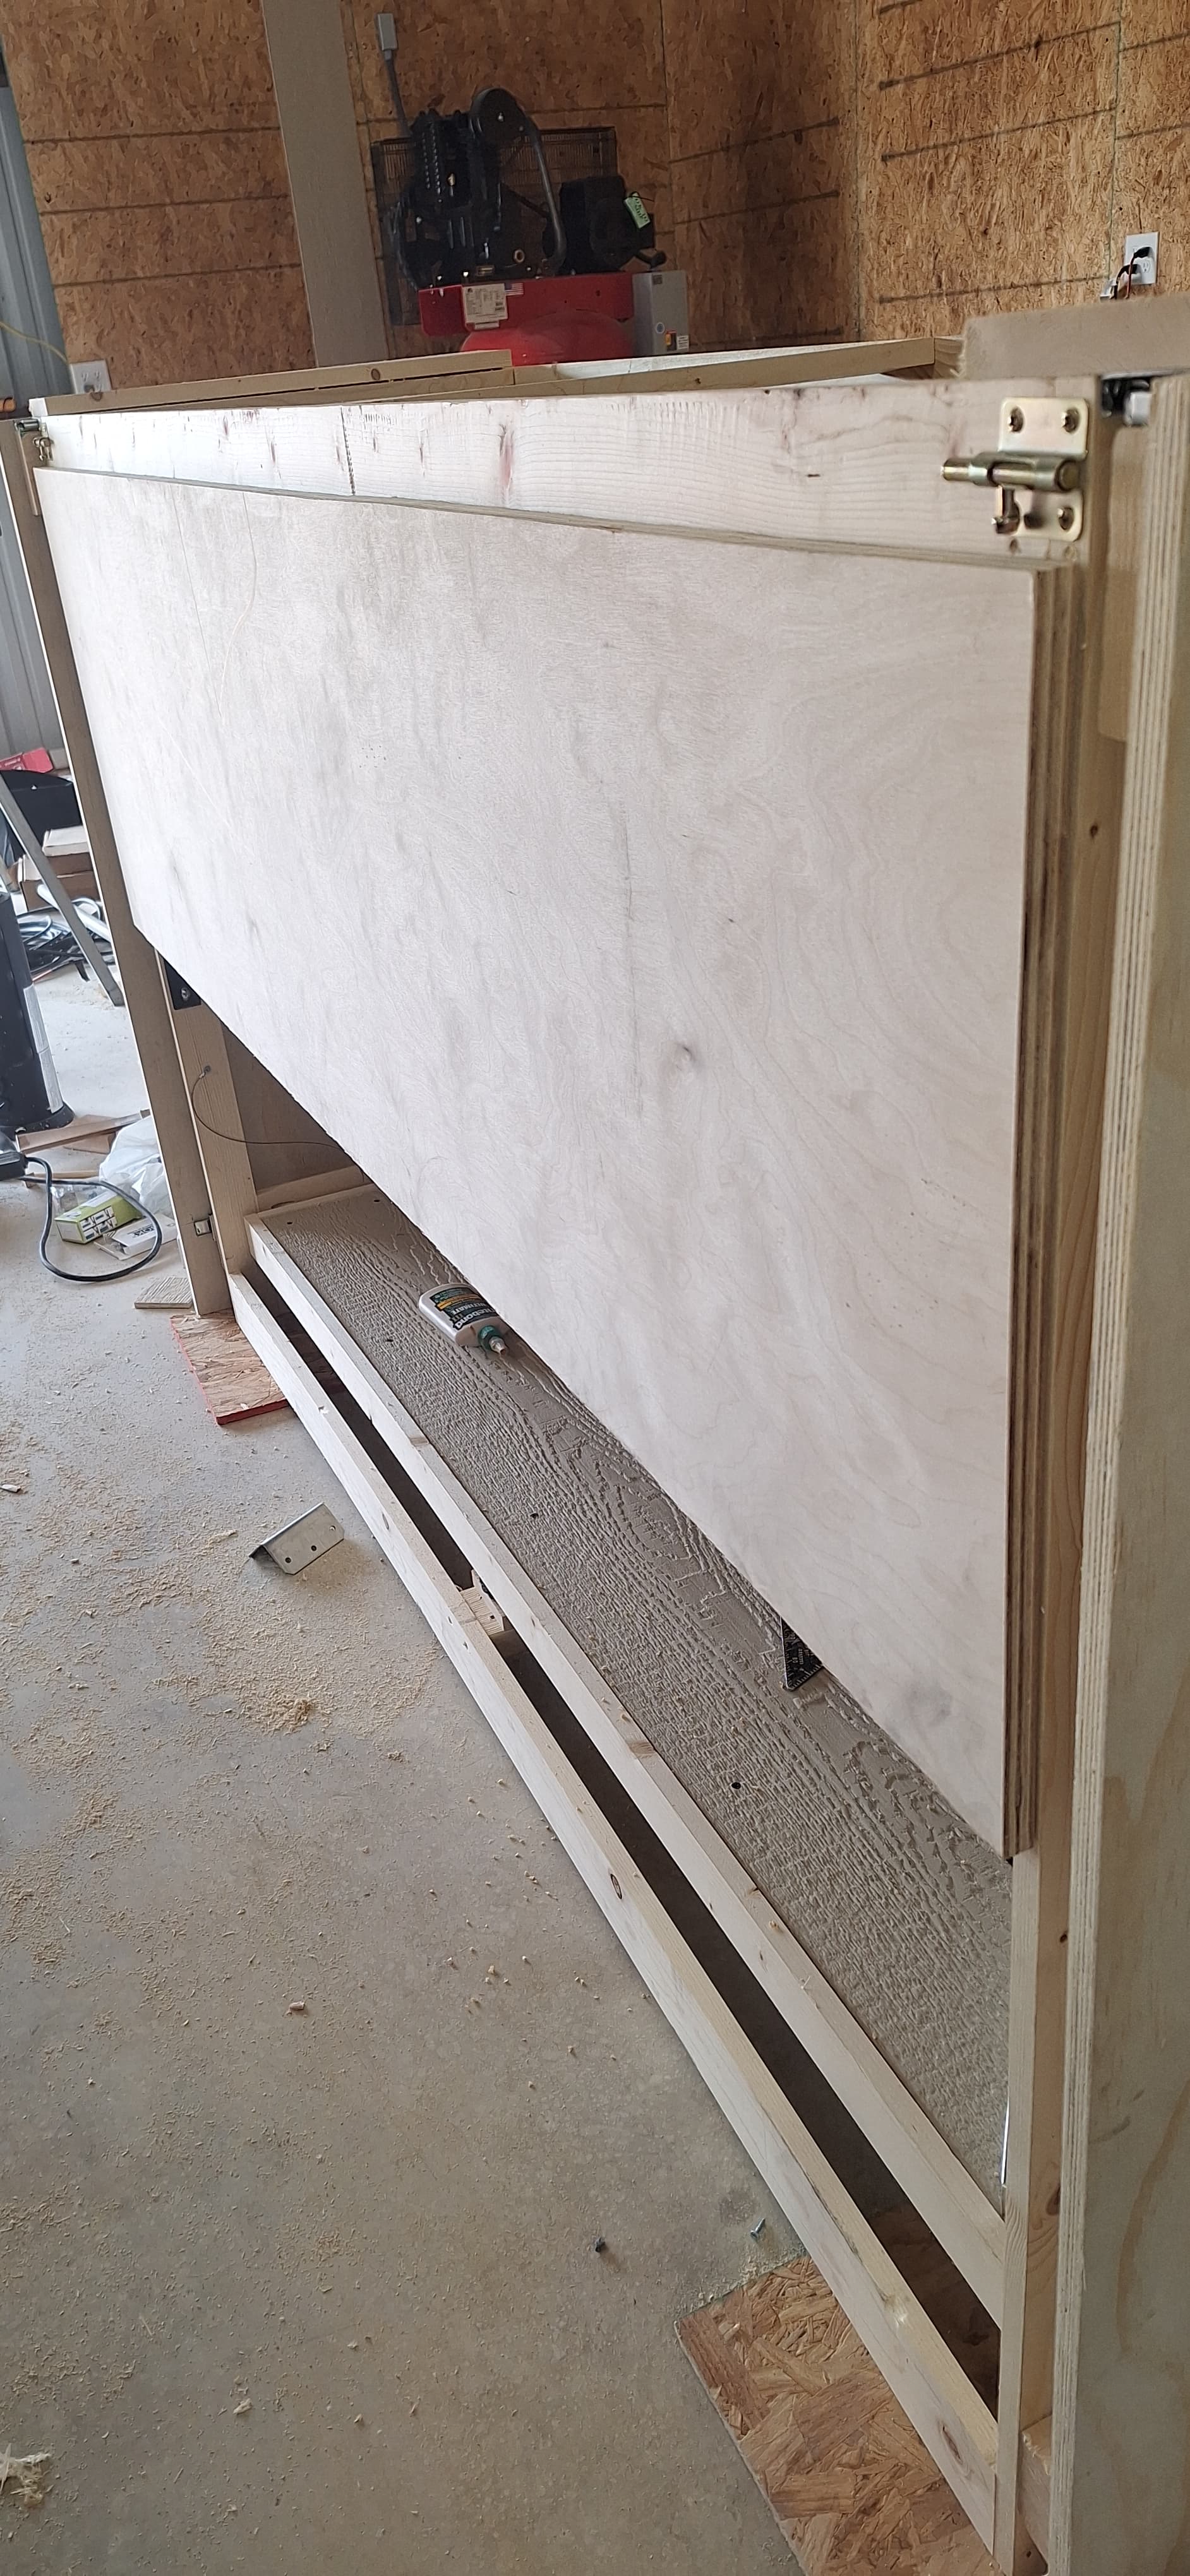
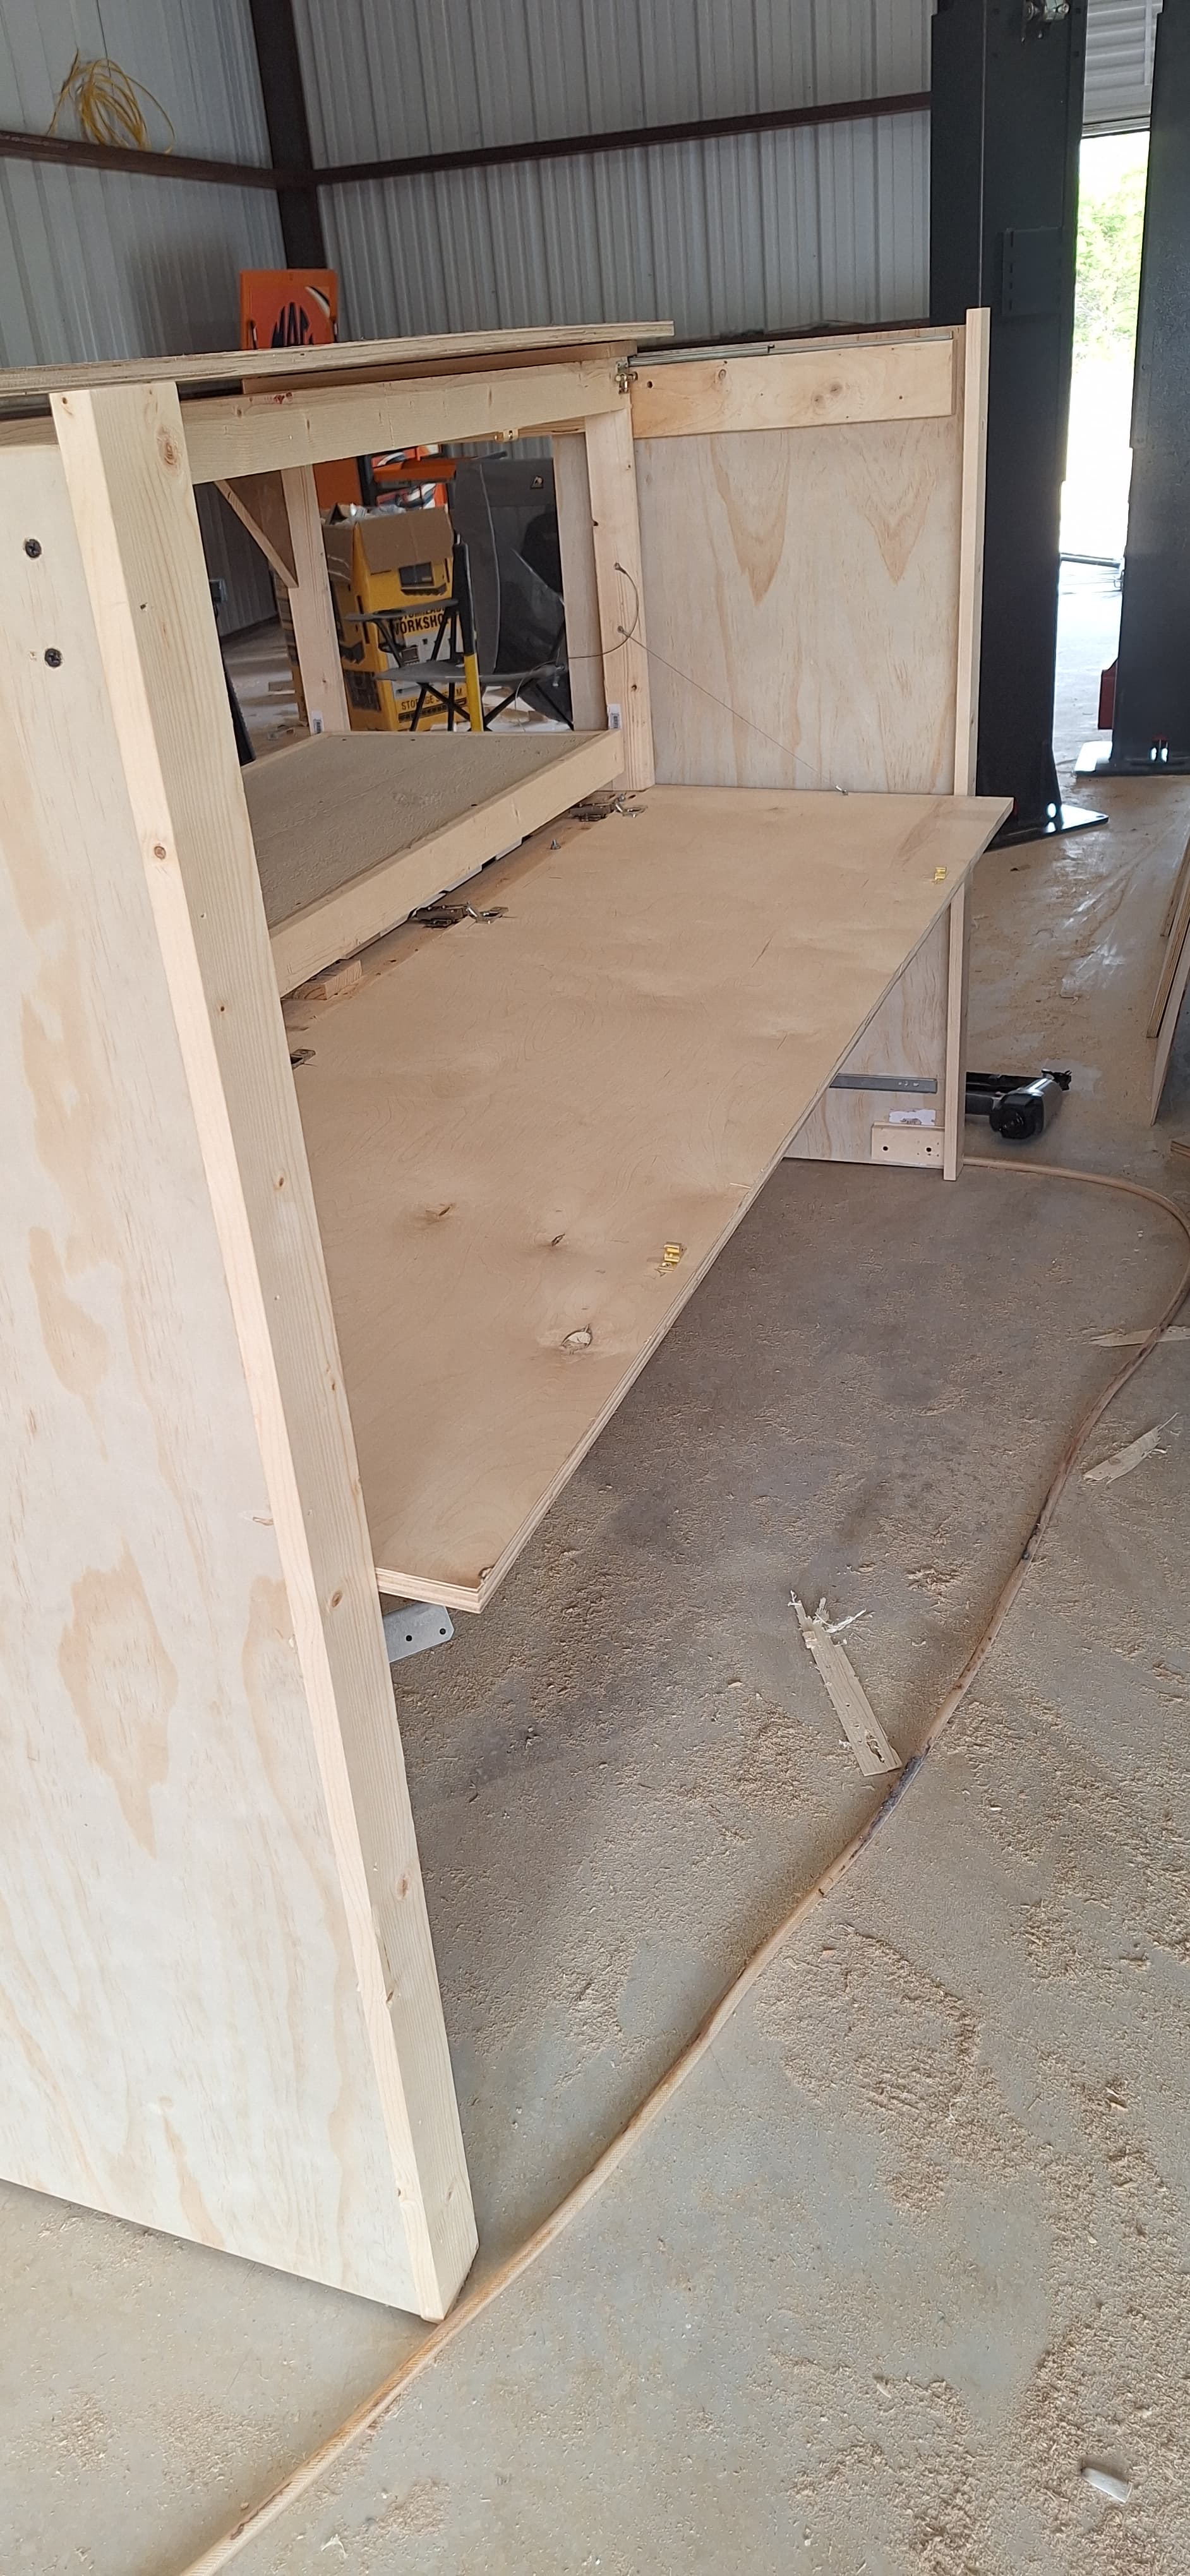
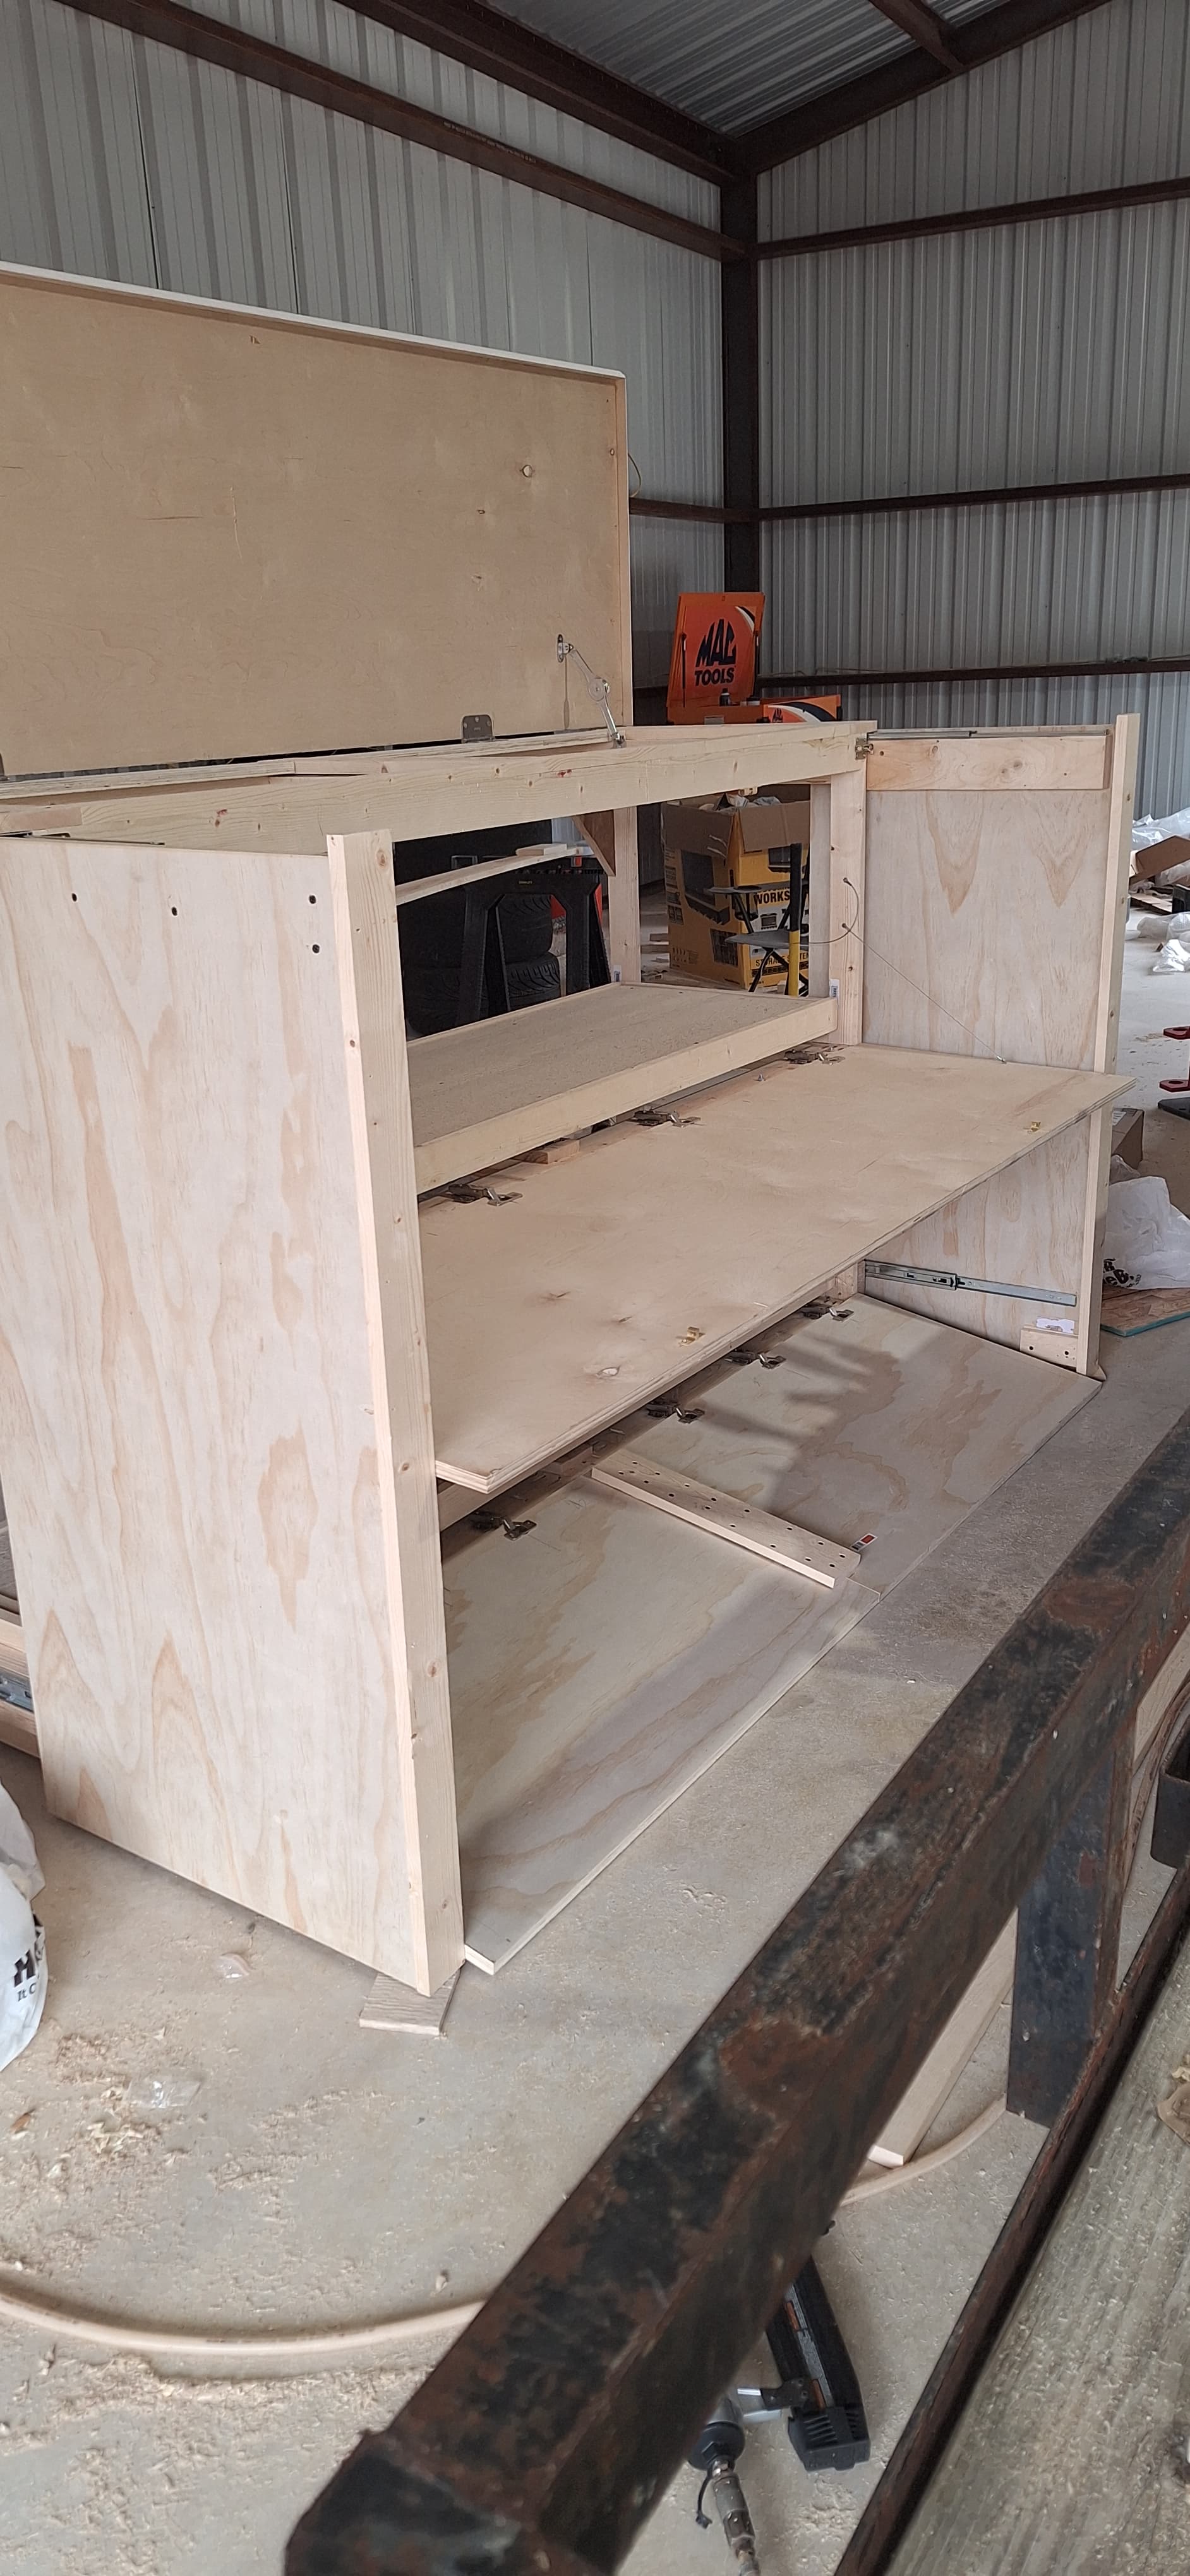
I installed the false tray front door and checked to make sure all operated correctly. Good to go!
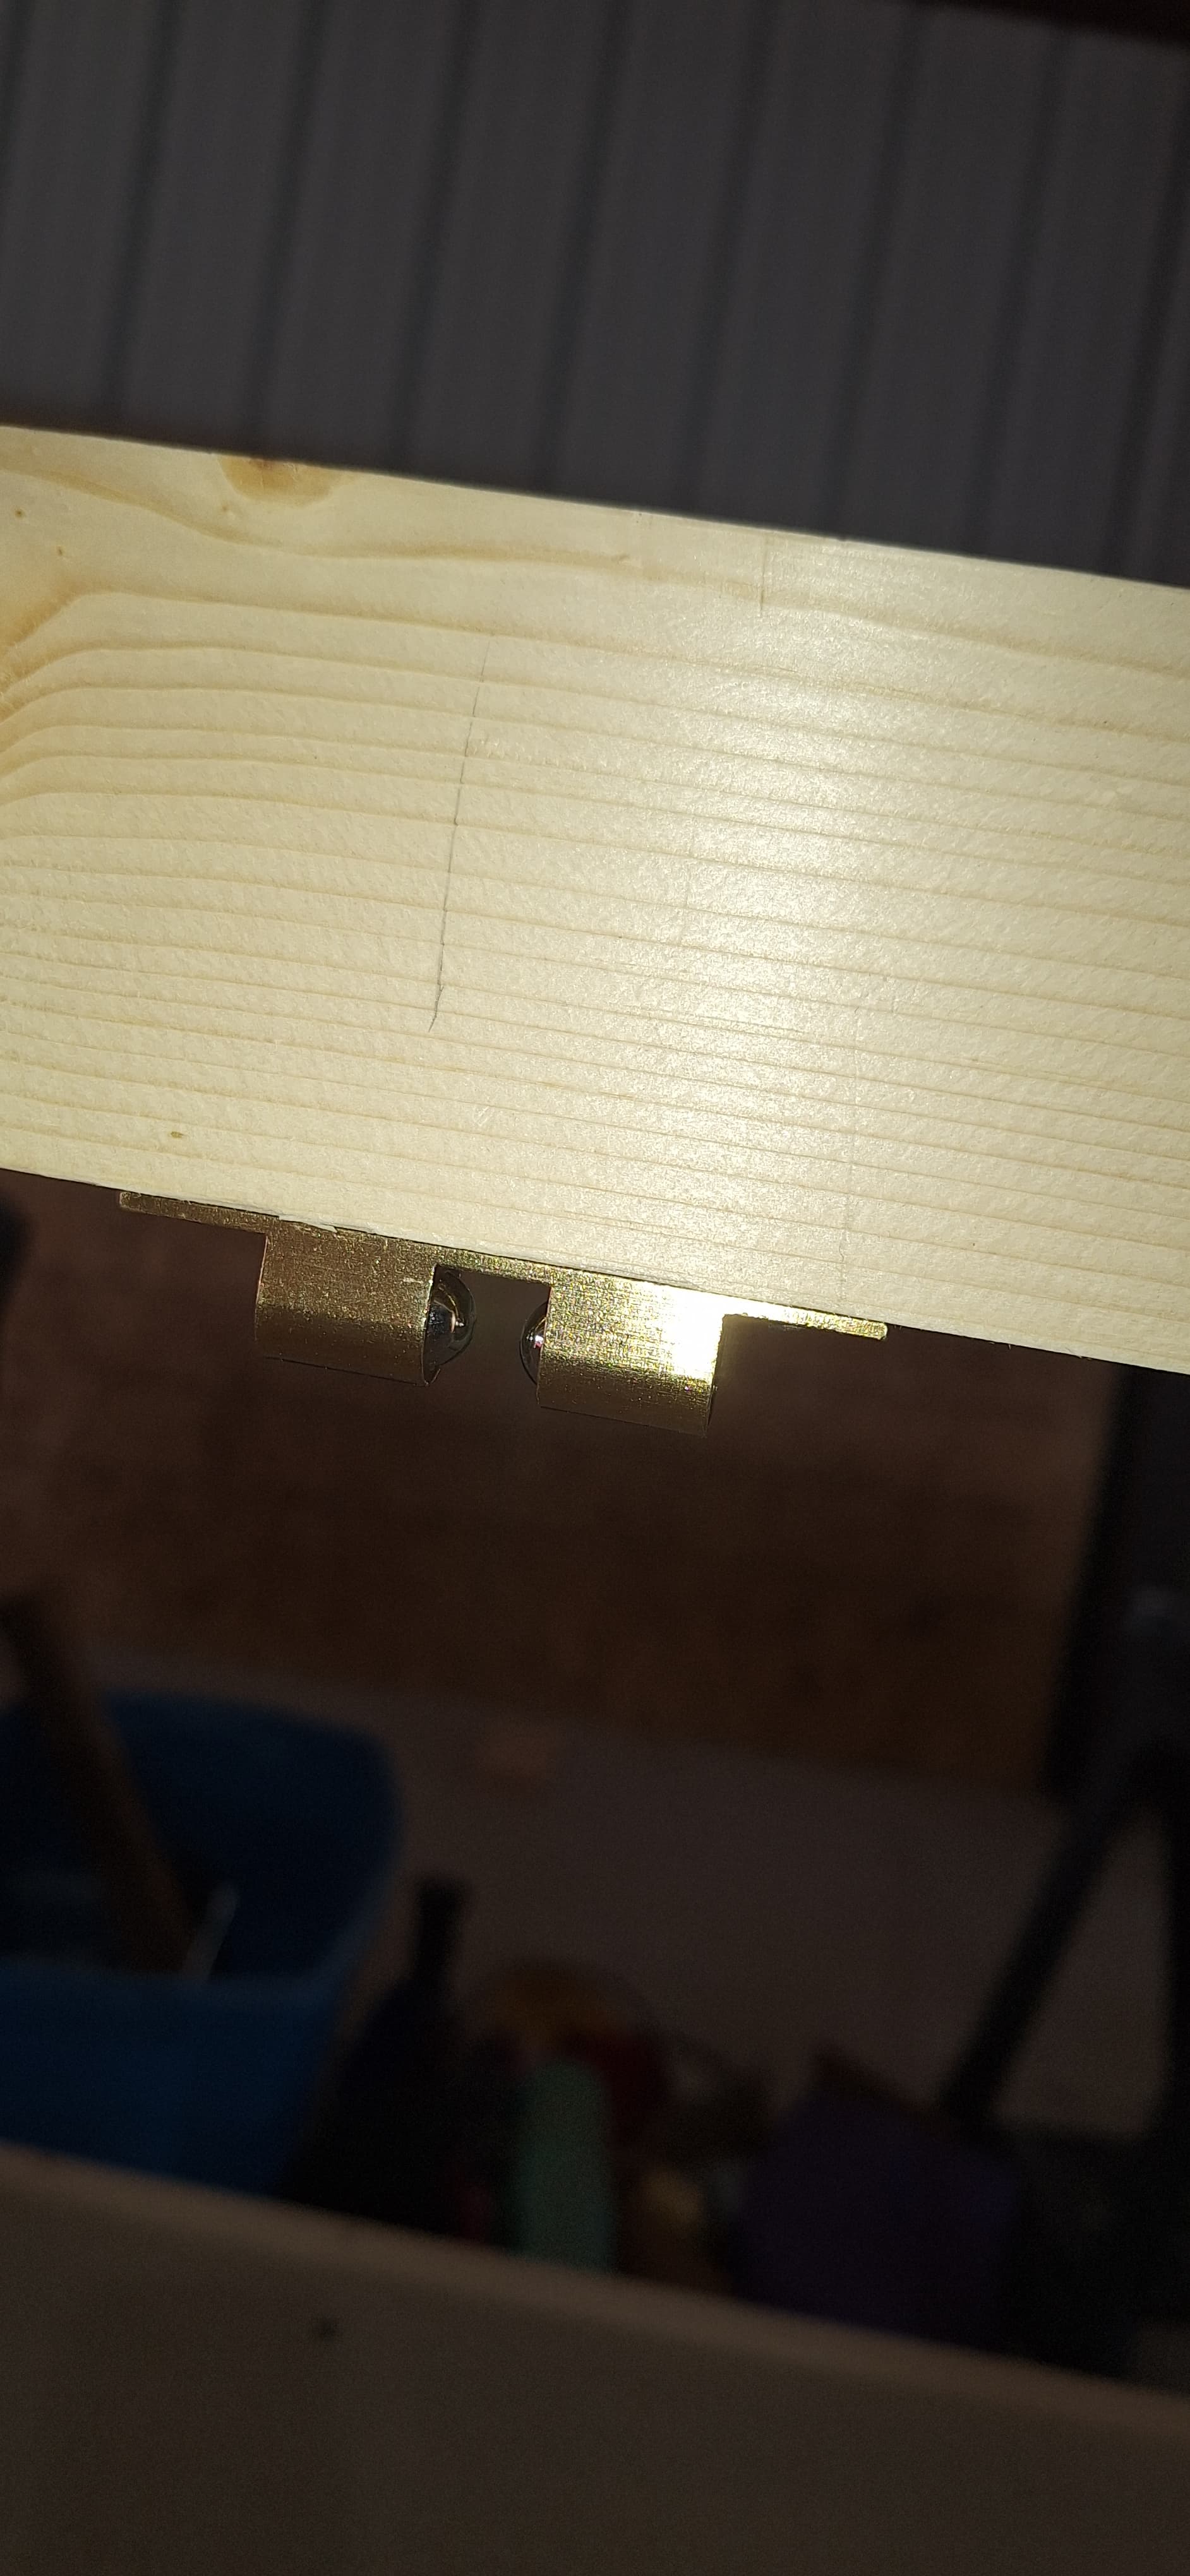
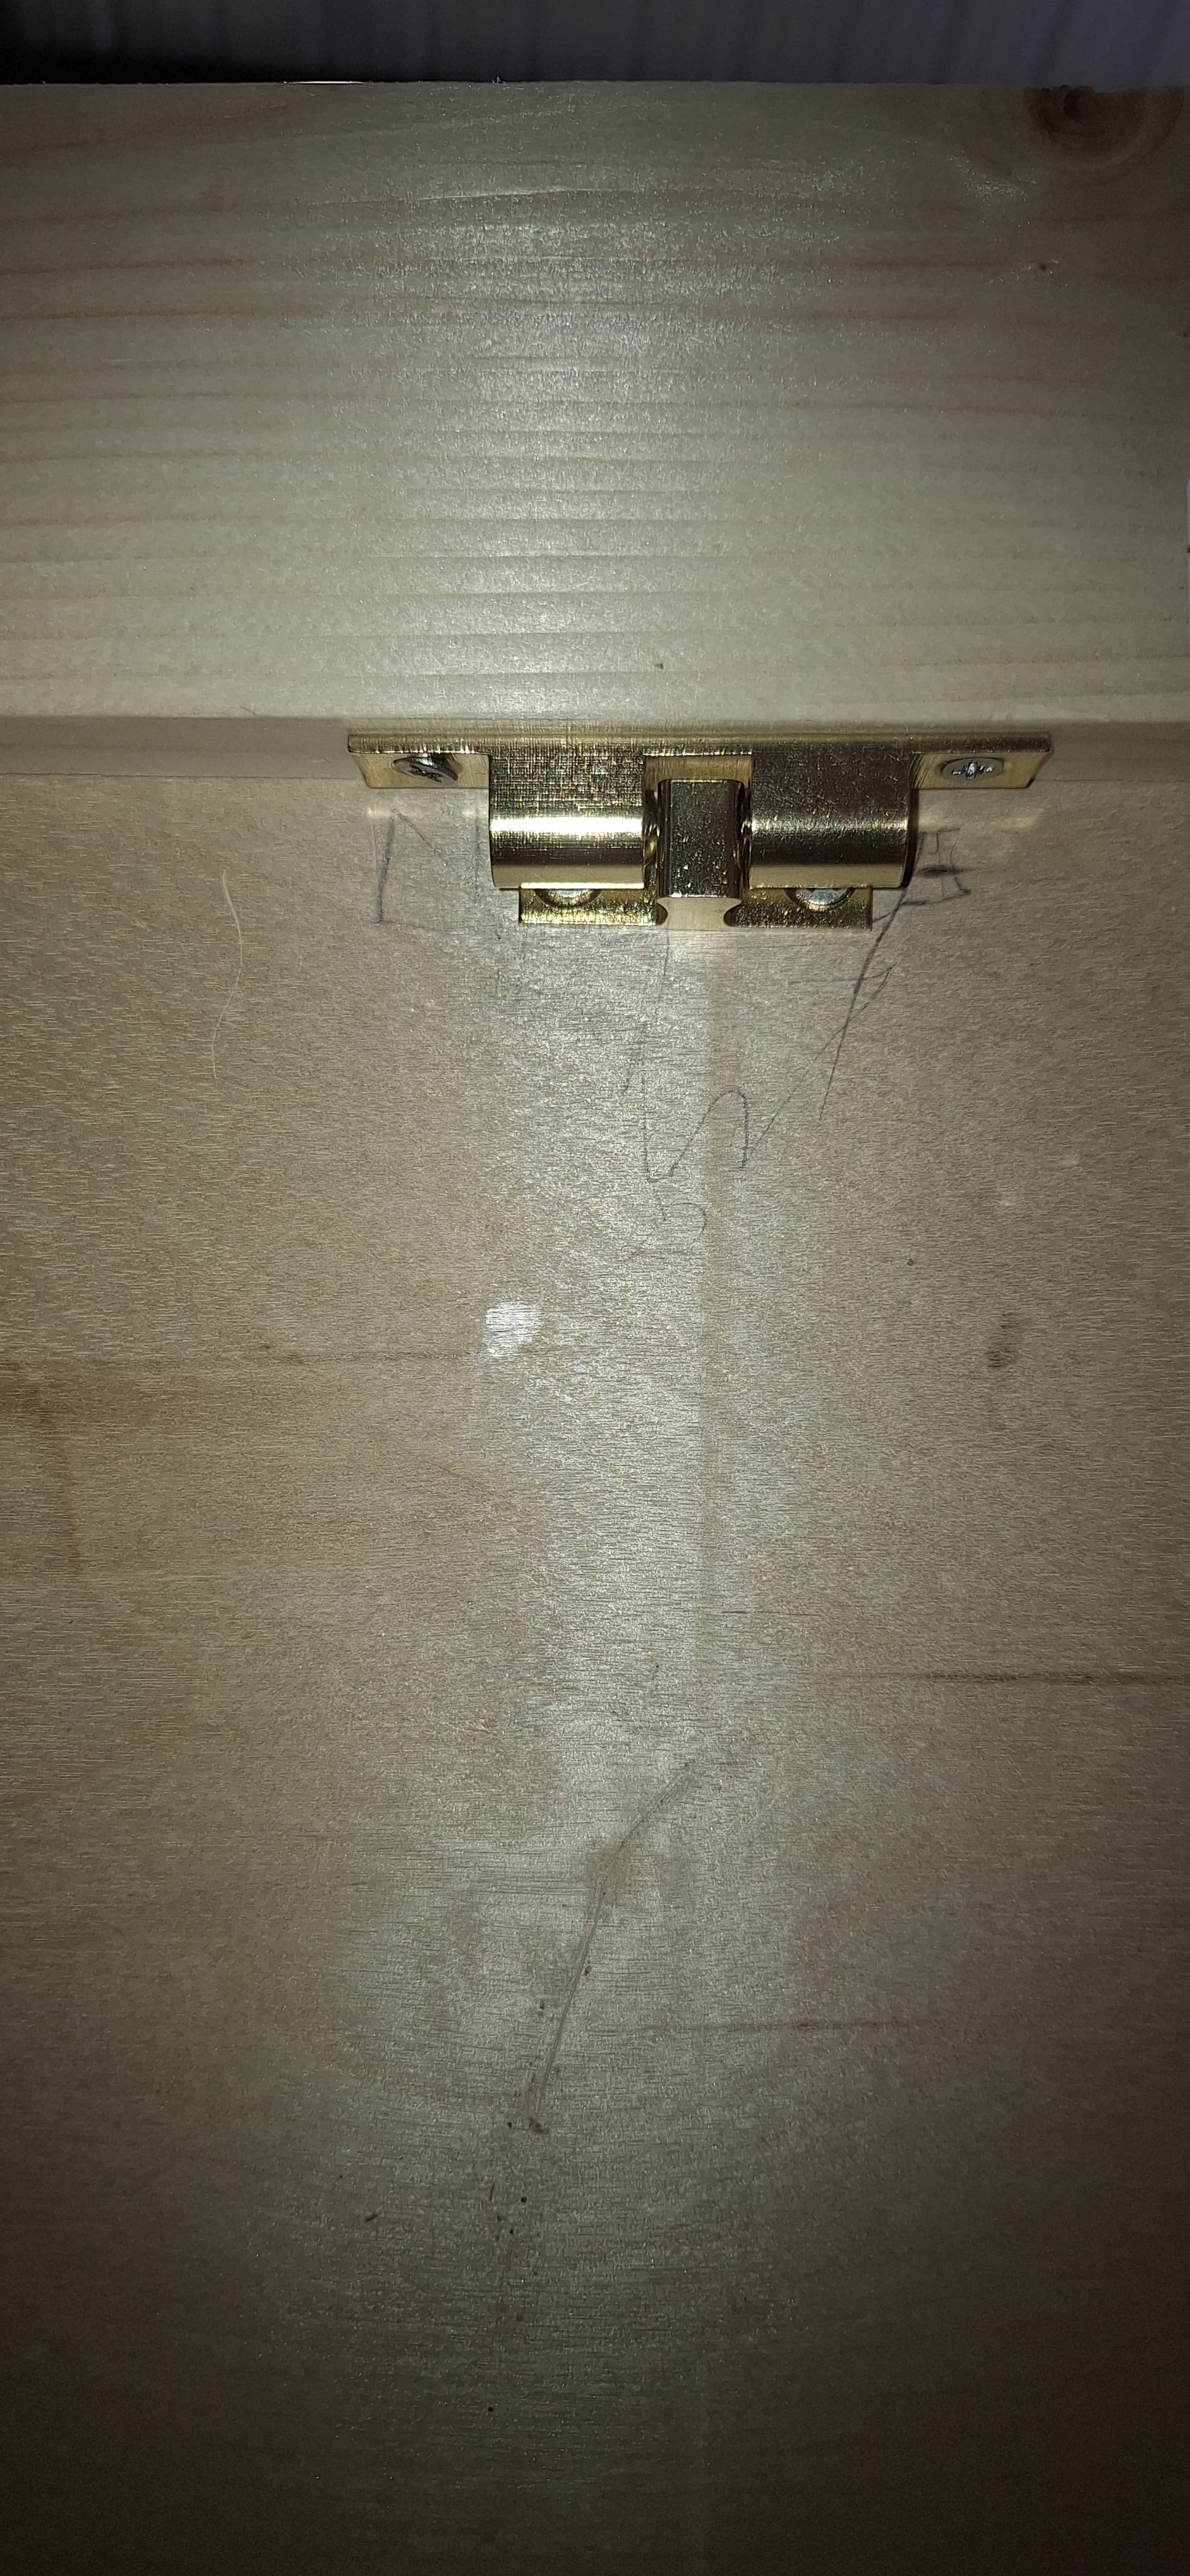
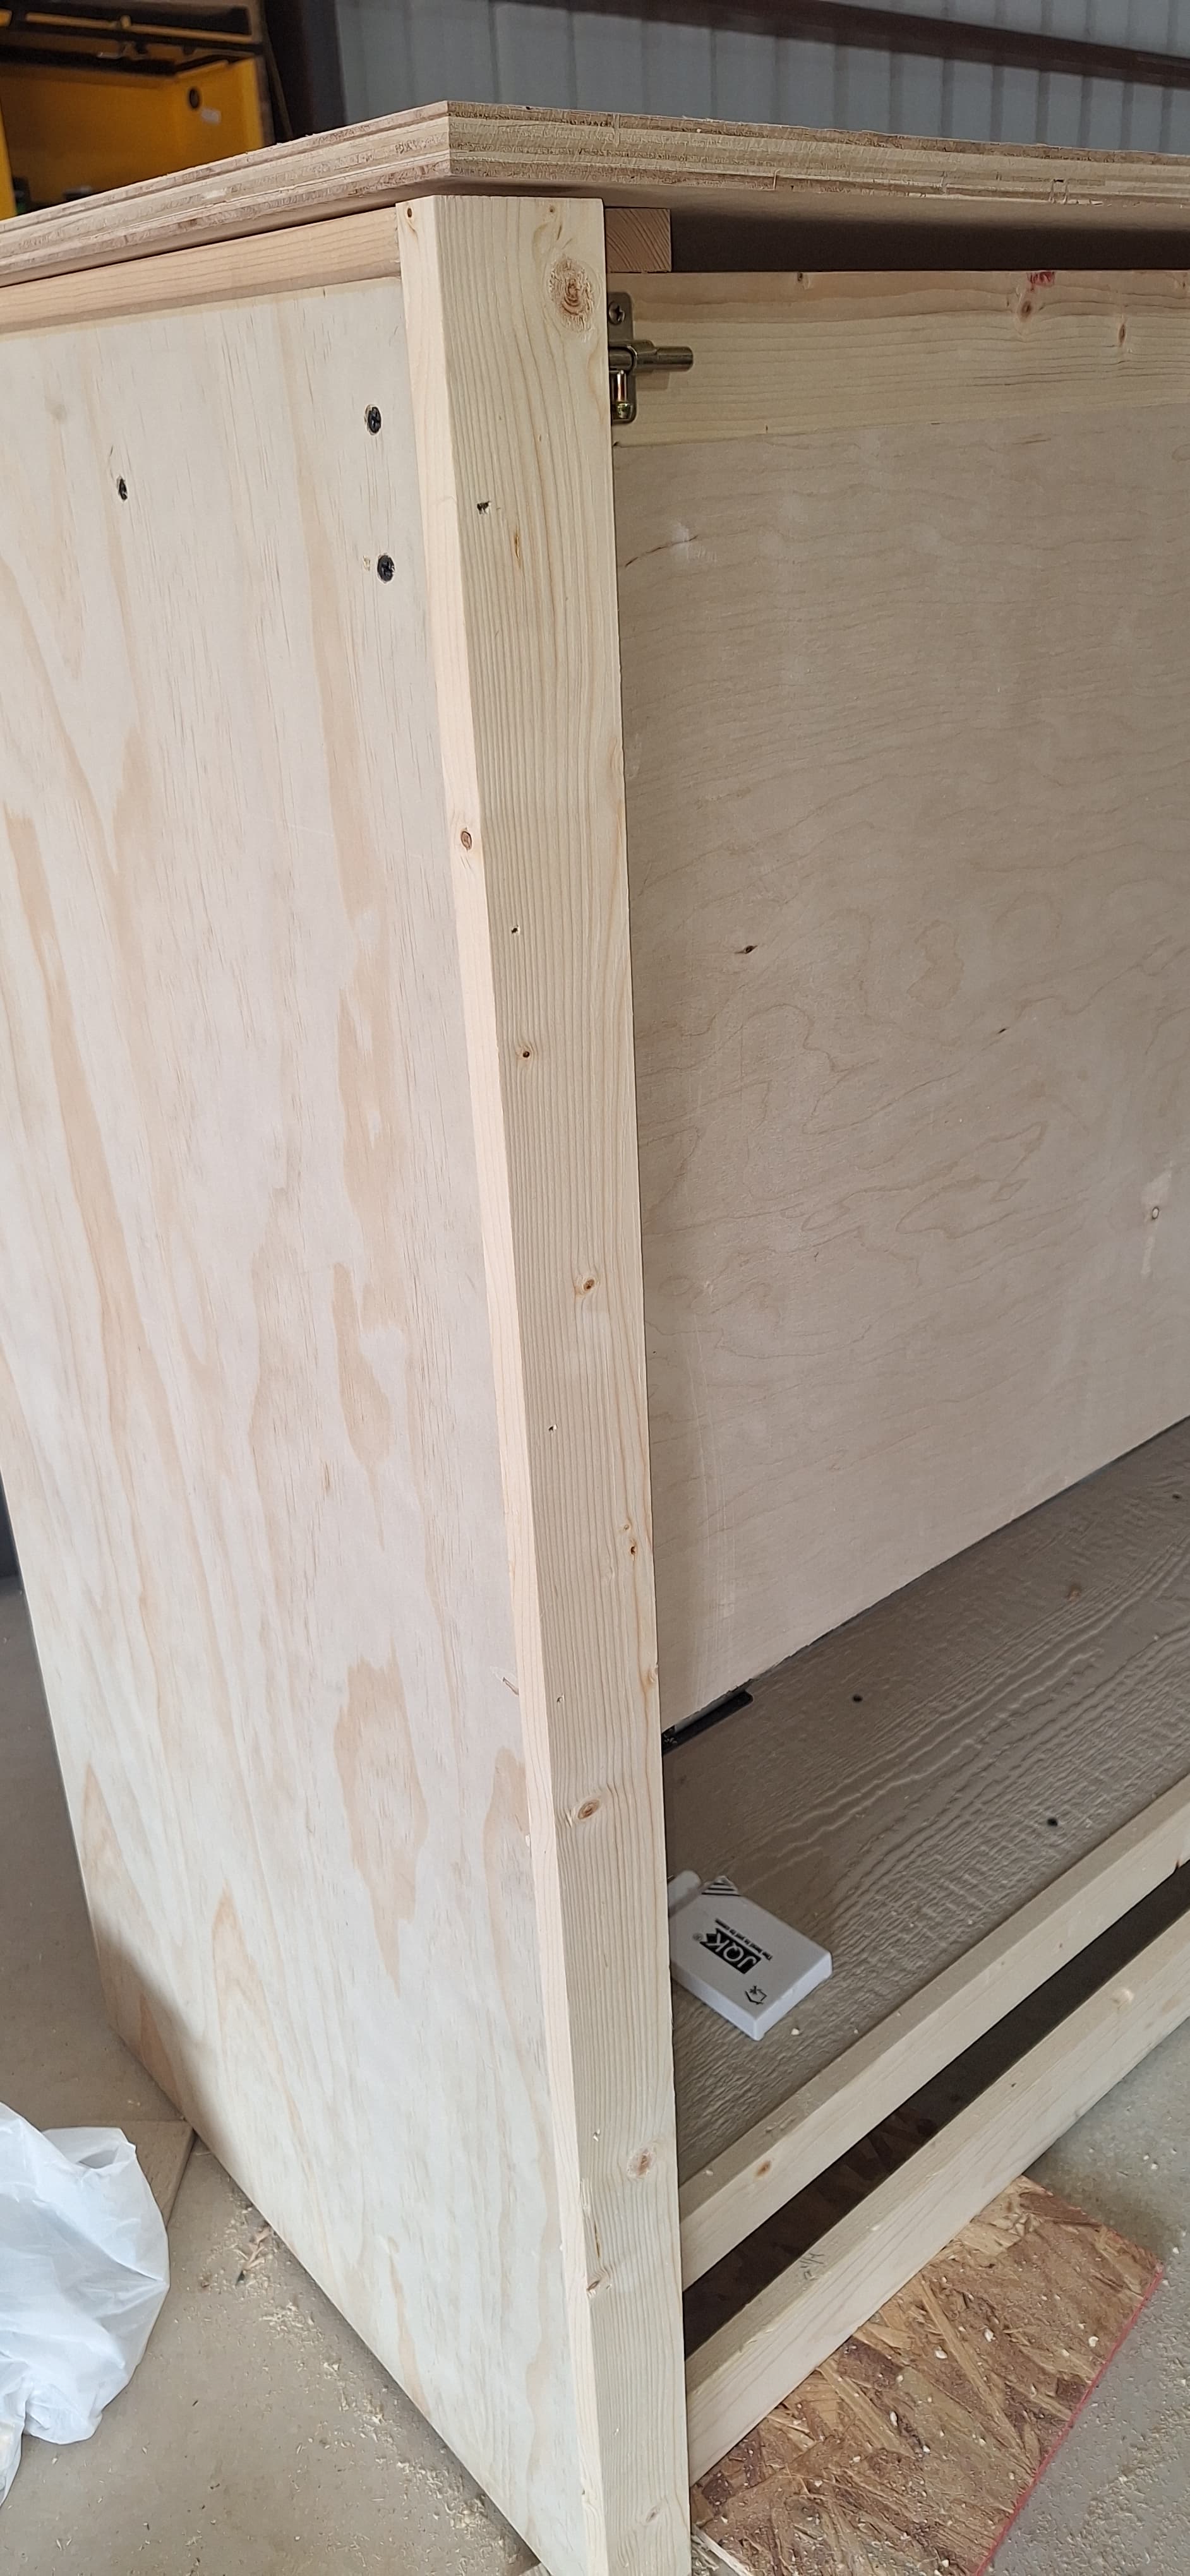
I also installed cabinet door catches to help keep the door up. Locks will be installed later.
Lastly, I installed the side panel stabilizer stiles and cut the top, again checking to make sure all operated smoothly.
And that’s it for today. Next up…….change the glides on the lower tray, Install the lower tray false front. I need 2 more 1 x 4 material for the upper door trim, the hinges for the top, and the molding I want to use for the top trim. I’ll get them tomorrow. Then make the drawer false fronts and install them, put the castors on it and put the back on. Then sand and paint.
So, almost there!
Happy Dolling!
Wow, that’s so impressive to see…
Good morning everyone! Today I’m gonna make a dash for the finish line on the transport/storage cabinet primary construction. Gonna try and do the following:
If that all works out, then I’ll prep it for painting. I also wanted to point out that I made this thing to be disassembled…..the side stabilizers, the trays, the top lid and the doors all can be removed. This will make it a LOT lighter for moving into the gals ready room or loading into a trailer for transporting the girls.
Have a great day everyone, and Happy Dolling!
kfiaoni, Ì know ít will be great 
It’s looking super sturdy and very well built so far 

Thanks @Mr_Fix_it and @DollDoll for the nice comments! And…………….
I GOT ‘ER DONE TODAY!
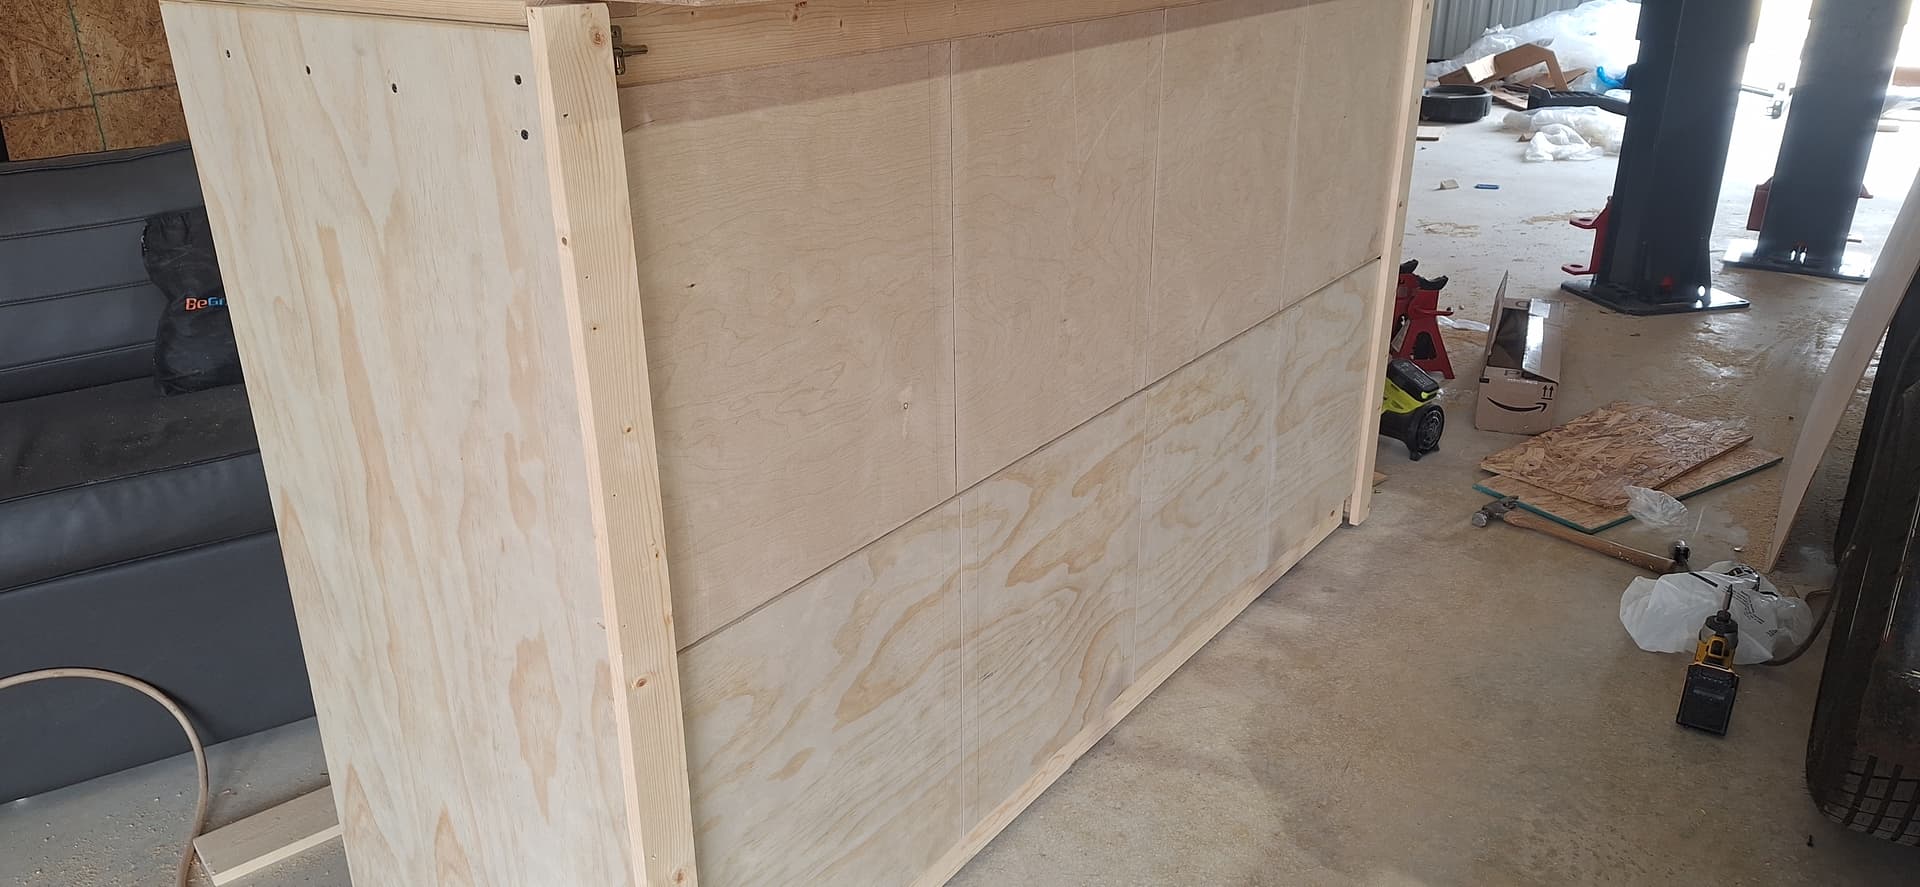
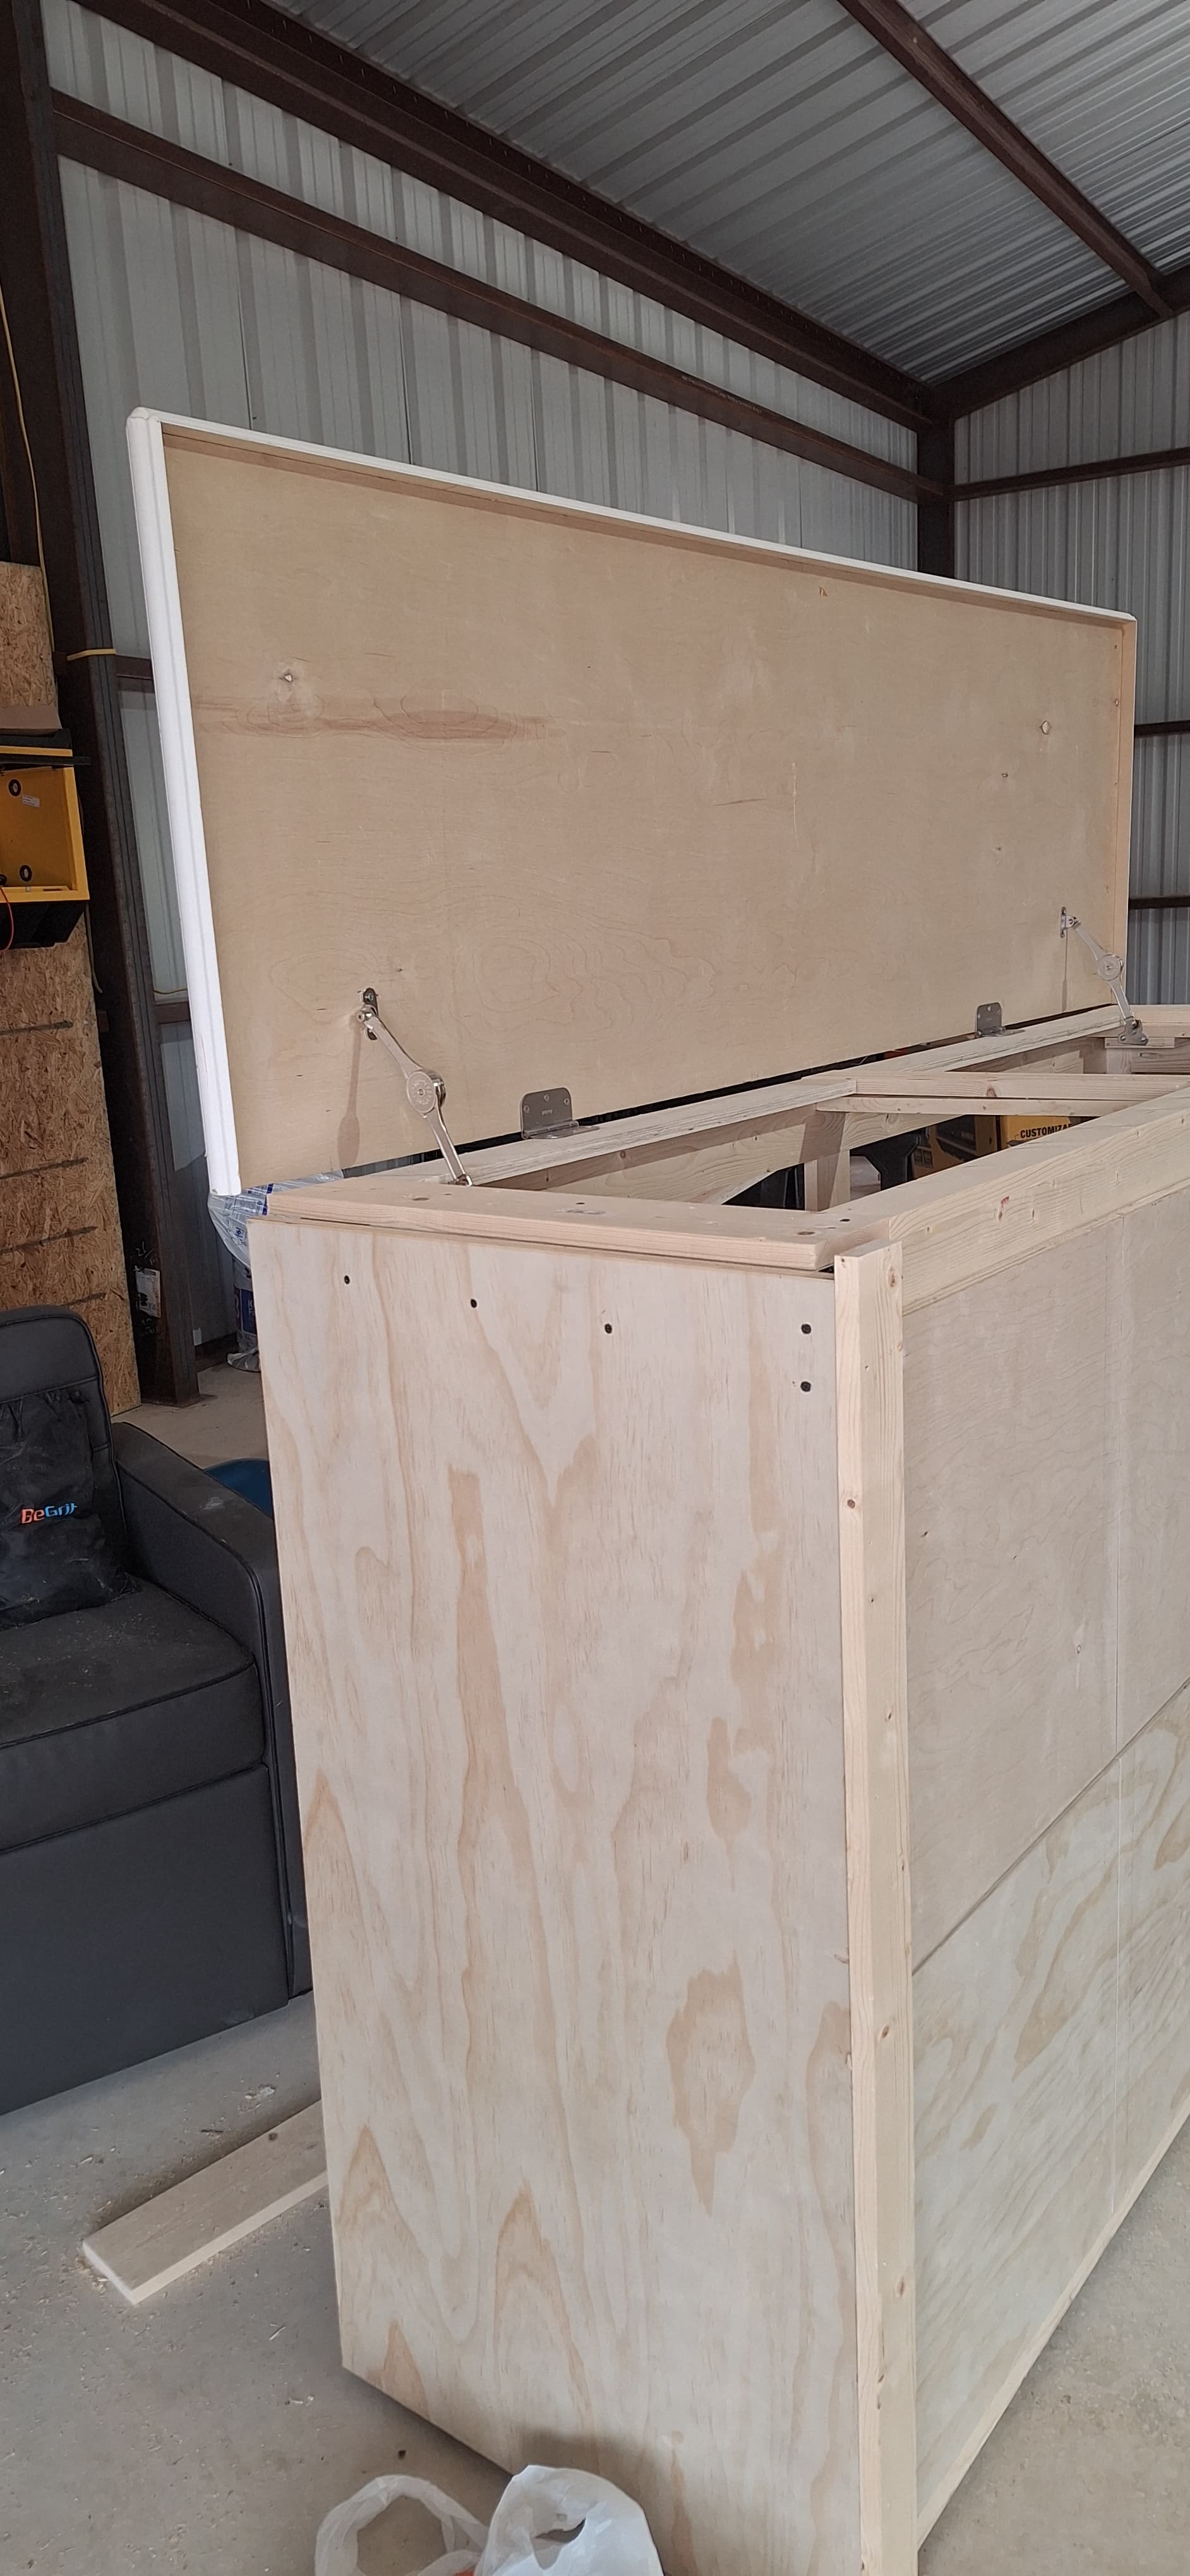
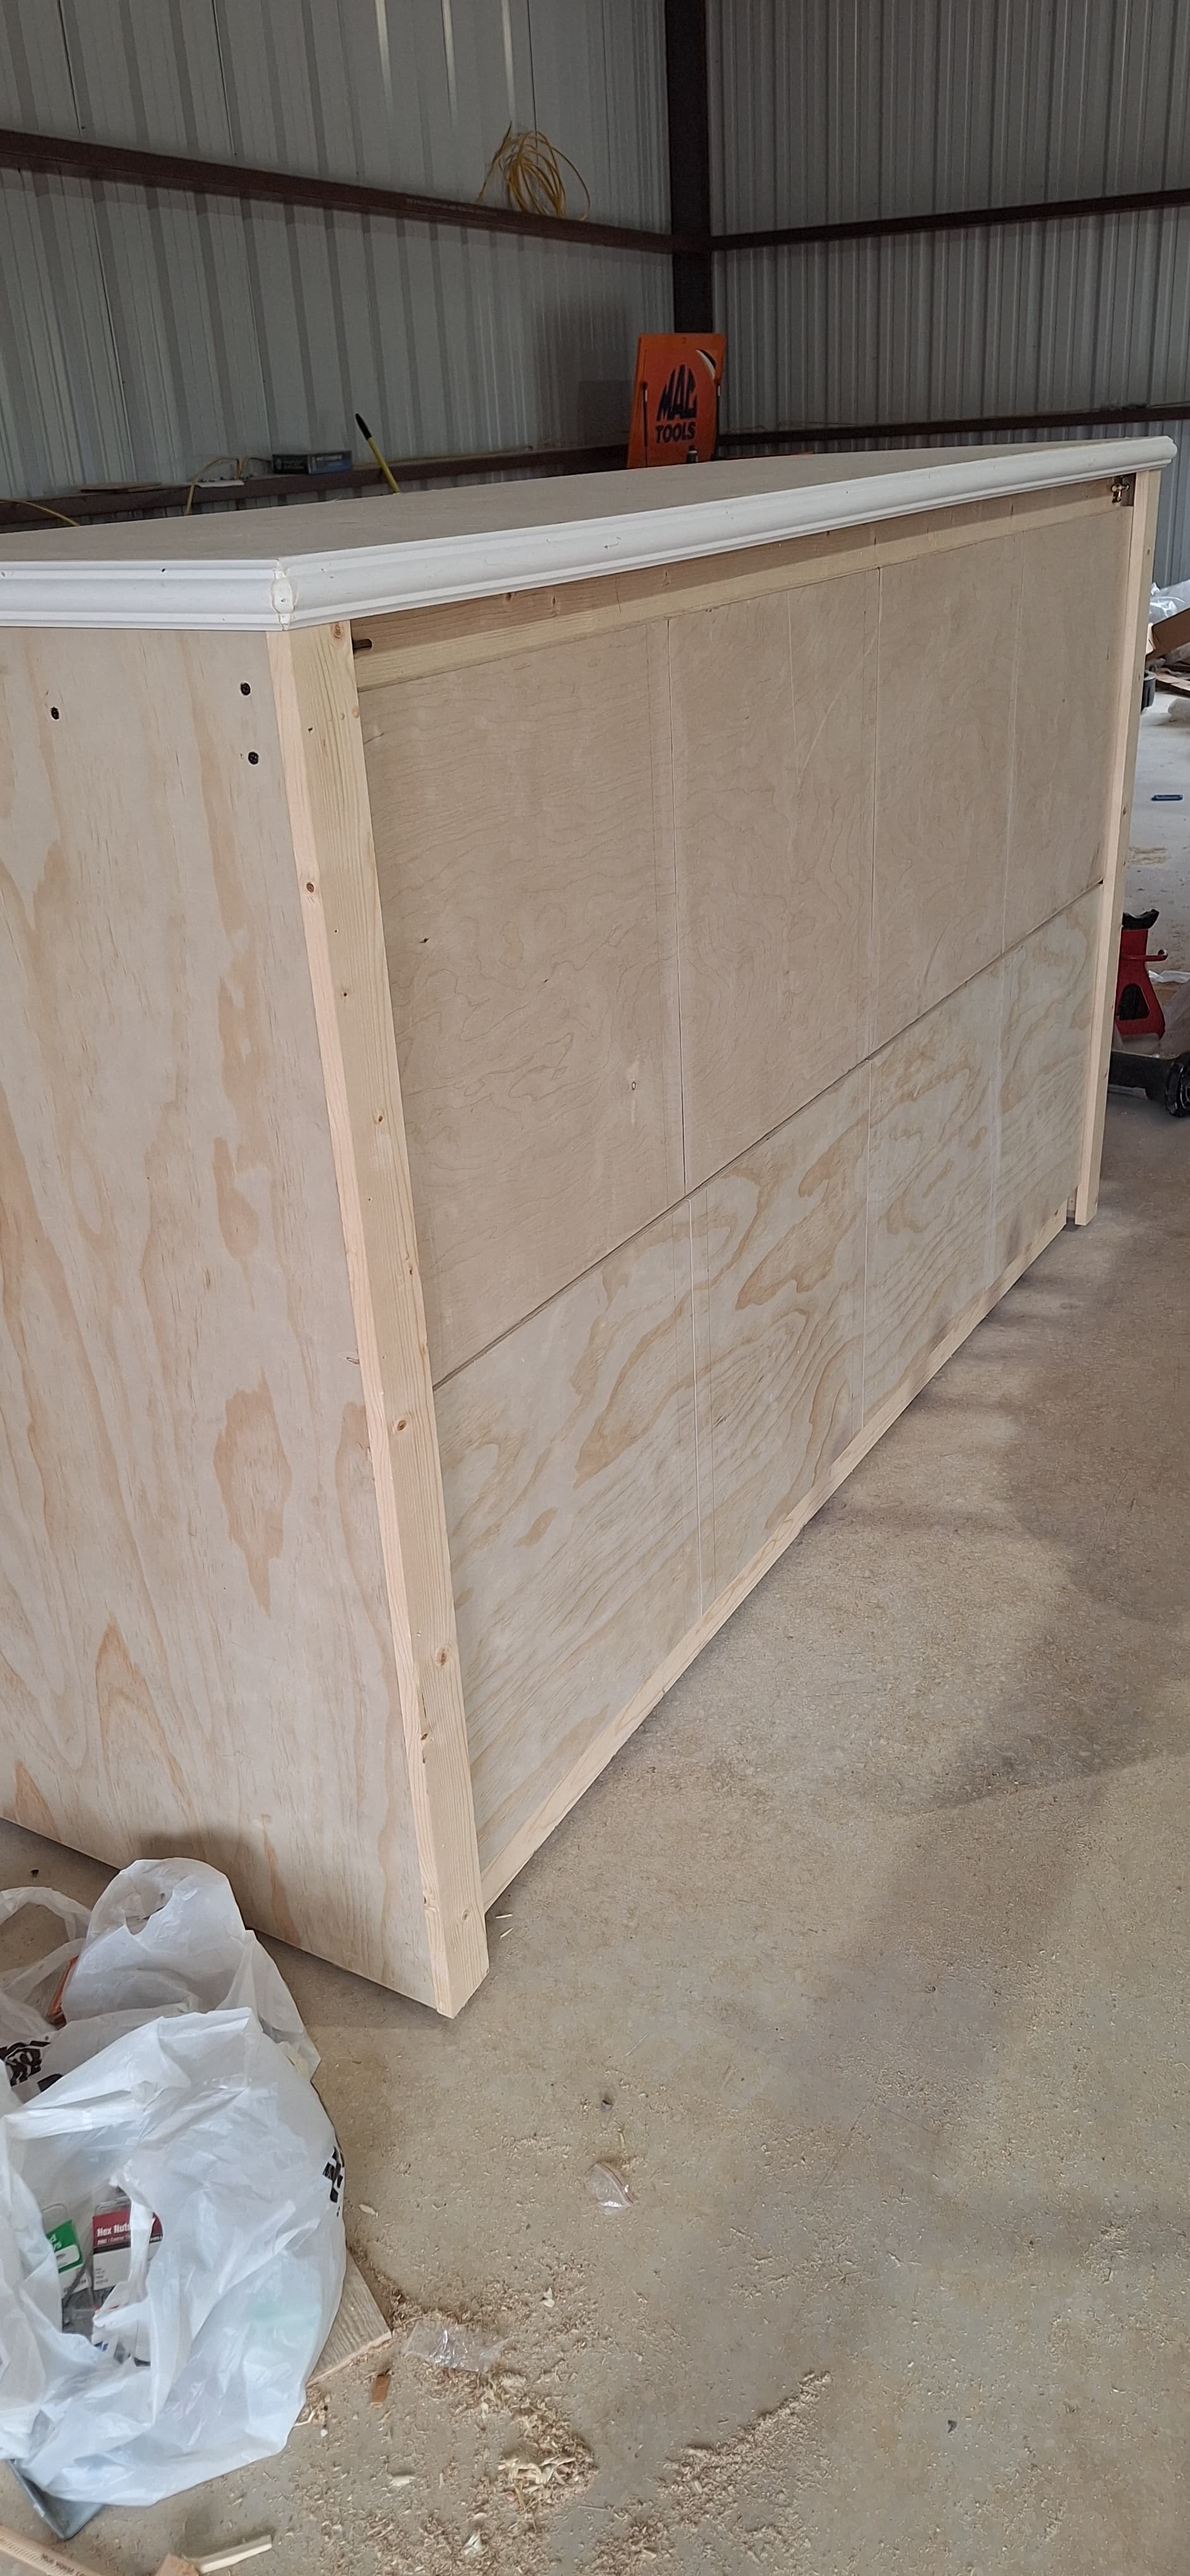
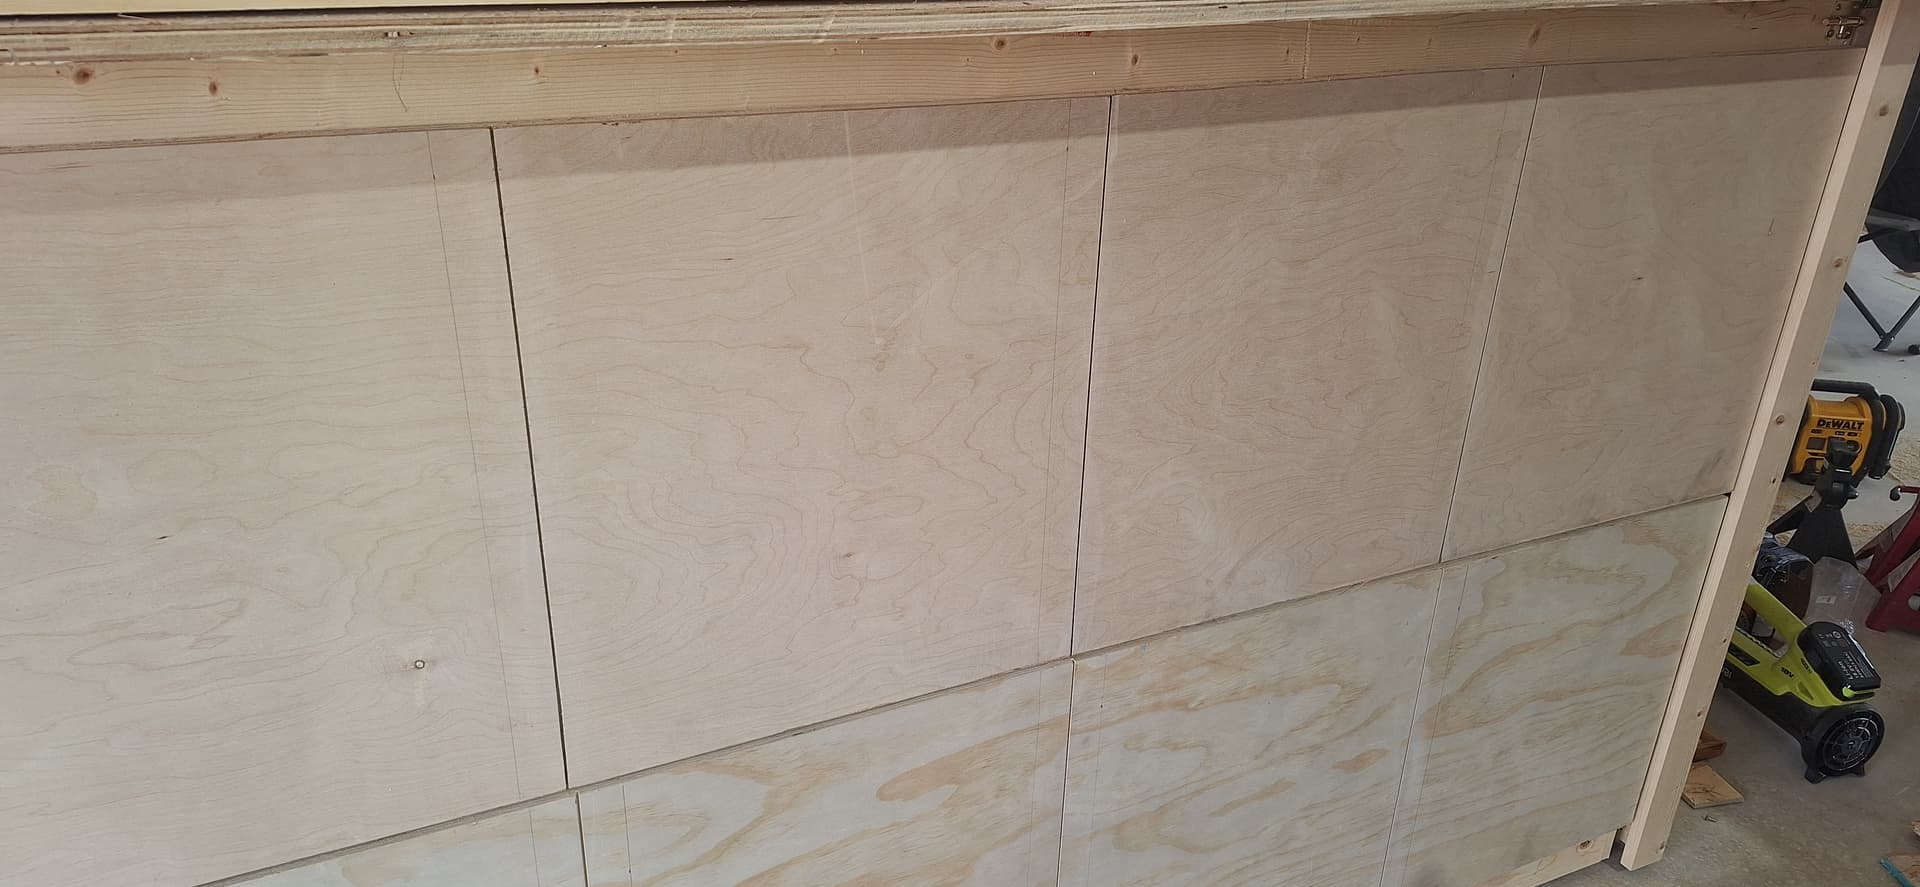
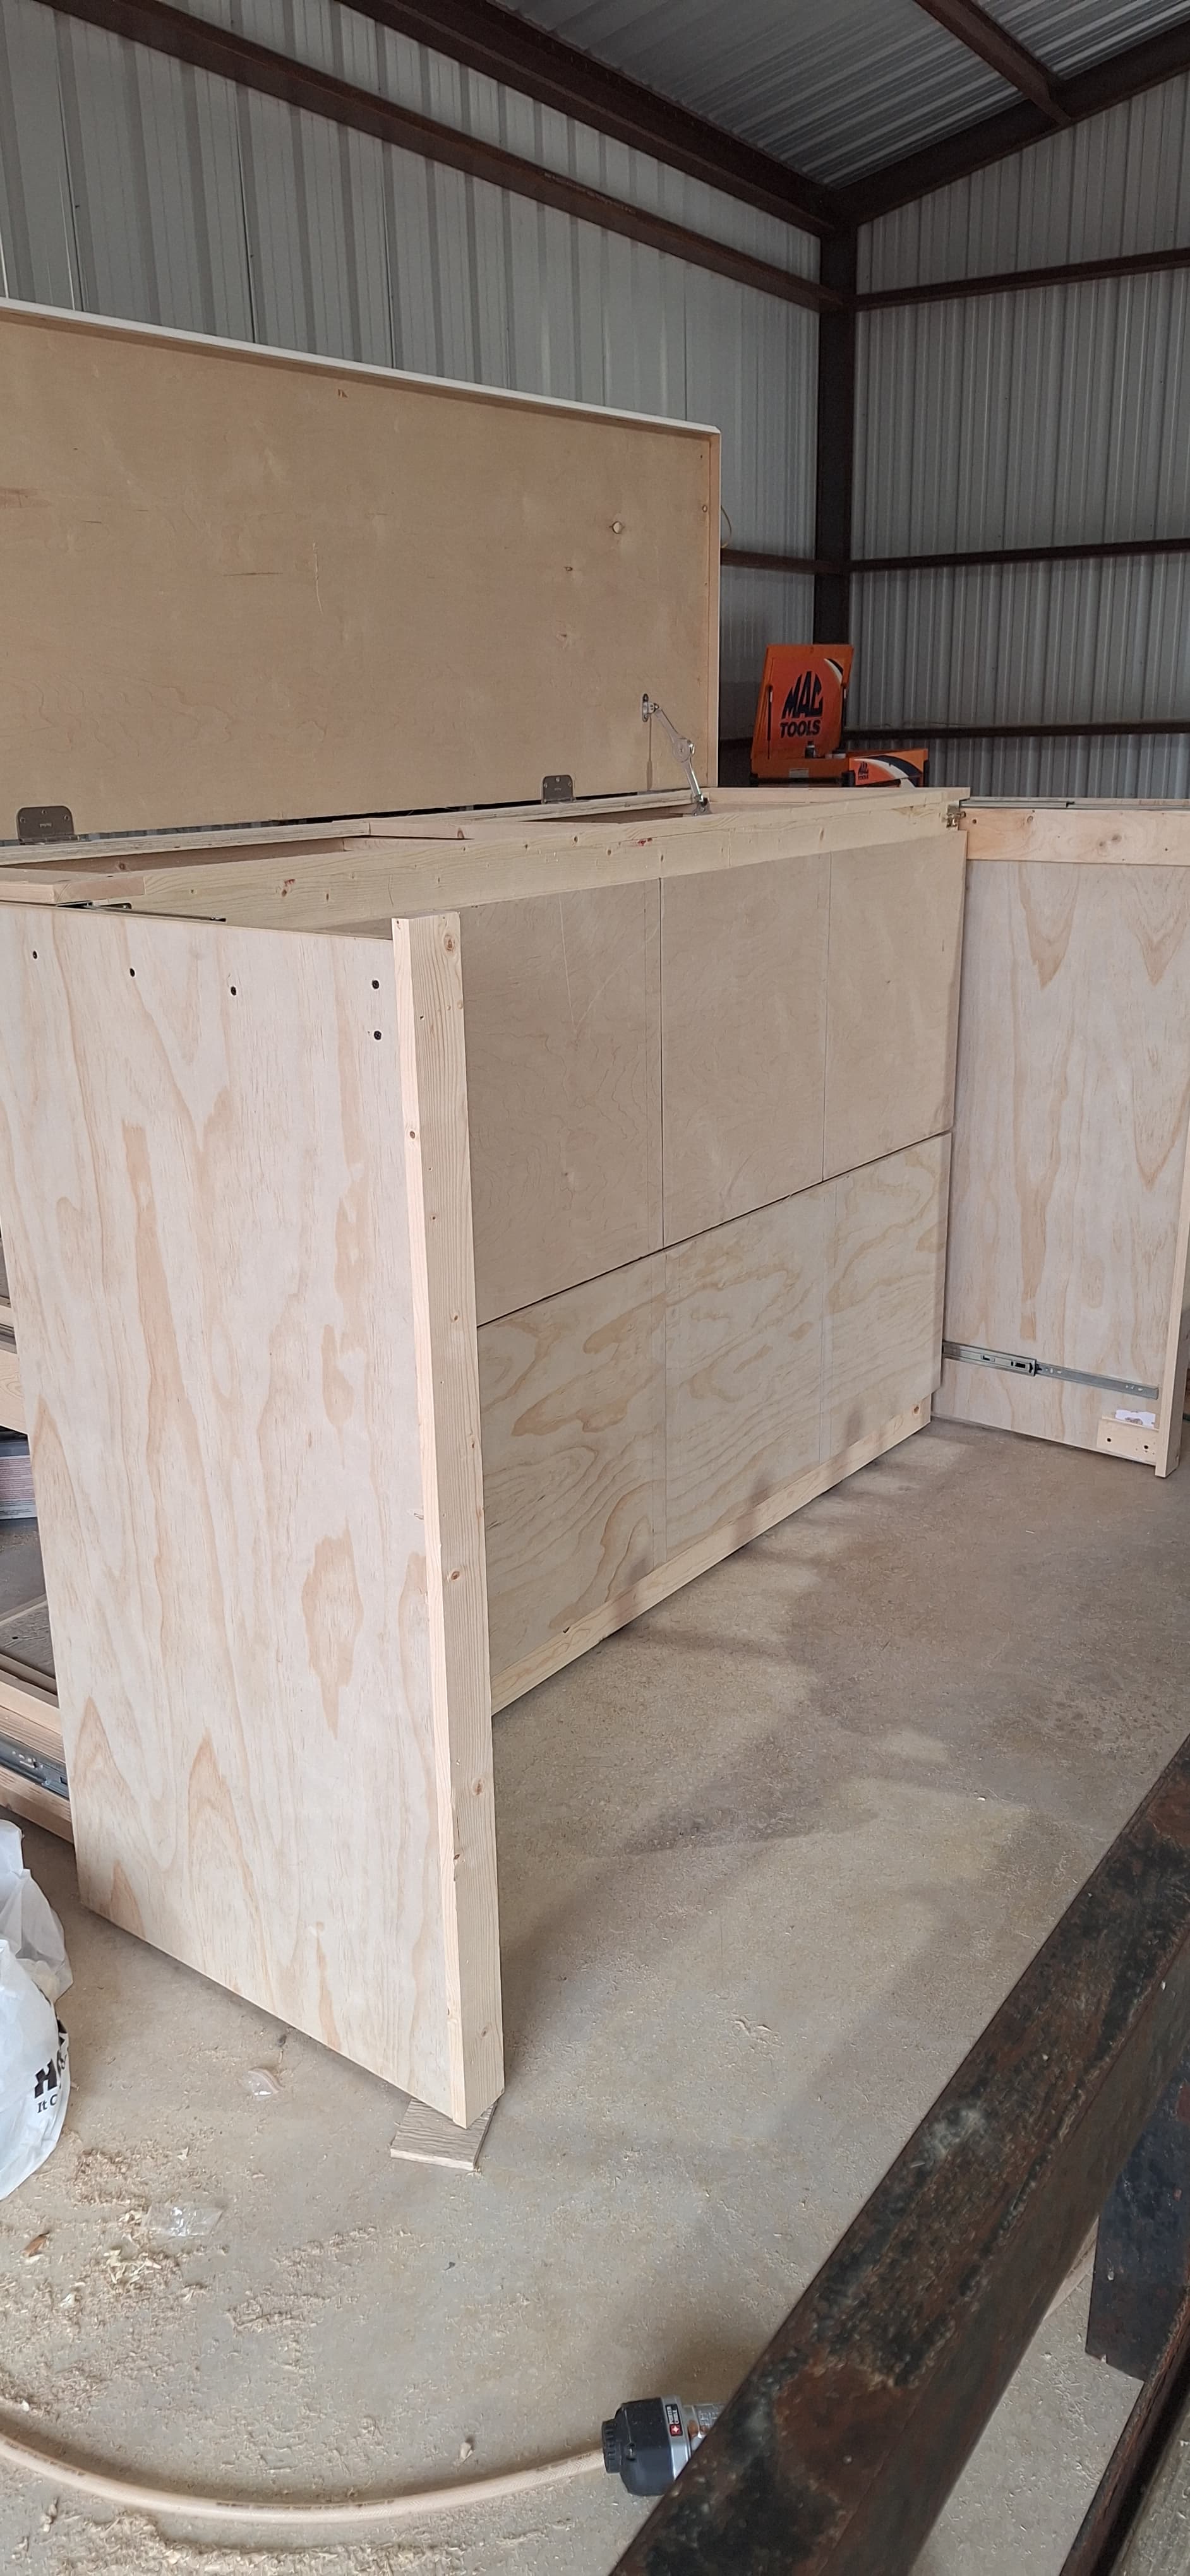
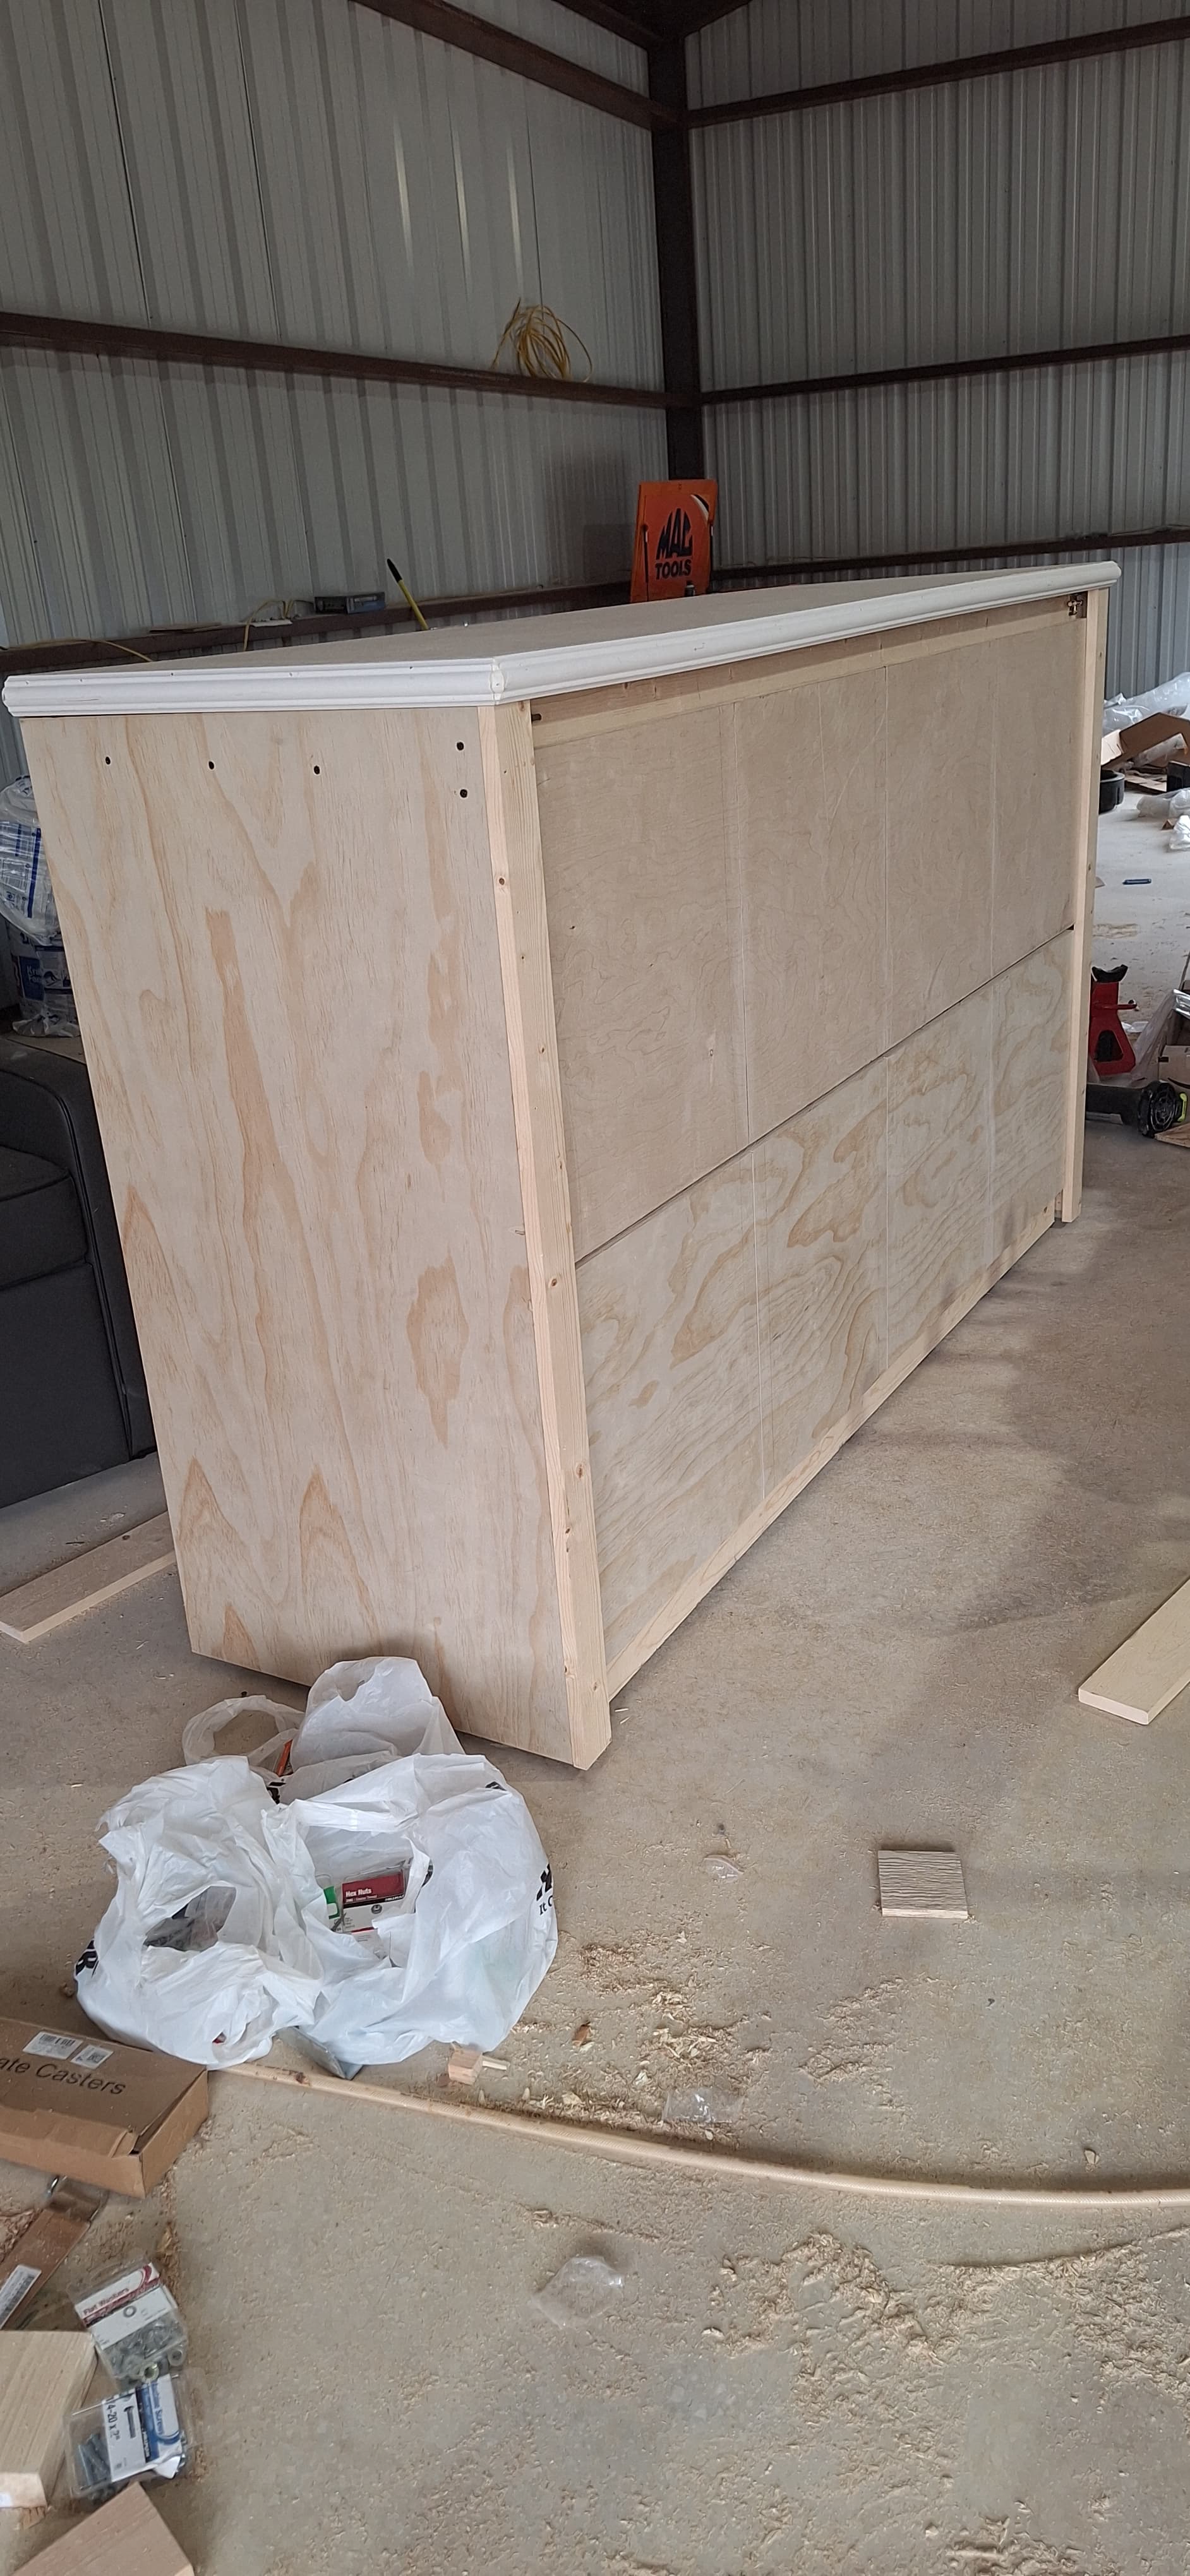
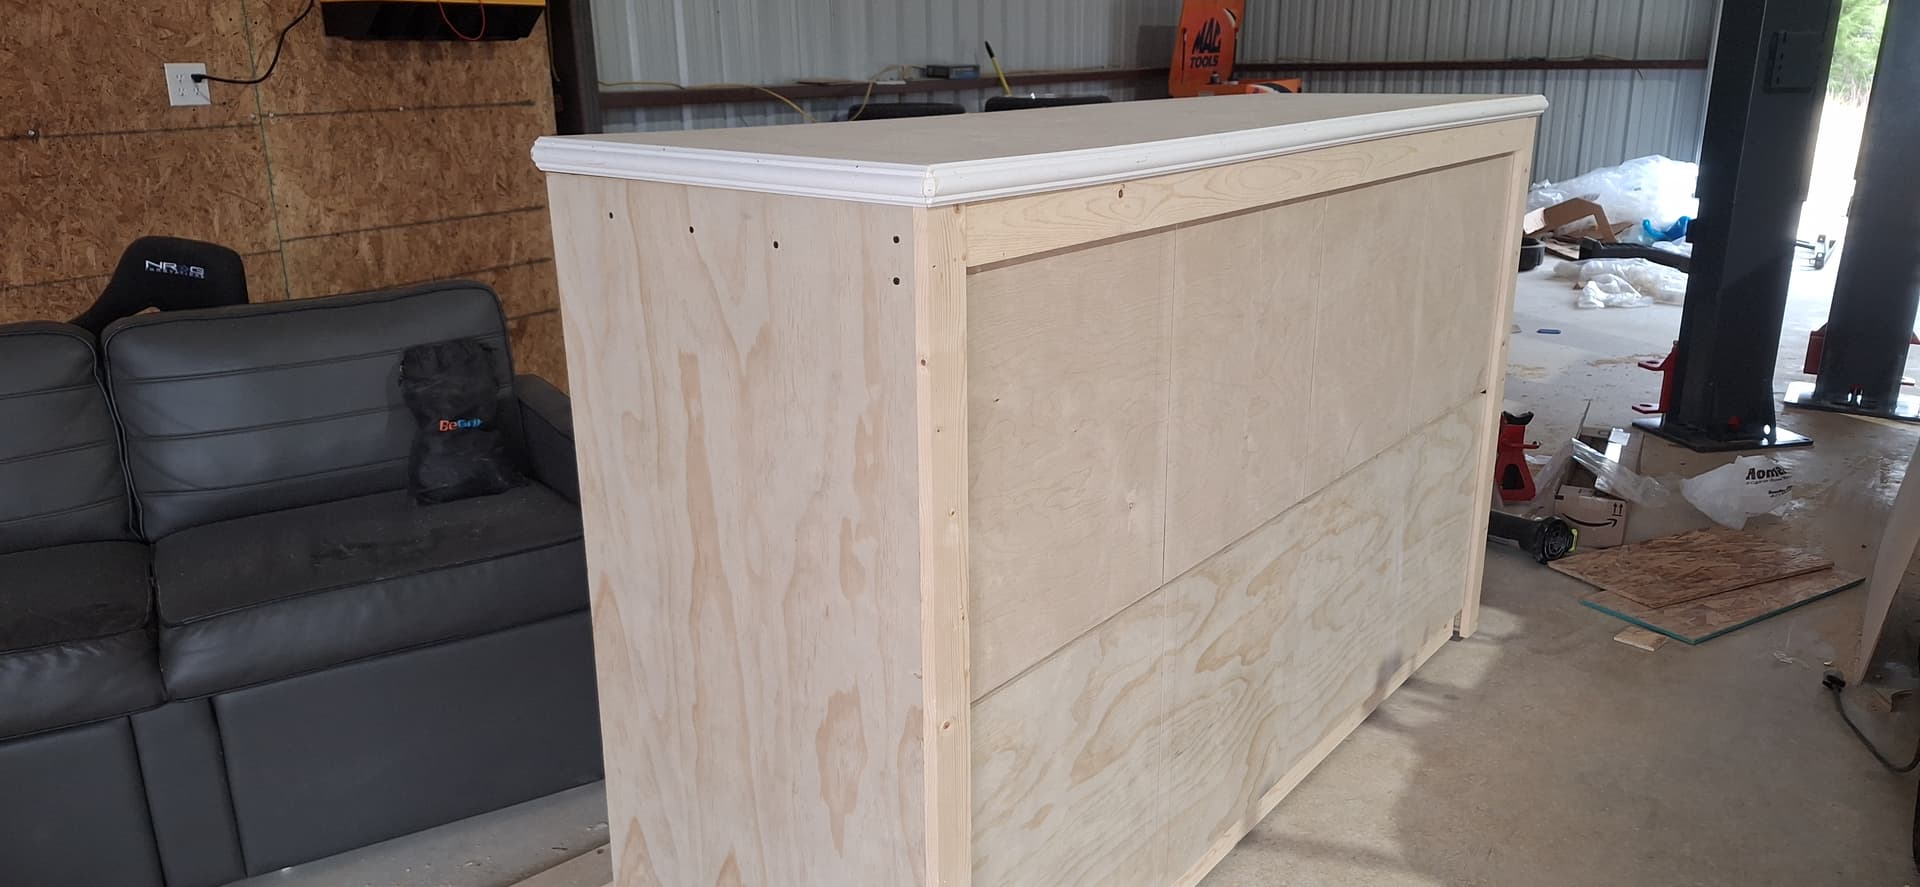
Here’s where I’m at…
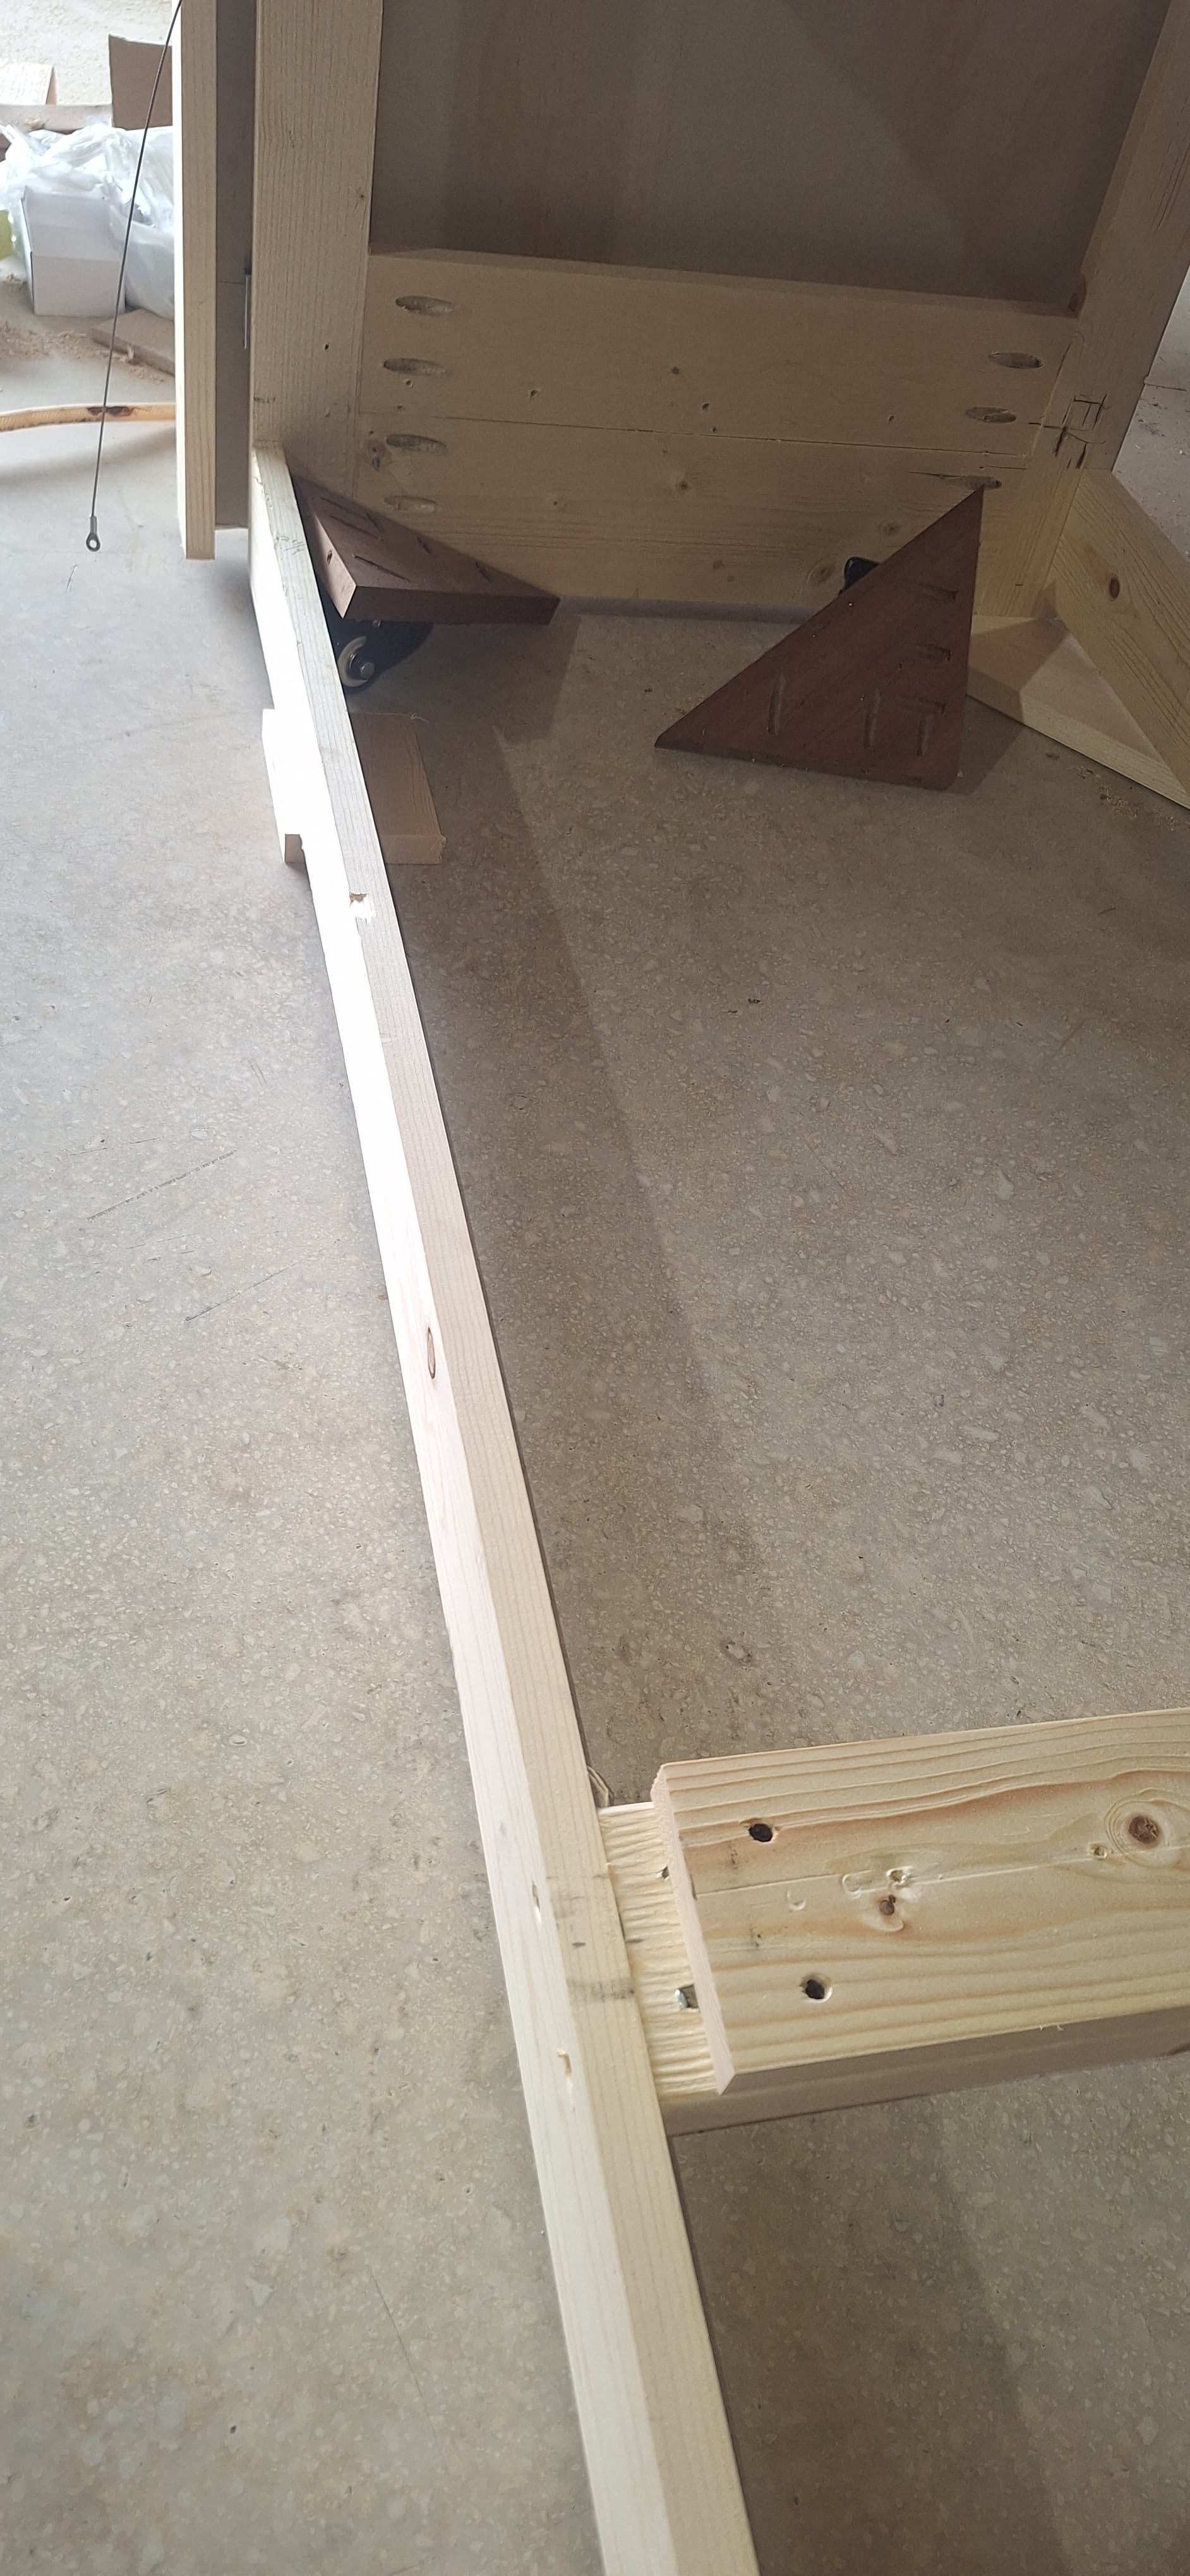
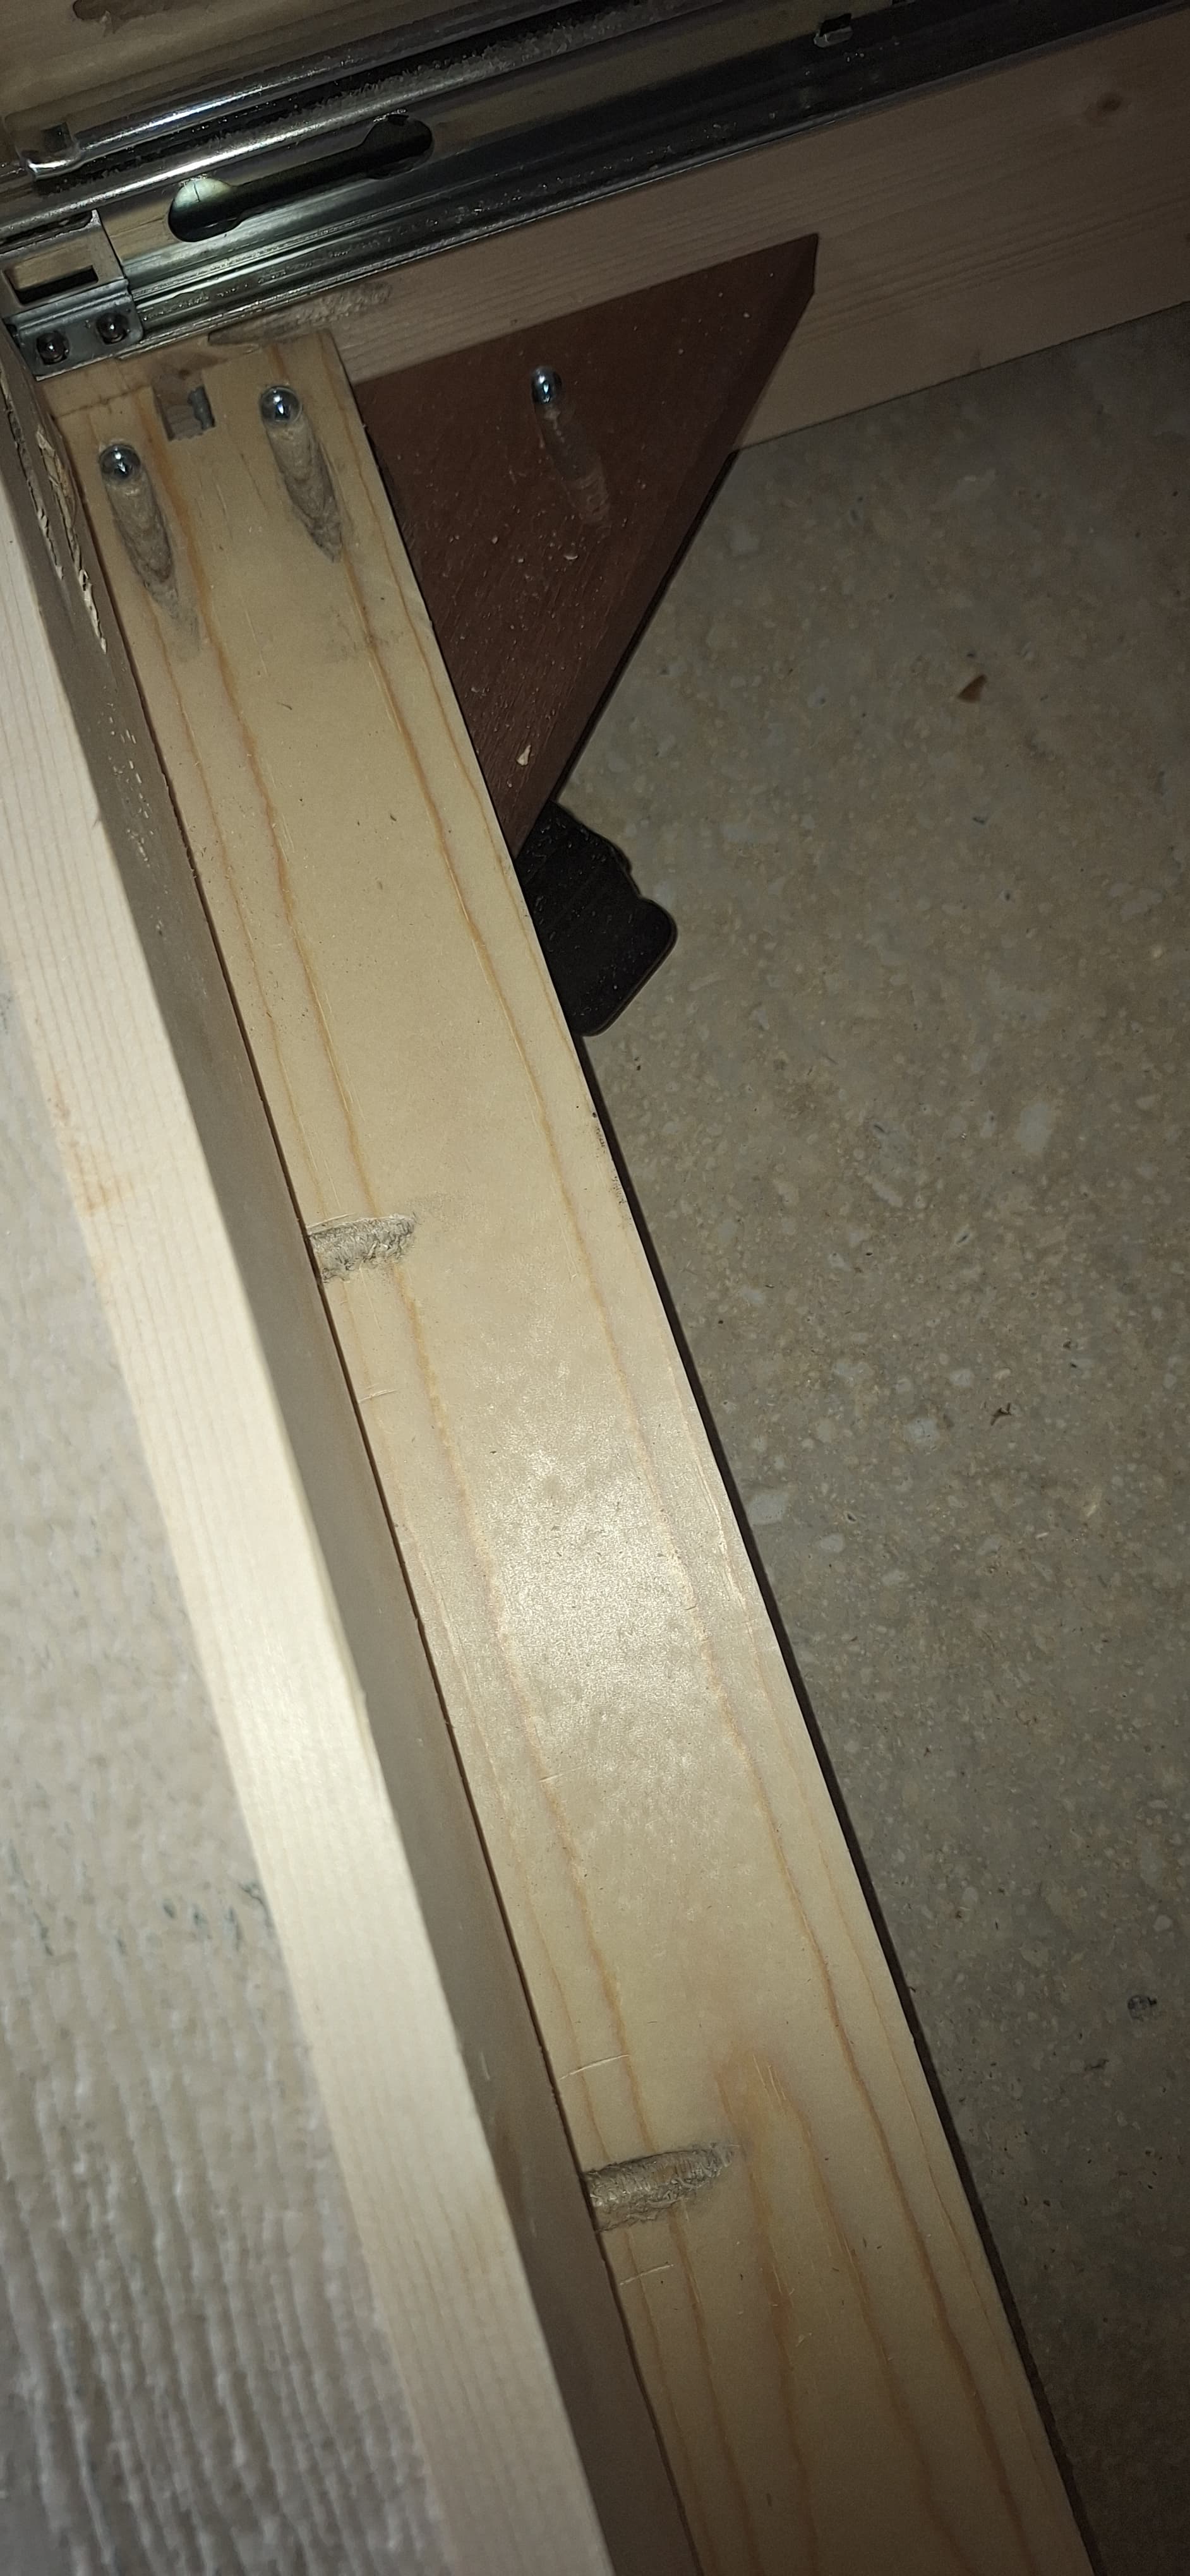
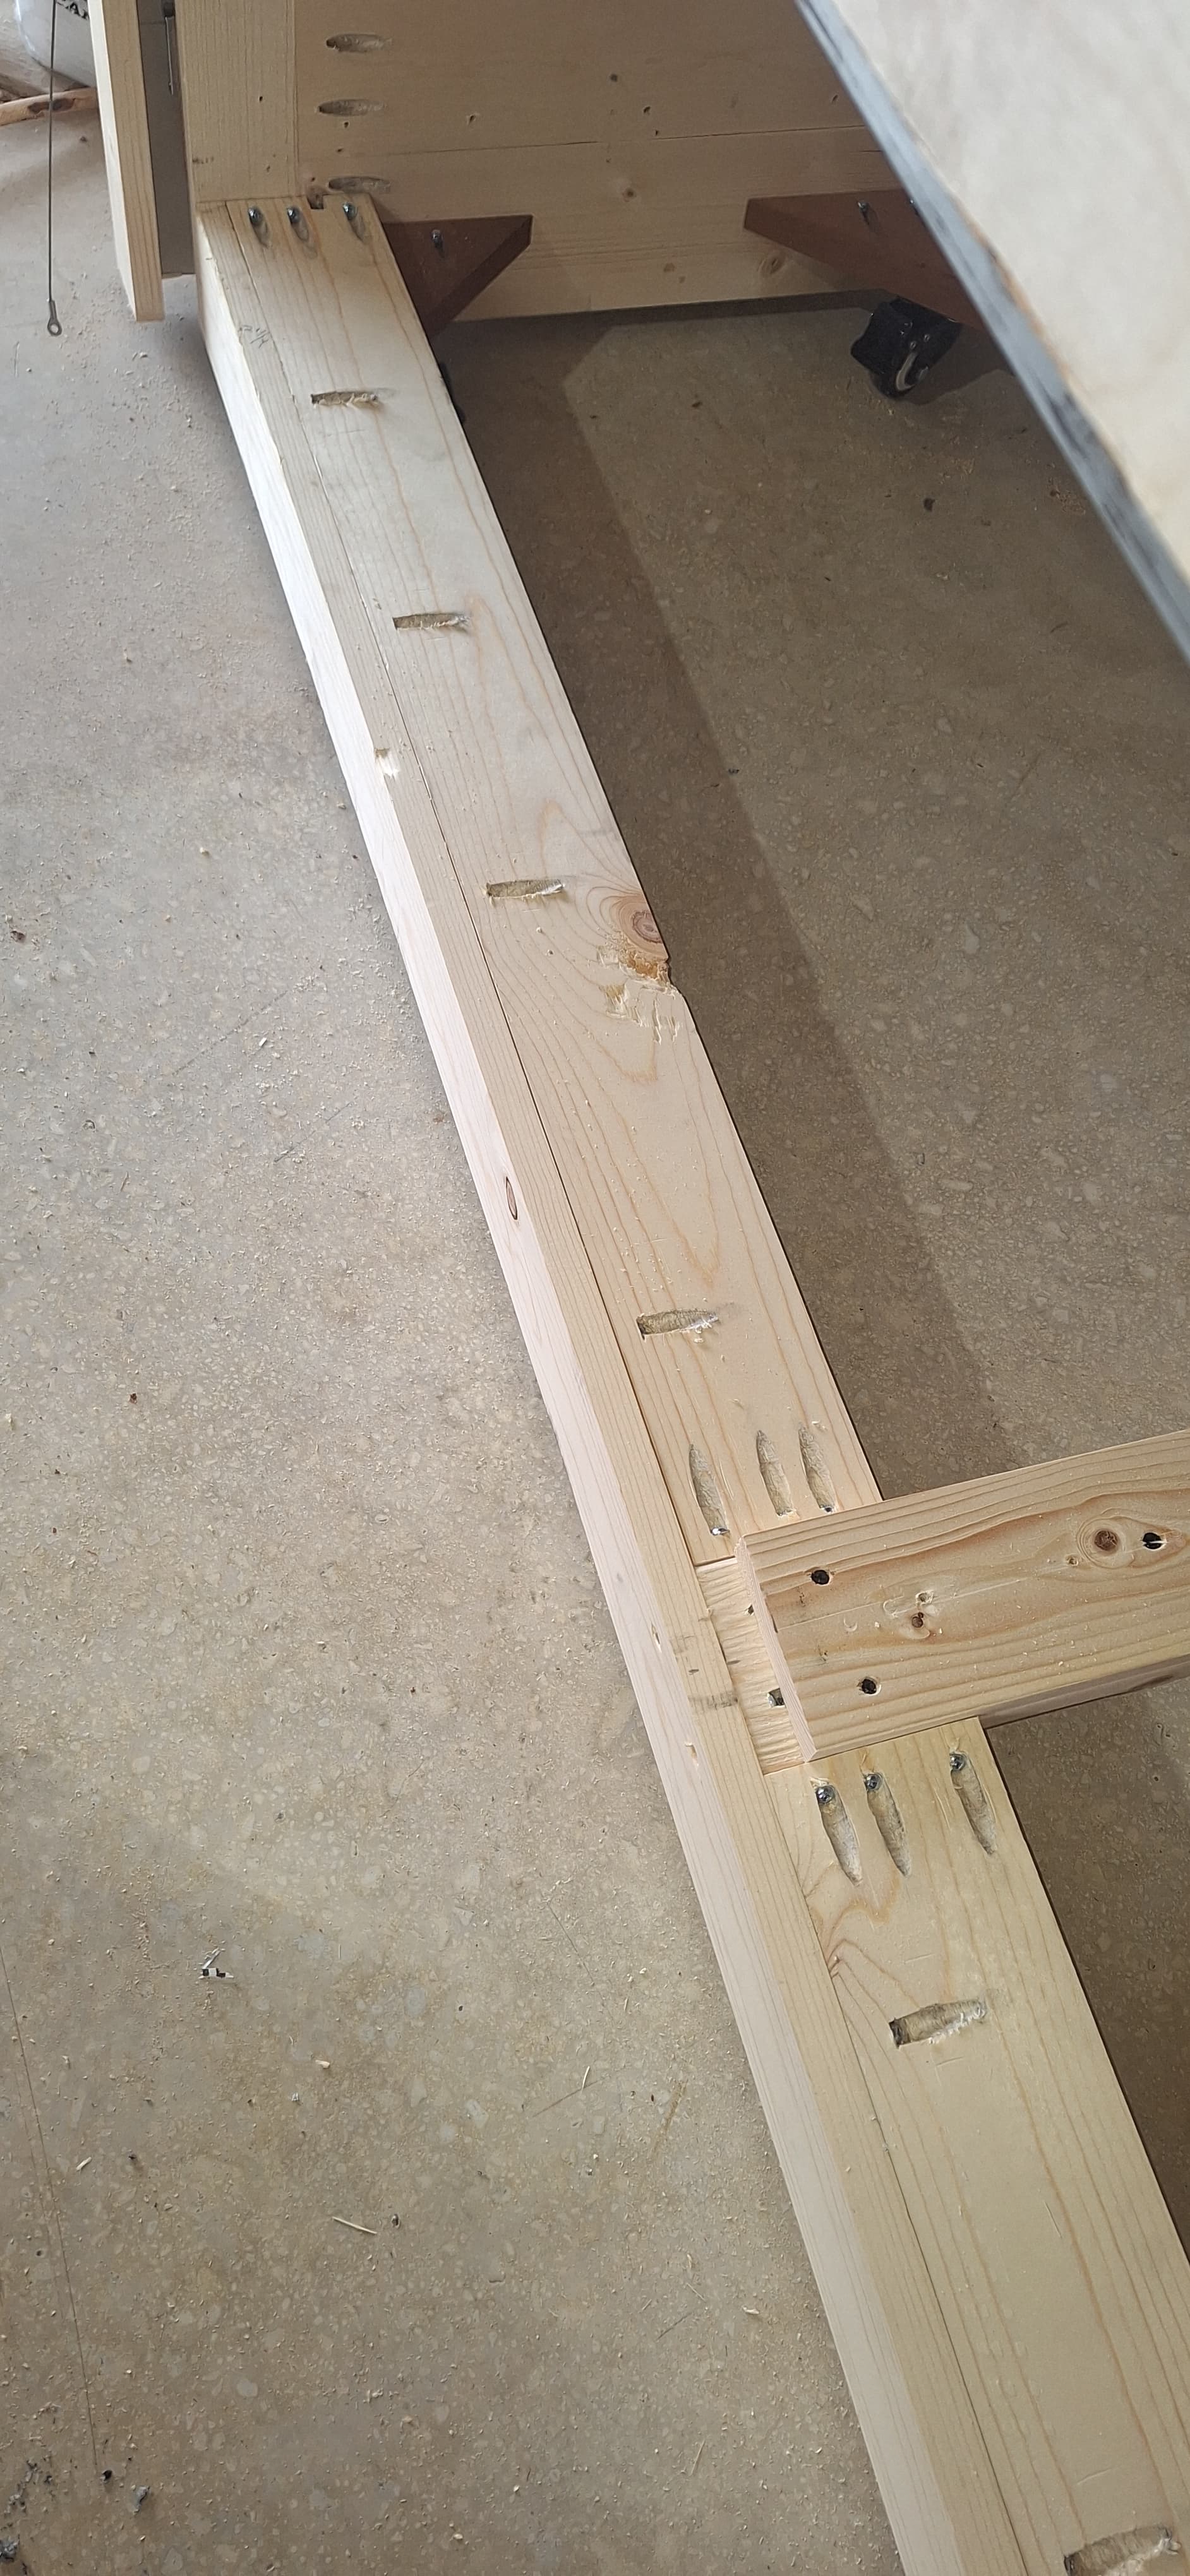
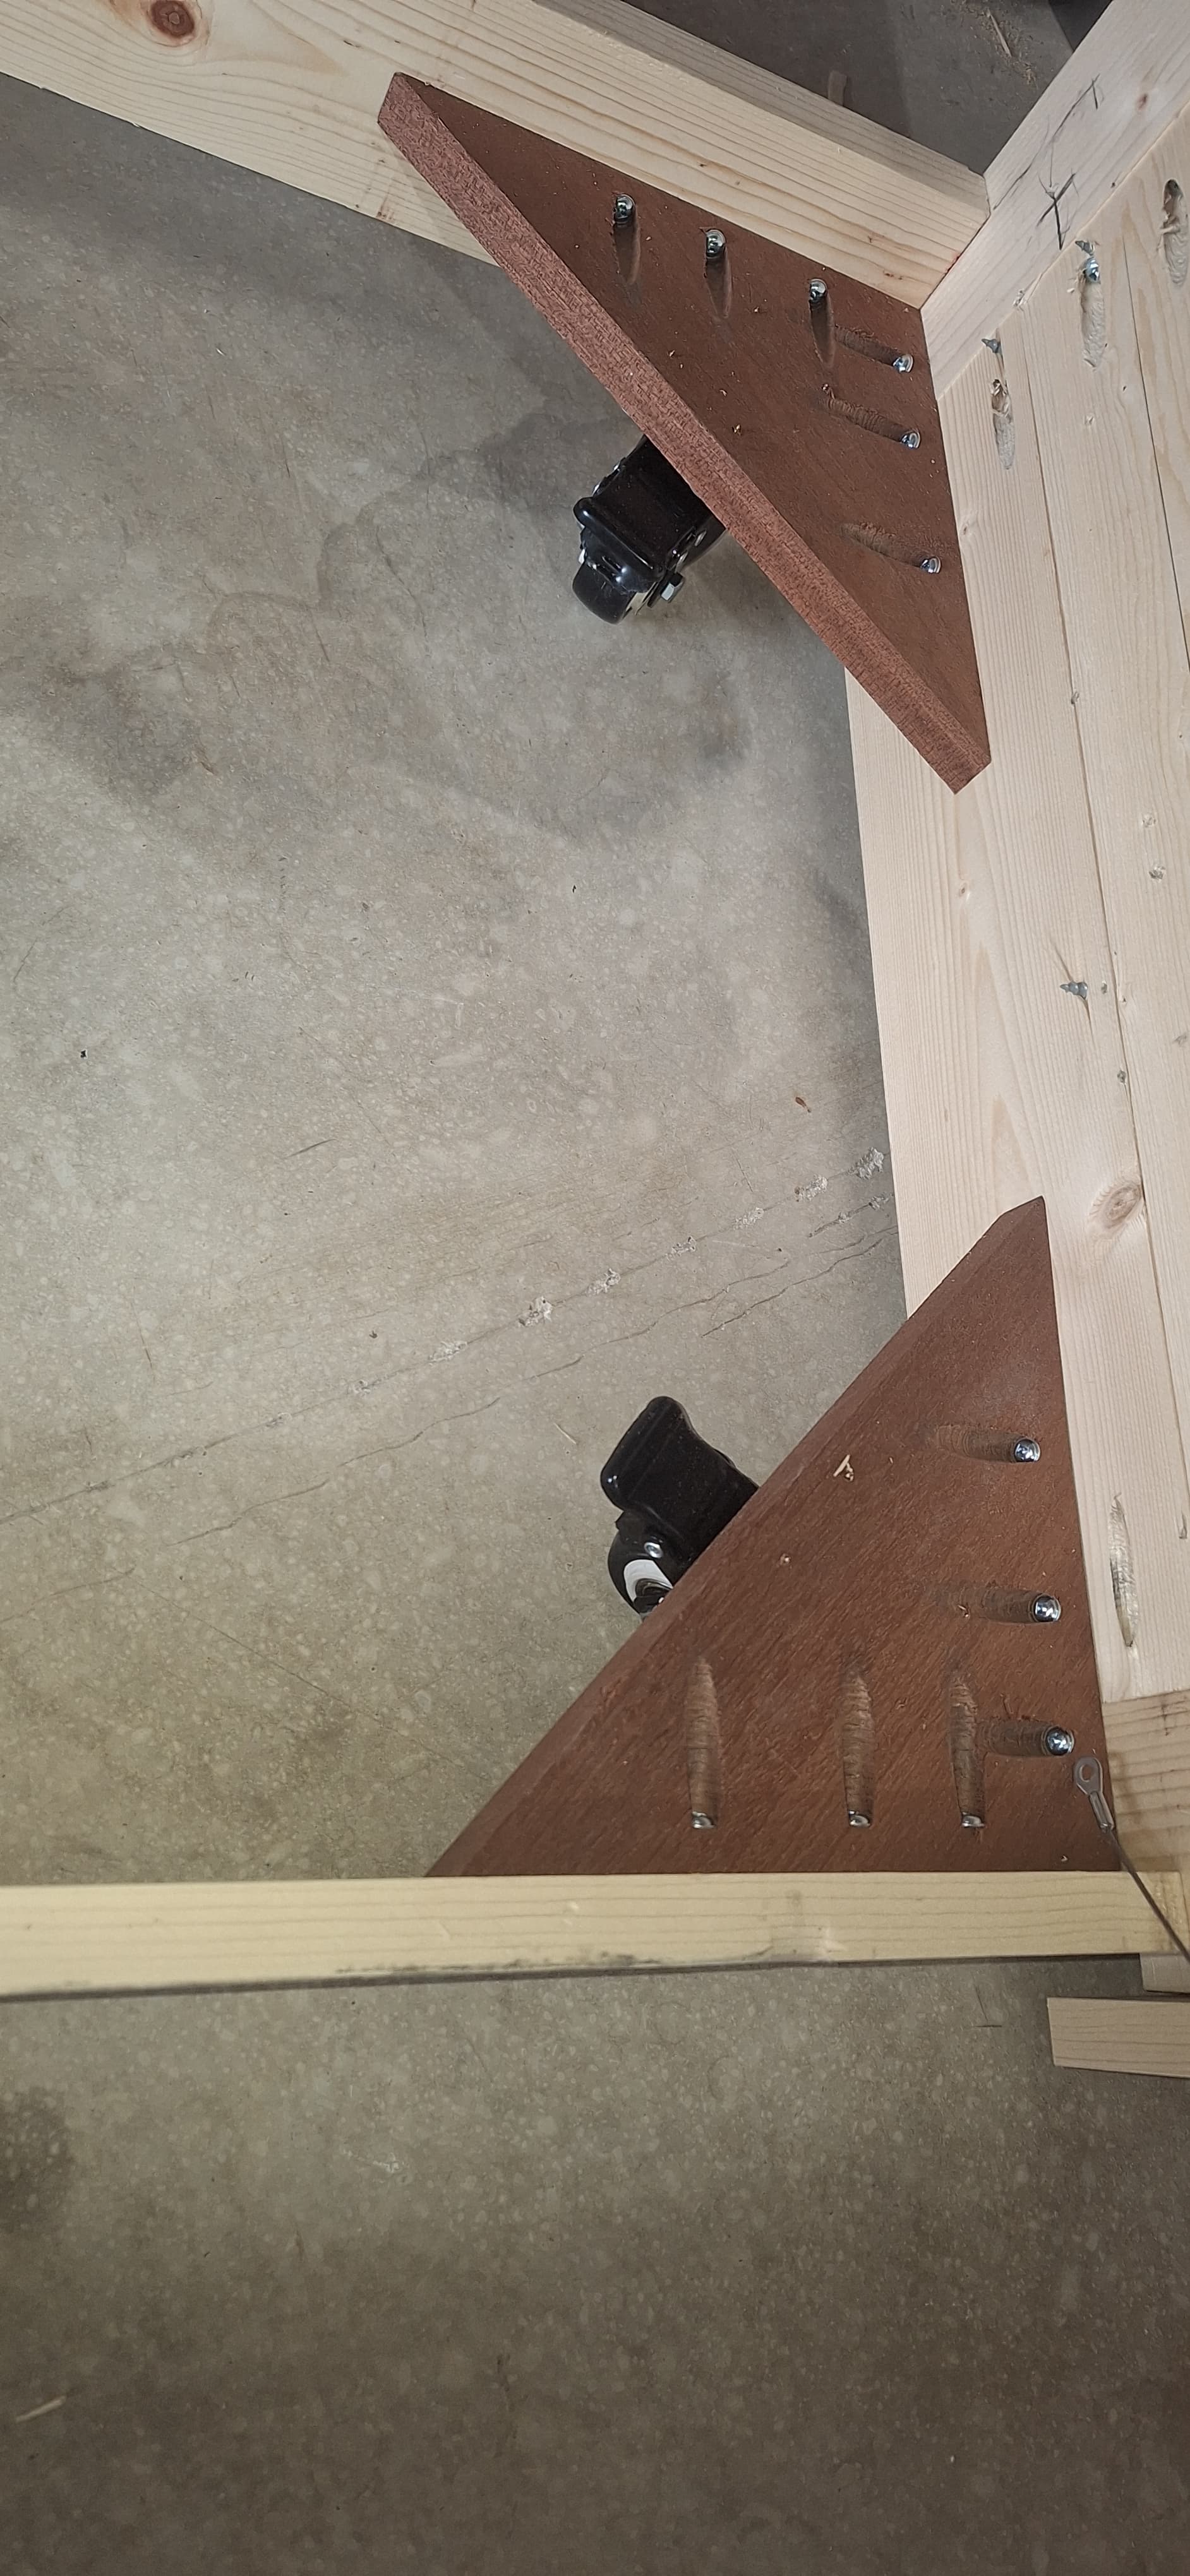
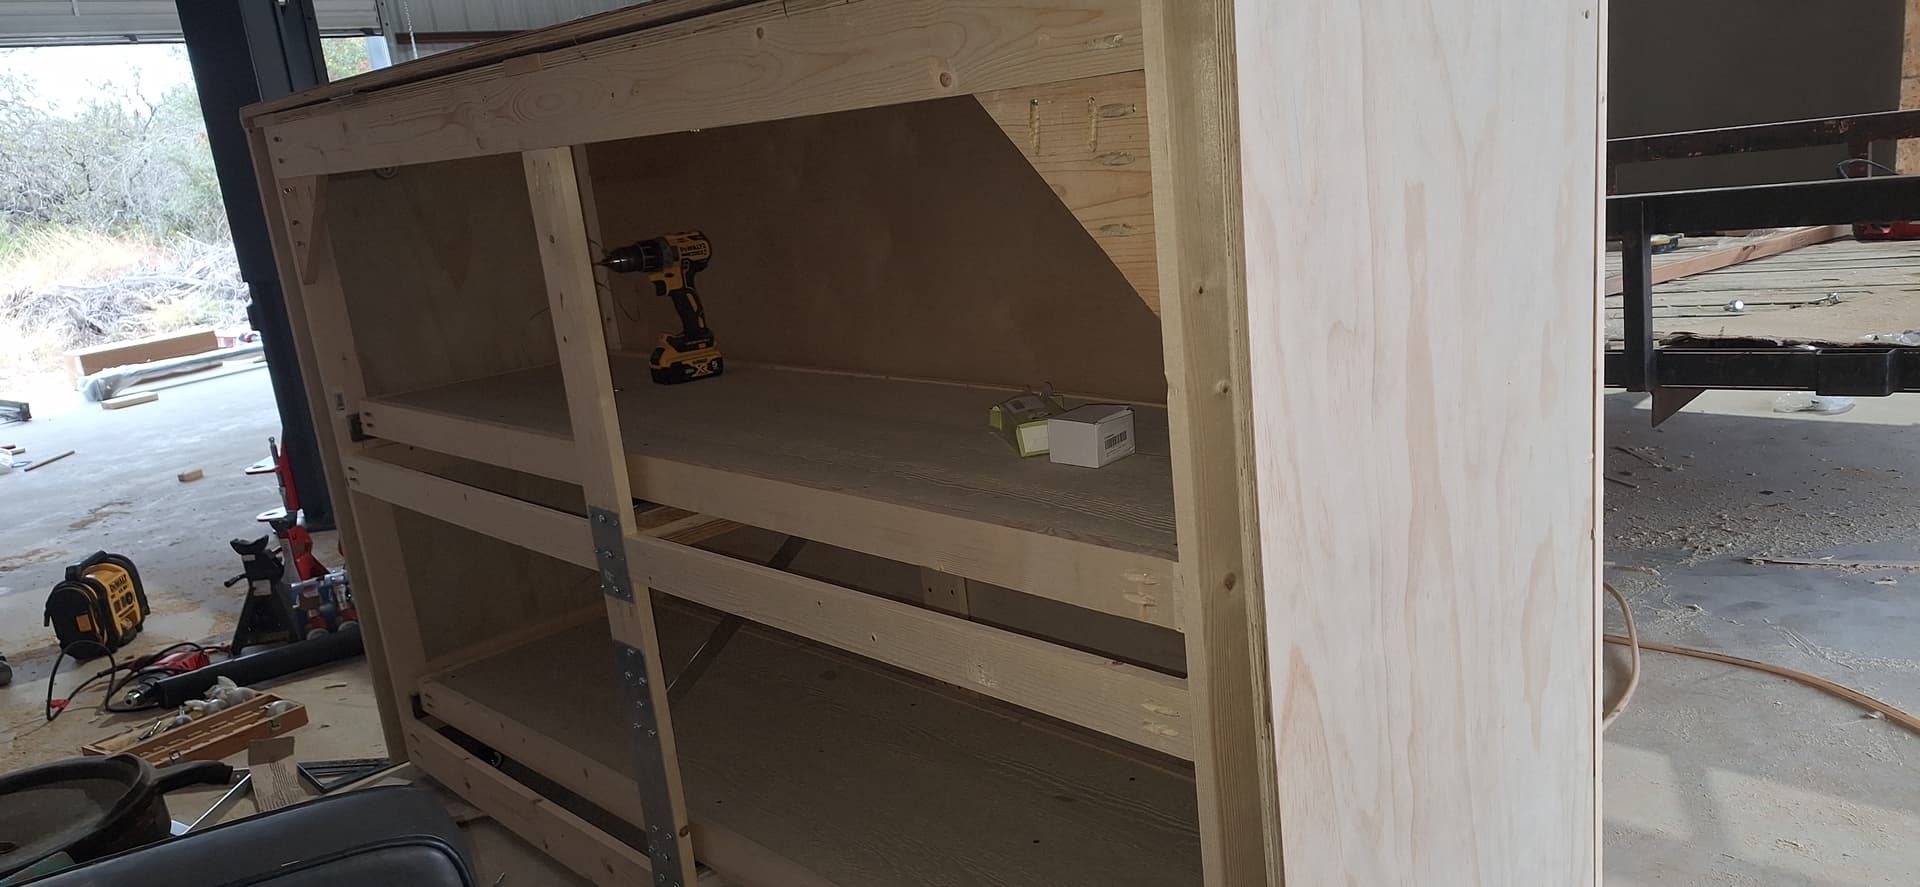
Got the lower tray removed and replaced the glides with the heavy duty ones. I then installed the castors and an additional bottom rail brace for more strength. I can lock the castor brakes with the lower tray extended forward.
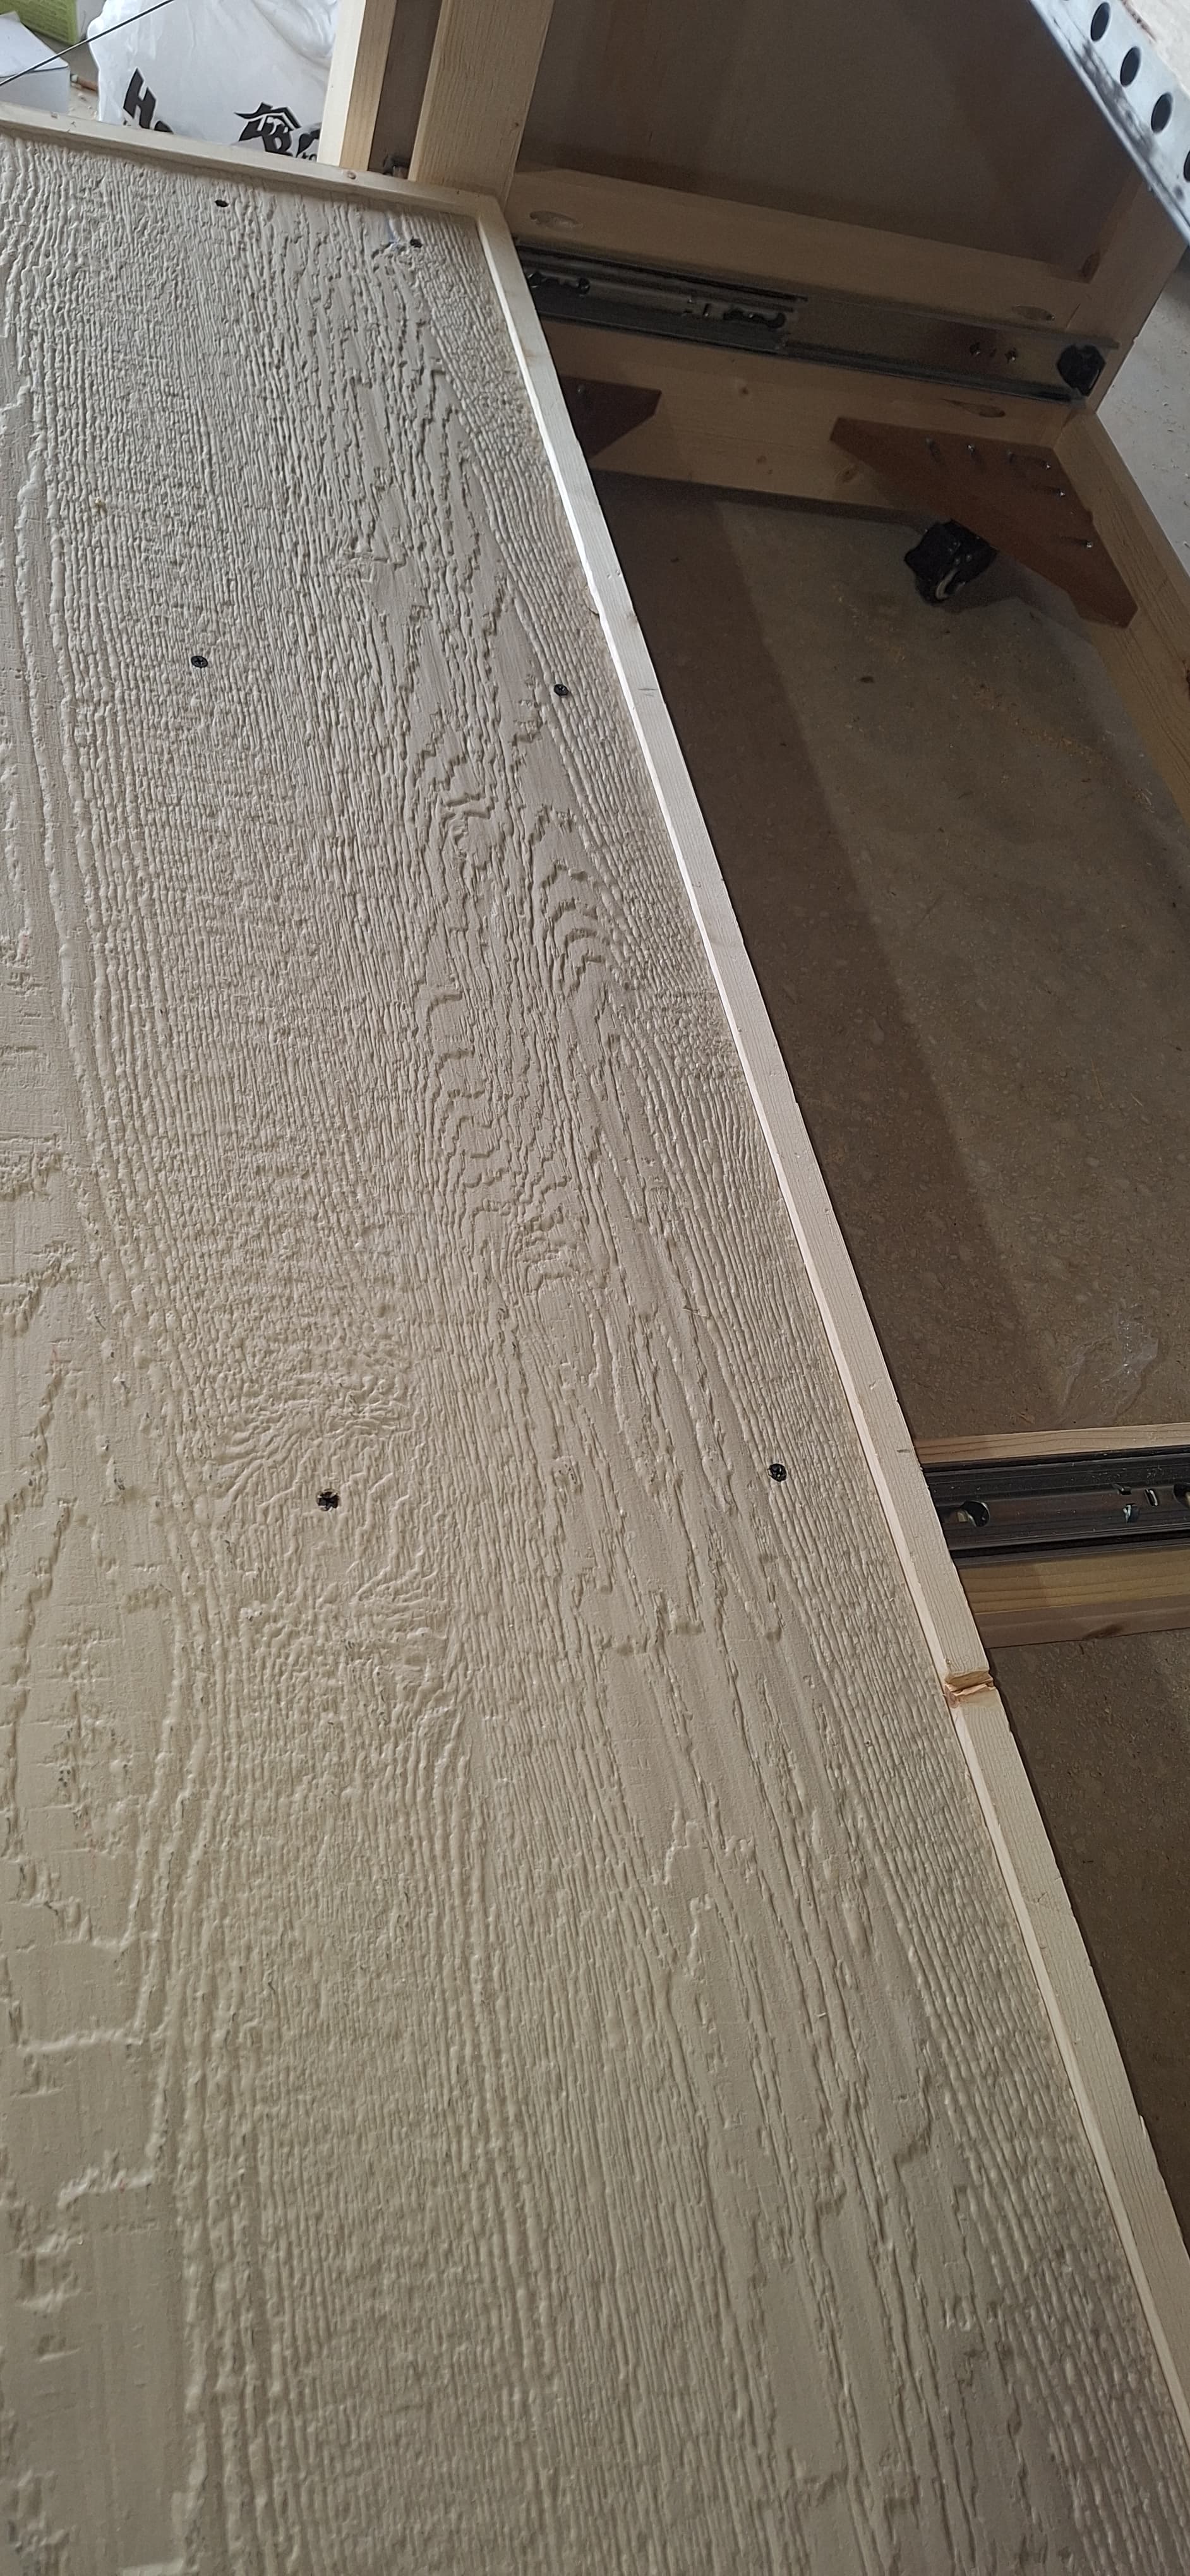
Then I fabricated the lower door and installed it. Also got the top lid finished. It will stay up when I lift it so hands free putting stuff in the top tray area.
I then ran this beast through it’s paces. All works like it’s supposed to! 
Finally put the last piece of upper trim on the upper door. I’m gonna leave the back off til after I finish painting this.
All that remains then is to paint it, install the final hardware (cabinet door knobs, the locks, the memory foam pads and the adjustable straps to secure my gals on the trays!)
Now…….I’m taking a few days off of this and gonna hang out with my gals!
Happy Dolling!
Nicely Done. Looking great
Thanks @Mr_Fix_it for the kind words! Now, I’ll take a few days to choose what color it will be.
Happy Dolling!